Adjusting the feed amount
Follow the steps below to adjust the feed amount manually.
1.
When using sheets, have two unused sheets A4/Letter-sized or larger ready.
When using a roll, load a roll 10 inches (254 mm) or wider.
•
Setting the Roll on the Roll Holder (→P.177)
•
Loading the Roll in the Printer (→P.180)
•
Loading the Sheet in the Printer (→P.210)
Note
•
Always make sure the loaded paper matches the media type setting. Adjustment cannot be
completed correctly unless the setting value matches the loaded paper.
2.
Press the
Menu
button to display
MAIN MENU
.
3.
Press
▲
or
▼
to select
Adjust Printer
, and then press the
►
button.
4.
Press
▲
or
▼
to select
Manual Band Adj
, and then press the
►
button.
5.
Press
▲
or
▼
to select
Yes
, and then press the
OK
button.
Test pattern A is printed for band adjustment.
6.
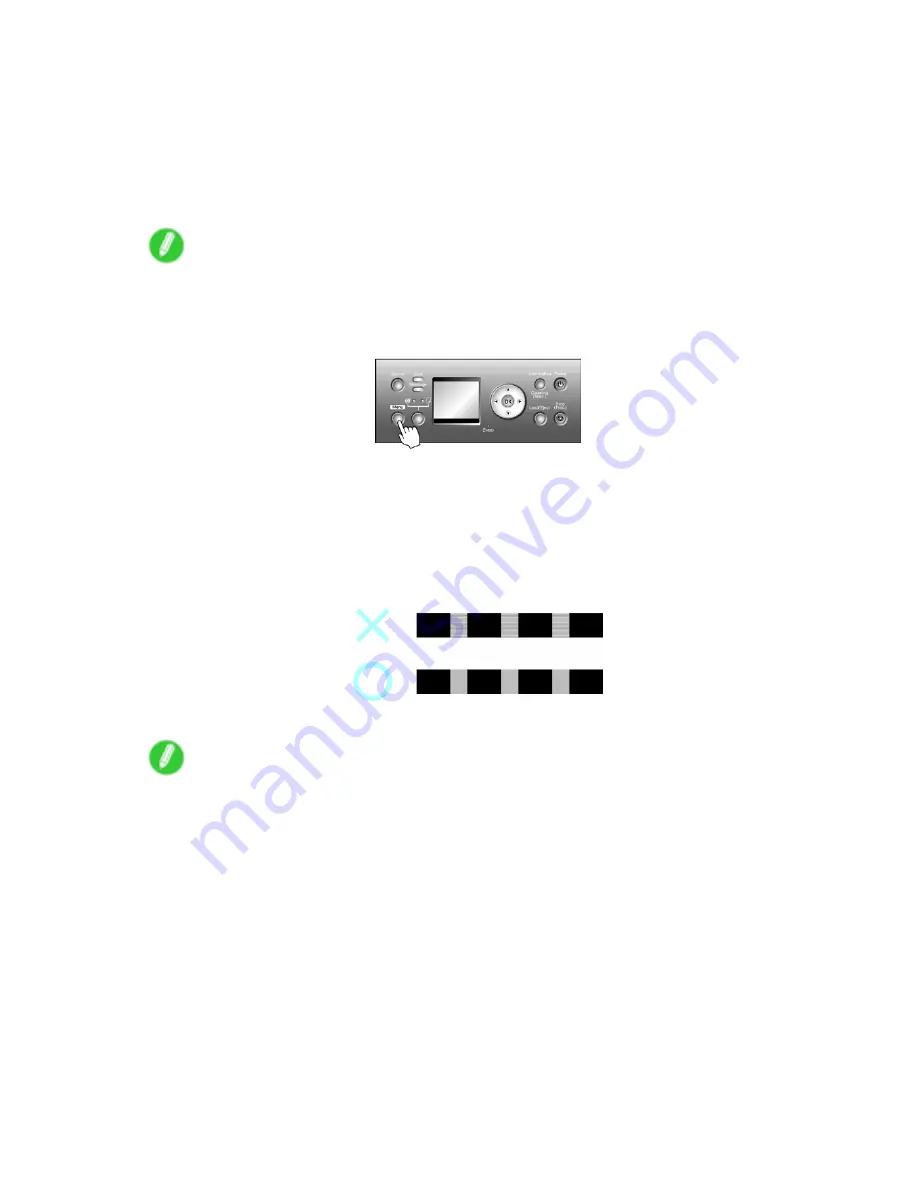
Examine test pattern A for band adjustment.After you determine the pattern in which streaks are
least noticeable, press
▲
or
▼
to choose the pattern number, and then press the
OK
button.
Test pattern B is printed for band adjustment.
Note
•
If streaks seem least noticeable in two patterns but you cannot decide which one is better, choose an
intermediate value. For example, choose 11 if you cannot decide whether pattern 10 or 12 is better.
7.
Examine test pattern B for band adjustment.After you determine the pattern in which streaks are
least noticeable, press
▲
or
▼
to choose the pattern number, and then press the
OK
button.
The feed amount is adjusted, and the printer goes online.
If printed documents are still affected by uneven contrast or banding in different colors at regular
intervals after this adjustment, you can adjust the feed amount during printing. (→P.656)
Maintenance 655
Содержание 2162B002
Страница 1: ...User Manual ENG Large Format Printer ...
Страница 2: ......
Страница 105: ...Hard Disk Note Enter a password if one has been set 2 Select the print job in the list and click Move Printer parts 91 ...
Страница 124: ...Hard Disk 2 Select the saved job in the list and click Delete For details refer to the RemoteUI help 110 Printer parts ...
Страница 240: ...Output Stacker 3 Push in the left and right Basket Arms toward the back all the way until they stop 226 Handling Paper ...
Страница 727: ...Cleaning the Printer 4 Plug the power cord into the outlet Maintenance 713 ...
Страница 807: ... CANON INC 2007 ...


