Handling rolls
Selecting the Paper Type (Roll)
When changing the type of paper after the paper has been advanced, specify the type of paper as follows.
Important
•
For best printing results, the printer ne-tunes the feed amount for each type of paper. Be sure to select
the type of paper to use correctly before printing.
•
Because the printer ne-tunes the feed amount for each type of paper, the margins and the size of
printed images may vary depending on the type of paper used. If margins and the size of images are not
as you expected, adjust the paper feed amount and Printhead height.
(→P.651)
(→P.650)
Note
•
After you load a roll, the printer automatically shows a menu for selection of the paper type on the
Display Screen, unless a barcode has been printed on the roll. Select the type of paper, and then
press the
OK
button.
If no barcode has been printed on the roll and you have activated automatic detection of the remaining
roll paper, specify the roll length after the paper type. (→P.187)
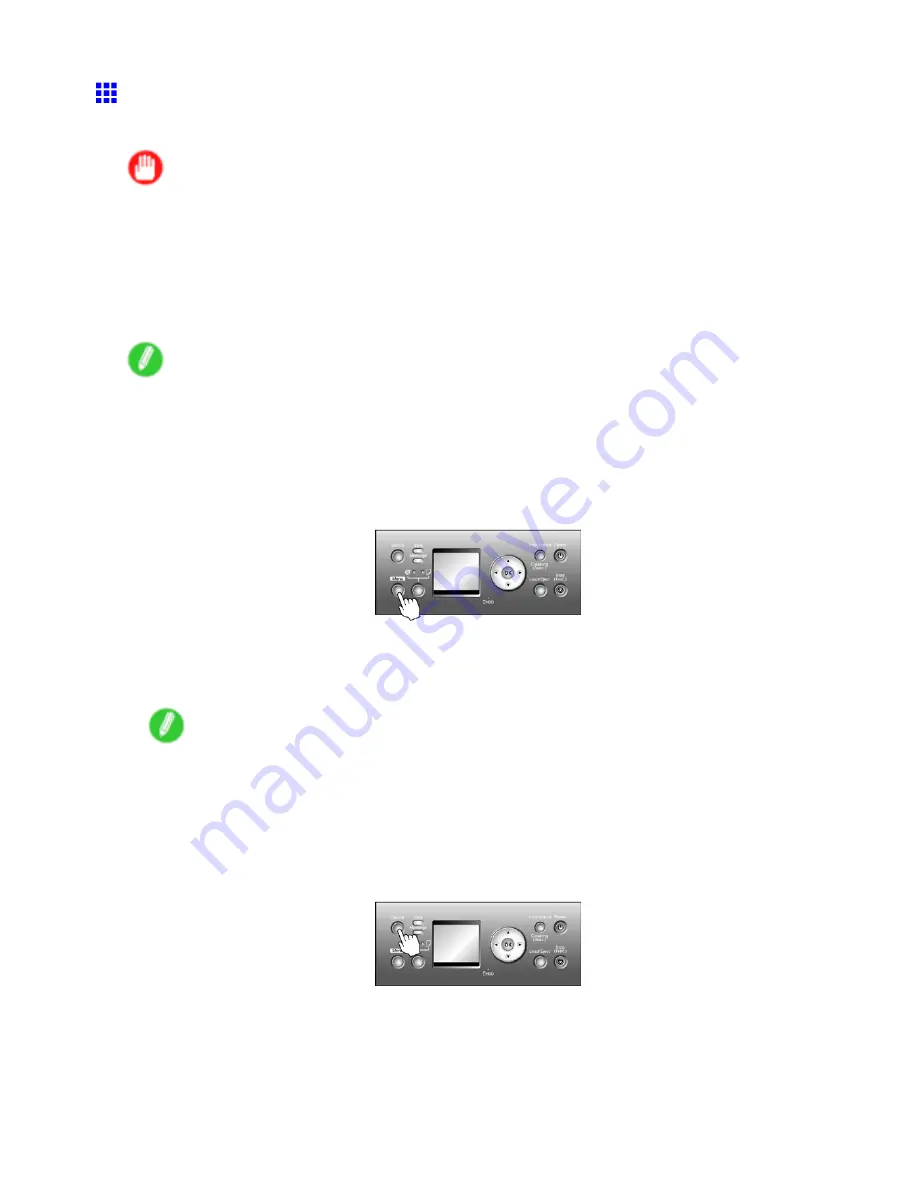
1.
Press the
Menu
button to display
MAIN MENU
.
2.
Press
▲
or
▼
to select
Media Menu
, and then press the
►
button.
3.
Press
▲
or
▼
to select
Roll Media Type
, and then press the
►
button.
4.
Press
▲
or
▼
to select the type of paper loaded in the printer, and then press the
OK
button.
Note
•
For details on types of paper, see the Paper Reference Guide. (→P.167) By factory default, Plain
Paper is selected.
•
If you move the Release Lever, the setting automatically reverts to the previously selected paper.
•
Be sure to select the correct paper type. If this setting does not match the loaded paper, it may
cause feed errors and affect the printing quality.
5.
Press the
Online
button to bring the printer online.
186 Handling Paper
Содержание 2162B002
Страница 1: ...User Manual ENG Large Format Printer ...
Страница 2: ......
Страница 105: ...Hard Disk Note Enter a password if one has been set 2 Select the print job in the list and click Move Printer parts 91 ...
Страница 124: ...Hard Disk 2 Select the saved job in the list and click Delete For details refer to the RemoteUI help 110 Printer parts ...
Страница 240: ...Output Stacker 3 Push in the left and right Basket Arms toward the back all the way until they stop 226 Handling Paper ...
Страница 727: ...Cleaning the Printer 4 Plug the power cord into the outlet Maintenance 713 ...
Страница 807: ... CANON INC 2007 ...


