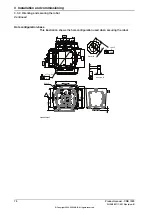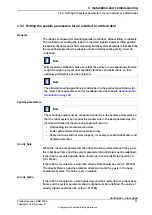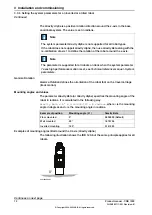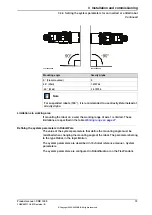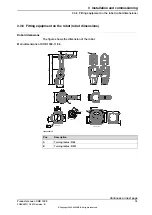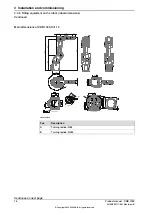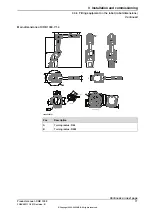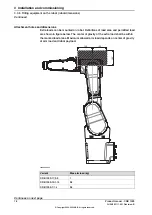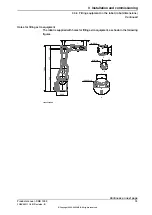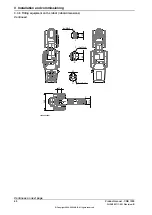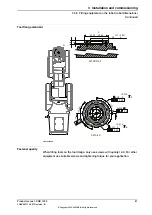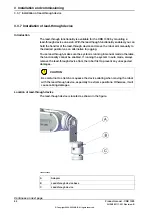
Installing the lead-through device
Use the following procedure to install the lead-through device.
Note
The lead-through device can be installed in any position according to actual
applications. Figures in the following procedures only illustrate an example
position.
Preparations before installing the lead-through device
Note
Action
Remove all tools from the mounting flange.
1
Calibration is detailed in section
Jog the robot to the synchronization position.
2
Refer to
.
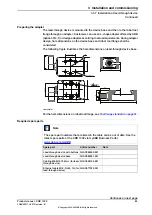
Prepare the lead-through device adapter.
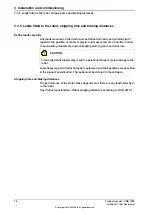
CAUTION
To calibrate the axis 6, the notch on the wrist must
be aligned with the marked pin hole on the tool
flange. Before installing the adapter on the tool
flange, make sure a visible mark has been made
to the adapter at the corresponding position.
For details about the synchronization mark, see
Synchronization marks and synchronization posi-
tion for axes on page 667
3
Continues on next page
84
Product manual - CRB 1300
3HAC083111-001 Revision: B
© Copyright 2022-2023 ABB. All rights reserved.
3 Installation and commissioning
3.3.7 Installation of lead-through device
Continued
Содержание CRB 1300
Страница 1: ...ROBOTICS Product manual CRB 1300 ...
Страница 2: ...Trace back information Workspace 23A version a14 Checked in 2023 03 20 Skribenta version 5 5 019 ...
Страница 50: ...This page is intentionally left blank ...
Страница 662: ...This page is intentionally left blank ...
Страница 690: ...This page is intentionally left blank ...
Страница 704: ...This page is intentionally left blank ...
Страница 720: ...This page is intentionally left blank ...
Страница 725: ......

