Chapter 2 Introducing the Web Configurator
User’s Guide
39
The following table describes the labels in this screen.
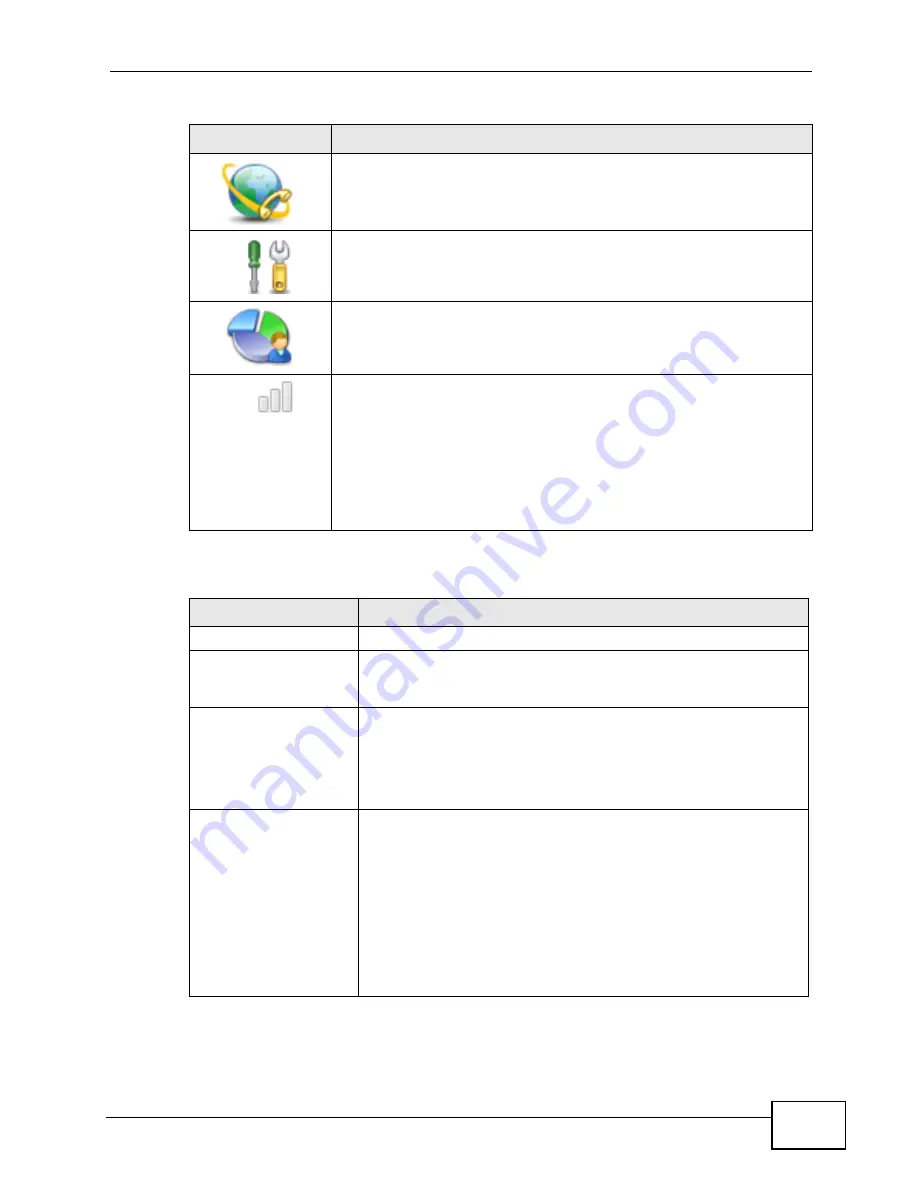
VOICE
Click to go to the Voice screen, where you can configure your voice
service and phone settings.
TOOLS
Click to go the Tools screen, where you can configure your firewall,
QoS, and content filter, among other things.
STATUS
Click to go to the Status screen, where you can view status and
statistical information for all connections and interfaces.
Strength Indicator
Displays a visual representation of the quality of your WiMAX
connection.
• Disconnected - Zero bars
• Poor reception - One bar
• Good reception - Two bars
• Excellent reception - Three bars
Table 4
Main
LABEL
DESCRIPTION
Help
Click to open the web configurator’s online help.
Wizard
Click to run the Internet Connection and VoIP Connection Setup
Wizard. All of the settings that you can configure in this wizard
are also available in these web configurator screens.
Logout
Click to log out of the web configurator.
Note: This does not log you off the WiMAX network, it simply
logs you out of the WiMAX Modem’s browser-based
configuration interface.
WiMAX Connection
Status
This field indicates the current status of your WiMAX connection.
Status messages are as follows:
• Connected - Indicates that the WiMAX Modem is connected
to the WiMAX network. Use the Strength Indicator icon to
determine the quality of your network connection.
• Disconnected - Indicates that the WiMAX Modem is not
connected to the WiMAX network.
• DL_SYN - Indicates a download synchronization is in
progress. This means the firmware is checking with the
server for any updates or settings alterations.
Table 3
Main > Icons (continued)
ICON
DESCRIPTION
Summary of Contents for MAX-306M1
Page 2: ......
Page 8: ...Safety Warnings User s Guide 8...
Page 10: ...Contents Overview User s Guide 10...
Page 24: ...List of Figures User s Guide 24...
Page 30: ...30...
Page 63: ...63 PART II Basic Screens The Main Screen 38 The Setup Screens 65...
Page 64: ...64...
Page 72: ...72...
Page 84: ...Chapter 7 The LAN Configuration Screens User s Guide 84...
Page 96: ...Chapter 8 The WAN Configuration Screens User s Guide 96...
Page 108: ...Chapter 9 The VPN Transport Screens User s Guide 108...
Page 118: ...Chapter 10 The NAT Configuration Screens User s Guide 118...
Page 130: ...130...
Page 148: ...Chapter 12 The Service Configuration Screens User s Guide 148...
Page 158: ...Chapter 13 The Phone Screens User s Guide 158...
Page 164: ...Chapter 14 The Phone Book Screens User s Guide 164...
Page 166: ...166...
Page 188: ...Chapter 15 The Certificates Screens User s Guide 188...
Page 198: ...Chapter 16 The Firewall Screens User s Guide 198...
Page 218: ...Chapter 19 QoS User s Guide 218...
Page 234: ...Chapter 20 The Logs Screens User s Guide 234...
Page 247: ...247 PART VI Troubleshooting and Specifications Troubleshooting 249 Product Specifications 257...
Page 248: ...248...
Page 256: ...Chapter 22 Troubleshooting User s Guide 256...
Page 264: ...Chapter 23 Product Specifications User s Guide 264...
Page 266: ...266...
Page 298: ...Appendix B Setting Up Your Computer s IP Address User s Guide 298...
Page 308: ...Appendix C Pop up Windows JavaScripts and Java Permissions User s Guide 308...
Page 352: ...Appendix E Importing Certificates User s Guide 352...
Page 354: ...Appendix F SIP Passthrough User s Guide 354...
Page 370: ...Appendix I Customer Support User s Guide 370...
Page 376: ...Index User s Guide 376...


