Quick Start Tutorial
Page 18
Frog 2 Operating Manual – Issue 4.3
Adding Fixtures
Once in the Setup screen, the first task you need to perform is to assign the fixtures in
your rig to the desk’s fixture schedule. This tells the desk how many of each fixture type
you have, allowing the desk to load the correct details into its memory.
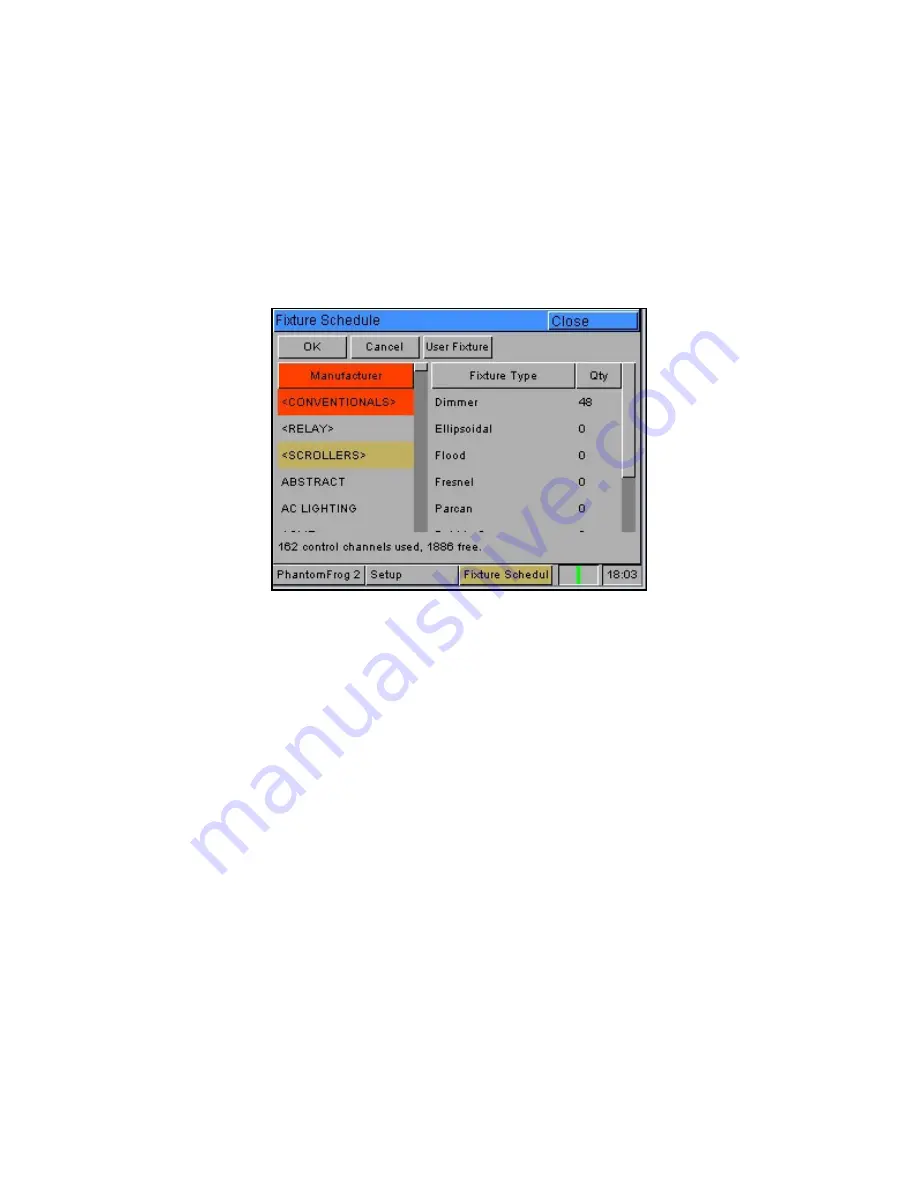
Press the [Add Fixtures] key on the touch screen. The Fixture Schedule Window is
displayed on the touch screen:
The left hand column in this screen allows you to select the fixture manufacturer.
Scroll down or use the cursor keys to select the required manufacturer (eg MARTIN).
Press the right arrow key to move the cursor to the fixtures into the right hand column.
Scroll down or use the cursor keys to select the required fixture type (eg MAC 250).
Press the SET key to enter the quantity (Qty) field. Enter the quantity of the fixture
required, then press the ENTER key.
You can then repeat the above procedure for adding the other fixtures in your rig.
When you have finished adding all of the fixtures you require to the schedule, press the
[OK] key. You will then be returned to the Patch area of the setup screen.
Note – Fixture Types
If the fixture type you require is not in the fixture library stored on the desk you can import
the fixture type – see Setup chapter for full details.
Summary of Contents for FROG 2
Page 1: ...FROG 2 OPERATING MANUAL...
Page 2: ......
Page 76: ...Setup Page 76 Frog 2 Operating Manual Issue 4 3...
Page 80: ...Groups Page 80 Frog 2 Operating Manual Issue 4 3...
Page 144: ...Palettes Page 144 Frog 2 Operating Manual Issue 4 3...
Page 152: ...Effects Page 152 Frog 2 Operating Manual Issue 4 3...
Page 178: ...Technical Specification Page 178 Frog 2 Operating Manual Issue 4 3...
Page 183: ......


