


6.
Devices
...
IP...
MAC...
Device...
...
...
1
172.20. ..
00:20: ...
VIPA ...
2
...
...
...
Click in the list at the module with the known MAC address. This can be found at
the front of the CPU labelled as "MAC PG/OP: ...".
7.
Click at
‘Set IP address’
. Now set the IP configuration by entering
‘IP address’
,
‘Subnet mask’
and
‘Gateway’
. You get valid IP address parameters from your
system administrator.
8.
Click at
‘Set IP address’
.
ð
The IP address is transferred to the module and the list is refreshed. Directly
after the assignment the Ethernet PG/OP channel is online reachable using the
set IP address data. The value remains as long as it is reassigned, it is over-
written by a hardware configuration or a factory reset is executed.
9.
With clicking at
‘Apply settings’
the IP address data a stored in the project.
If you are not online, you can assign IP address data to your Ethernet PG/OP channel
with following proceeding:
1.
Start the
SPEED7 Studio
with your project.
2.
Click in the
Project tree
at
‘Devices and networking’
.
ð
You will get a graphical object view of your CPU.
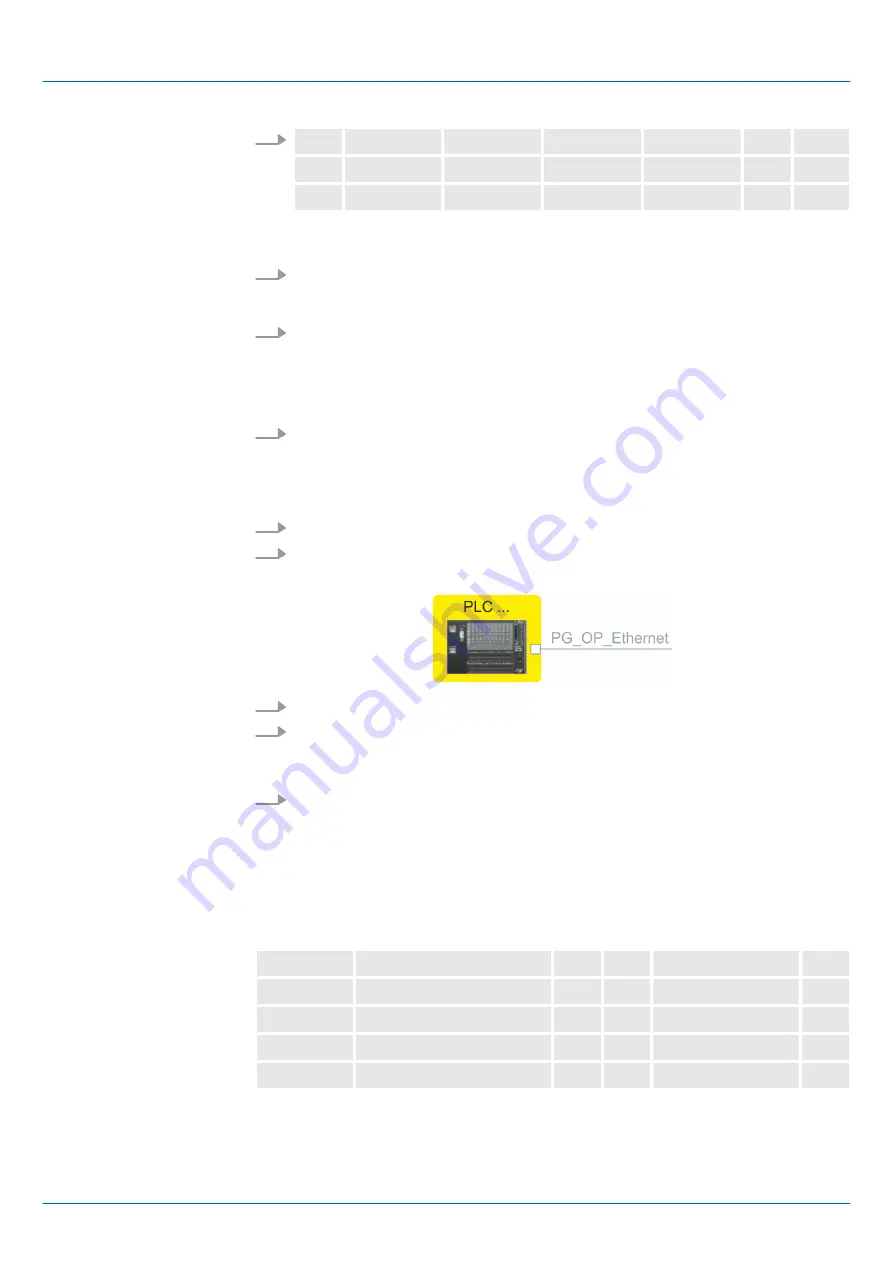
3.
Click at the network
‘PG_OP_Ethernet’
.
4.
Select
‘Context menu
è
Interface properties’
.
ð
A dialog window opens. Here you can enter the IP address data for your
Ethernet PG/OP channel.
5.
Confirm with [OK].
ð
The IP address data are stored in your project listed in
‘Devices and
networking’
at
‘Local components’
.
After transferring your project your CPU can be accessed via Ethernet PG/OP
channel with the set IP address data.
Local components
Slot
Module
...
...
...IP address
...
0
CPU 013-CCF0R00
...
-X1
PG_OP_Ethernet
172.20.120.40
-X3
MPI interface
...
...
...
...
Take IP address parame-
ters in project
VIPA System SLIO
Configuration with VIPA SPEED7 Studio
SPEED7 Studio - Hardware configuration - Ethernet PG/OP channel
HB300 | CPU | 013-CCF0R00 | en | 19-30
276


