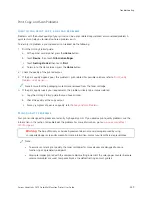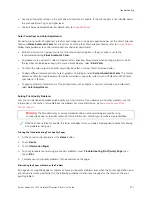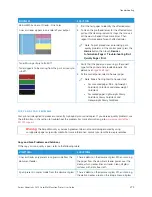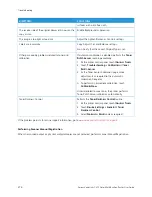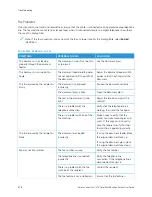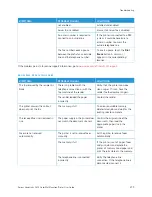
• Make sure that the printer supports the paper or media.
• Make sure that the printer is loaded with undamaged, dry paper.
• If the condition of the paper or media is in doubt, replace it with new paper or media.
• Make sure that you have the proper tray selected in the print driver and from the control panel.
• Make sure that you have the correct paper type selected in the print driver and in the control panel of the
printer.
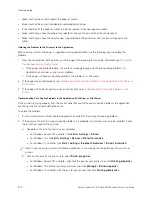
Isolating the Problem to the Printer or to the Application
When you are sure that the paper is supported and in good condition, use the following steps to isolate the
problem:
1.
From the control panel of the printer, print the pages for Diagnosing Print Quality. For details, see
Troubleshooting Print-Quality Pages
• If the pages are printed properly, the printer is working properly and the print-quality problem is an
application, print driver, or print server problem.
• If the pages still have print-quality problems, the problem is in the printer.
2.
If the pages are printed properly, see
Troubleshooting Print-Quality Problems in the Application, Print Driver, or
.
3.
If the pages still had print-quality issues, or did not print, see
Troubleshooting Print-Quality Problems in the
.
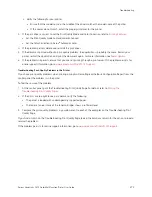
Troubleshooting Print-Quality Problems in the Application, Print Driver, or Print Server
If the printer is printing properly from the control panel but you still have print-quality problems, the application,
print driver, or print server could be the cause.
To isolate the problem:
1.
Print a similar document from another application and look for the same print-quality problems.
2.
If the document has the same print-quality problem, it is probably a print driver or print server problem. Check
the print driver used for the print job.
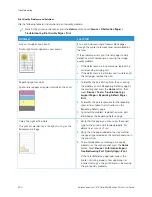
a. Navigate to the list of printers on your computer:
• For Windows Server 2012 and later, click SSttaarrtt >> SSeettttiinnggss >> PPrriinntteerrss.
• For Windows 10, click SSttaarrtt >> SSeettttiinnggss >> D
Deevviicceess >> PPrriinntteerrss &
& ssccaannnneerrss.
• For Windows 11 and later, click SSttaarrtt >> SSeettttiinnggss >> B
Blluueettooootthh &
& ddeevviicceess >> PPrriinntteerrss &
& ssccaannnneerrss.
Note: If you are using a custom Start Menu application, it can change the navigation path to your list of
printers.
b. Click on the name of the printer, then select PPrriinntteerr pprrooppeerrttiieess:
• For Windows Server 2012 and later, right-click the icon for your printer, then click PPrriinnttiinngg pprrooppeerrttiieess.
• For Windows 10, click the icon for your printer, then click M
Maannaaggee >> PPrriinntteerr pprrooppeerrttiieess.
• For Windows 11 and later, click the icon for your printer, then click PPrriinnttiinngg pprreeffeerreenncceess.
272
Xerox
®
VersaLink
®
C415 Color Multifunction Printer User Guide
Summary of Contents for VersaLink C415
Page 1: ...VERSION 1 0 JULY 2023 702P08981 Xerox VersaLink C415 Color Multifunction Printer User Guide...
Page 4: ...4 Xerox VersaLink C415 Color Multifunction Printer User Guide...
Page 220: ...220 Xerox VersaLink C415 Color Multifunction Printer User Guide Paper and Media...
Page 246: ...246 Xerox VersaLink C415 Color Multifunction Printer User Guide Maintenance...
Page 320: ...320 Xerox VersaLink C415 Color Multifunction Printer User Guide Recycling and Disposal...
Page 322: ...Apps Features 322 Xerox VersaLink C415 Color Multifunction Printer User Guide Apps Features...
Page 335: ......
Page 336: ......

