S C A N N I N G TO A U S B F L A S H D R I V E
You can scan a document and store the scanned file on a USB Flash drive. The Scan To App produces scans in ..jjppgg, ..
ppddff, ..ppddff ((aa)), ..xxppss, and ..ttiiff file formats.
Note: Only USB Flash drives formatted to the typical FAT32 file system are supported.
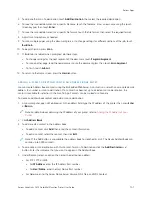
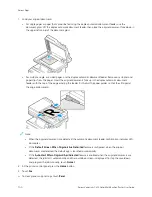
To scan to a USB Flash drive:
1.
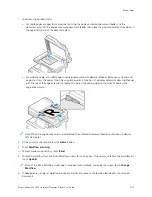
Load the original document on the document glass or in the automatic document feeder.
2.
At the printer control panel, press the H
Hoom
mee button.
3.
Touch SSccaann TToo.
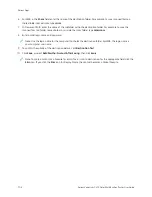
4.
If the Scan To destination window does not appear, touch A
Adddd D
Deessttiinnaattiioonn.
5.
Insert your USB Flash drive into the USB port on the front of the printer, then touch U
USSB
B.
Note: If you select U
USSB
B as the Scan To destination before inserting a USB Flash drive, you will be prompted
to insert it.
6.
To add another Scan To destination, touch A
Adddd D
Deessttiinnaattiioonn, then select the required destination.
7.
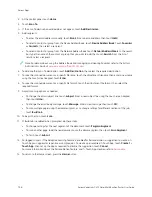
To save the scanned document as a specific file name, touch the attachment file name, then enter a new name
using the touch screen keypad. Touch EEnntteerr.
8.
To save the scanned document as a specific file format, touch the attachment file format, then select the
required format.
9.
Adjust scanning features as needed.
10.
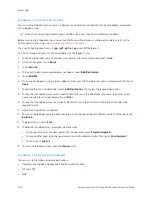
To scan multiple pages using the document glass, or to change settings for different sections of the job, touch
B
Buuiilldd JJoobb.
11.
To begin the scan, press SSccaann.
12.
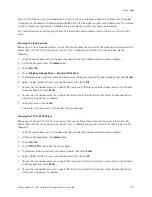
If Build Job is enabled, when prompted, do these steps.
• To change settings for the next segment of the document, touch PPrrooggrraam
m SSeeggm
meenntt.
• To scan another page, load the new page onto the document glass, then touch SSccaann SSeeggm
meenntt.
• To finish, touch SSuubbm
miitt.
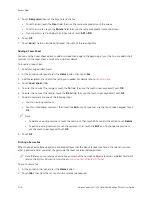
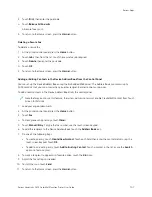
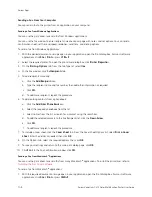
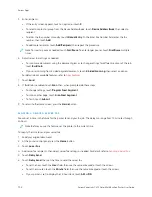
The printer scans your images to the root folder of the USB Flash drive.
13.
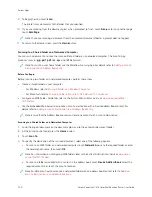
If you are scanning from the document glass, when prompted, to finish, touch D
Doonnee or to scan another page,
touch A
Adddd PPaaggee.
Note: If you are scanning a document from the automatic document feeder, a prompt does not appear.
W
Waarrnniinngg::
Do not remove the USB Flash drive while the device is scanning and processing the job. If you
remove the Flash drive before the transfer is complete, the file can become unusable and other files on the
drive can be damaged.
14.
To return to the Home screen, press the H
Hoom
mee button.
Xerox
®
VersaLink
®
C415 Color Multifunction Printer User Guide
137
Summary of Contents for VersaLink C415
Page 1: ...VERSION 1 0 JULY 2023 702P08981 Xerox VersaLink C415 Color Multifunction Printer User Guide...
Page 4: ...4 Xerox VersaLink C415 Color Multifunction Printer User Guide...
Page 220: ...220 Xerox VersaLink C415 Color Multifunction Printer User Guide Paper and Media...
Page 246: ...246 Xerox VersaLink C415 Color Multifunction Printer User Guide Maintenance...
Page 320: ...320 Xerox VersaLink C415 Color Multifunction Printer User Guide Recycling and Disposal...
Page 322: ...Apps Features 322 Xerox VersaLink C415 Color Multifunction Printer User Guide Apps Features...
Page 335: ......
Page 336: ......

