3.
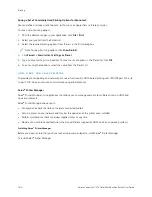
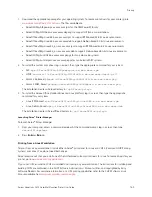
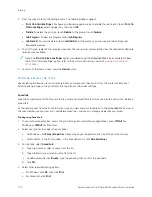
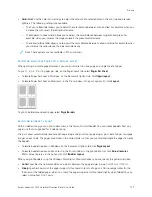
From the jobs list, touch the held job name. The following options appear:
• PPrriinntt O
Onn A
Alltteerrnnaattee PPaappeerr: To choose an alternative paper source to enable the job to print, touch PPrriinntt O
Onn
A
Alltteerrnnaattee PPaappeerr. Select a paper tray, then touch O
OKK.
• D
Deelleettee: To delete the print job, touch D
Deelleettee. At the prompt, touch D
Deelleettee.
• JJoobb PPrrooggrreessss: To view the progress, touch JJoobb PPrrooggrreessss.
• JJoobb D
Deettaaiillss: To view the details, touch JJoobb D
Deettaaiillss. At the prompt, you can view the Job Settings and
Required Resources.
4.
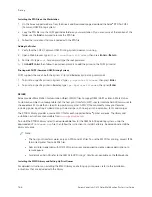
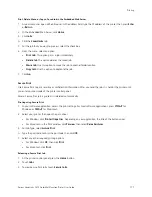
To print the job, replenish the resources required. The job resumes automatically when the required or alternate
resources are available.
Note: The PPrriinntt O
Onn A
Alltteerrnnaattee PPaappeerr option is enabled using the Embedded Web Server. For details about
the Print On Alternate Paper option, refer to the
System Administrator Guide
at
.
5.
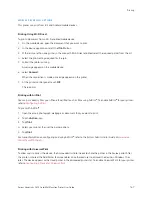
To return to the Home screen, press the H
Hoom
mee button.
P R I N T I N G S P E C I A L J O B T Y P E S
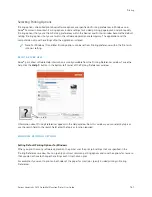
Special job types allow you to send a print job from your computer, then print it from the printer control panel.
Select special job types in the print driver, Printing Options tab, under Job Type.
Saved Job
Saved Jobs are documents that are sent to the printer and stored there for future use. All users can print or delete a
Saved Job.
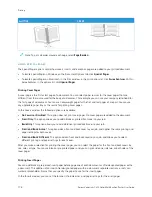
At the control panel, from the Print From menu, you can view and print saved jobs. In the Embedded Web Server, in
the Jobs window, you can view, print, and delete saved jobs, and you can manage where jobs are stored.
Printing using Saved Job
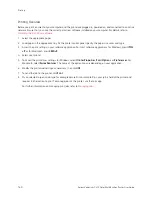
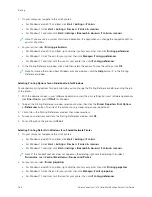
1.
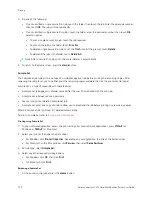
In your software application, access the print settings. For most software applications, press C
+PP for
Windows or C
CM
MD
D++PP for Macintosh.
2.
Select your printer, then open the print driver.
•
For Windows, click PPrriinntteerr PPrrooppeerrttiieess. Depending on your application, the title of the button can vary.
•
For Macintosh, in the Print window, in the print options list, click XXeerrooxx FFeeaattuurreess.
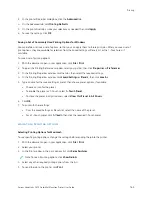
3.
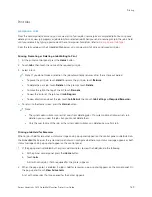
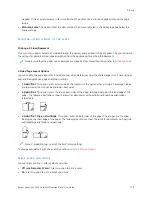
For Job Type, select SSaavveedd JJoobb.
a. Type a job name or select a name from the list.
b. Type a folder name or select a name from the list.
c. To add a passcode, click PPrriivvaattee, type the passcode, then confirm the passcode.
d. Click O
OKK.
4.
Select other required printing options.
• For Windows, click O
OKK, then click PPrriinntt.
• For Macintosh, click PPrriinntt.
170
Xerox
®
VersaLink
®
C415 Color Multifunction Printer User Guide
Summary of Contents for VersaLink C415
Page 1: ...VERSION 1 0 JULY 2023 702P08981 Xerox VersaLink C415 Color Multifunction Printer User Guide...
Page 4: ...4 Xerox VersaLink C415 Color Multifunction Printer User Guide...
Page 220: ...220 Xerox VersaLink C415 Color Multifunction Printer User Guide Paper and Media...
Page 246: ...246 Xerox VersaLink C415 Color Multifunction Printer User Guide Maintenance...
Page 320: ...320 Xerox VersaLink C415 Color Multifunction Printer User Guide Recycling and Disposal...
Page 322: ...Apps Features 322 Xerox VersaLink C415 Color Multifunction Printer User Guide Apps Features...
Page 335: ......
Page 336: ......

