Creating and Saving Custom Sizes for Macintosh
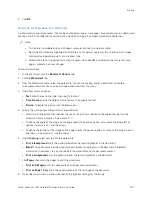
1.
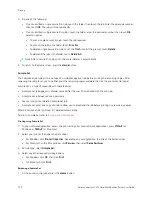
In the application, click FFiillee >> PPrriinntt.
2.
Click PPaappeerr SSiizzee, then select M
Maannaaggee C
Cuussttoom
m SSiizzeess.
3.
To add a new size, in the Manage Paper Sizes window, click the plus sign ( ++).
4.
Double-click U
Unnttiittlleedd, then type a name for the new custom size.
5.
Enter the height and width of the new custom size.
6.
Click the arrow for the Non-Printable Area field, then select the printer from the list. Or, for User Defined
margins, set the top, bottom, right, and left margins.
7.
To save the settings, click O
OKK.
Defining a Custom Paper Size at the Control Panel
You can print custom-size paper from Trays 1–3 and Bypass Tray. If Trays 1–3 are set to Fully Adjustable mode, you
can print custom-size paper from Trays 1–3. The Bypass tray is always set to Adjustable mode. Custom-size paper
settings are saved in the print driver and are available for you to select in all your applications.
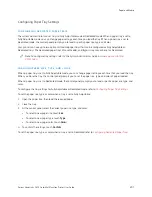
Note: To configure the tray settings for Fully Adjustable or Dedicated mode, refer to
.
1.
Open the paper tray, then load the custom-size paper.
2.
Close the tray.
3.
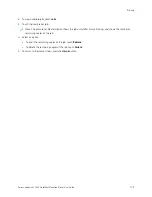
At the control panel, to define the new paper size, touch SSiizzee, then touch C
Cuussttoom
m.
4.
In the Custom Paper Size window, enter the height and width of the new paper size, then touch O
OKK.
5.
To confirm the settings, touch C
Coonnffiirrm
m.
P R I N T I N G O N C U S TO M - S I Z E PA P E R
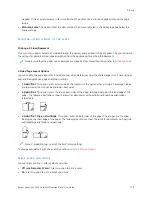
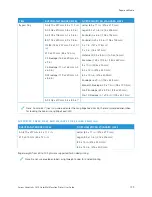
Note: Before you print on custom-size paper, define the custom width and length of the paper in the print
driver software and on the printer control panel. For more information, refer to
.
Printing on Custom-Size Paper from the Windows V3 Print Driver
Note: Before you print on custom-size paper, define the custom size in the Printer Properties. For details, refer
to
Creating and Saving Custom Sizes for the Windows V3 Print Driver
1.
Load the custom-size paper in the tray.
2.
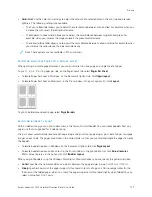
In the application, click FFiillee >> PPrriinntt, then select your printer.
3.
In the Print dialog box, click PPrriinntteerr PPrrooppeerrttiieess.
4.
On the Printing Options tab, from the Paper list, select the required custom paper size and type.
5.
Select any other required options, then click O
OKK.
6.
In the Print dialog box, click PPrriinntt.
186
Xerox
®
VersaLink
®
C415 Color Multifunction Printer User Guide
Summary of Contents for VersaLink C415
Page 1: ...VERSION 1 0 JULY 2023 702P08981 Xerox VersaLink C415 Color Multifunction Printer User Guide...
Page 4: ...4 Xerox VersaLink C415 Color Multifunction Printer User Guide...
Page 220: ...220 Xerox VersaLink C415 Color Multifunction Printer User Guide Paper and Media...
Page 246: ...246 Xerox VersaLink C415 Color Multifunction Printer User Guide Maintenance...
Page 320: ...320 Xerox VersaLink C415 Color Multifunction Printer User Guide Recycling and Disposal...
Page 322: ...Apps Features 322 Xerox VersaLink C415 Color Multifunction Printer User Guide Apps Features...
Page 335: ......
Page 336: ......

