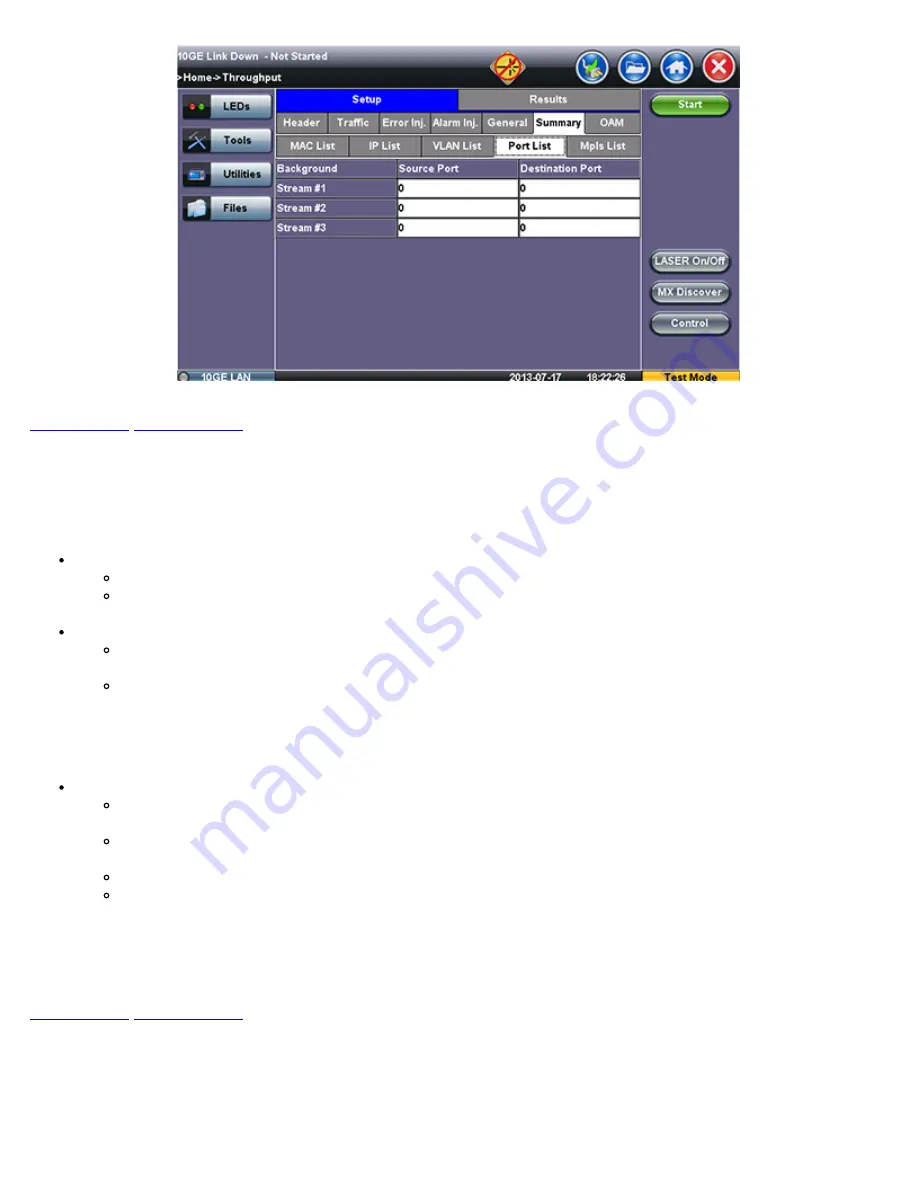
15.5.1.8 Starting/Stopping a Throughput (Multiple Streams) Test
Once all configurations have been made, the user can start the Throughput test (press the
Start
icon on the top right section of
the screen). The following are three scenarios of how to prepare and start the unit for Throughput testing.
Note:
If testing on the fiber ports, make sure the LASER is turned On before starting the test.
End-to-End Testing
Connect the TX300/e to another MX or TX unit that supports BERT testing
After configuring test settings on both units, start the tests
Far-End Unit in Manual Loopback Mode
If the far-end unit (another MX) is already in a manual loopback mode, do not send a loop up command since it is
not necessary
Once the correct control settings are configured, the user can start the test
The selected tests will run automatically. When all the tests are complete the test will stop automatically. If the Throughput test
suite needs to be stopped before they are done, then simply press the
Stop
button, located in the actions drop-down menu. The
status of each selected test can be seen in the Results tab.
Far-End Unit Controlled with Loop Up/Down Commands
If the far-end unit is not manually looped back, then it must first receive a loop up command from the control unit
before the Throughput test suite can be started
To loop up the far-end unit with the manual mode loop up/down commands, configure the control settings mode to
manual
Enter the MAC and/or IP address of the far-end unit
Send the loop up command by pressing
Loop Up
Once the far-end unit has been looped back, start the test by pressing the
Start
button. When the all of the selected test are
completed, the Throughput test suite will stop automatically. Once all tests have been completed and there is no need to test
again, go back to the Control tab, and press the
Loop Down
button. This will send a loop down command to the far-end unit to
remove the loopback that is in place.
15.5.2 Throughput Results
15.5.2.1 Viewing Throughput (Multiple Streams) Test Results
When the test is first started, the screen automatically changes to the Global/Aggregate results screen.
15.5.2.2 Global/Aggregate Results
TX300S_e-manual_D07-00-064P_RevA00
Summary of Contents for VePAL TX300M
Page 1: ...TX300S_e manual_D07 00 064P_RevA00...
Page 12: ...23 0 About VeEX Go back to top TX300S_e manual_D07 00 064P_RevA00...
Page 29: ...Go back to top Go back to TOC TX300S_e manual_D07 00 064P_RevA00...
Page 47: ...Go back to top Go back to TOC TX300S_e manual_D07 00 064P_RevA00...
Page 58: ...Go back to top Go back to TOC TX300S_e manual_D07 00 064P_RevA00...
Page 61: ...Tx Structure Setup Graphical Mode Tx Payload Setup TX300S_e manual_D07 00 064P_RevA00...
Page 71: ...Go back to top Go back to TOC TX300S_e manual_D07 00 064P_RevA00...
Page 92: ...TX300S_e manual_D07 00 064P_RevA00...
Page 126: ...TX300S_e manual_D07 00 064P_RevA00...
Page 182: ...Go back to top Go back to TOC TX300S_e manual_D07 00 064P_RevA00...
Page 220: ...Pattern Setup Results Errors Alarms TX300S_e manual_D07 00 064P_RevA00...
Page 260: ...TX300S_e manual_D07 00 064P_RevA00...
Page 261: ...Go back to top Go back to TOC Errors Alarms Page 2 TX300S_e manual_D07 00 064P_RevA00...
Page 369: ...OAM LMM Parameters OAM Service DMM OAM DMM Message TX300S_e manual_D07 00 064P_RevA00...
Page 374: ...Go back to top Go back to TOC TX300S_e manual_D07 00 064P_RevA00...


