9B-7 Lighting Systems:
Reversing Light Bulb Replacement (For P-17)
B831G29206012
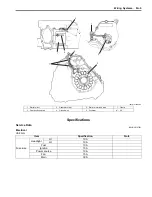
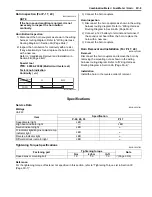
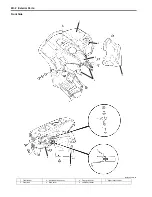
Remove the reversing light bulb (1) as shown in the figure.
Reversing Light Relay Inspection (For P-17)
B831G29206013
First, check the insulation between “A” and “B” terminals
with the multi-circuit tester. Then apply 12 V to terminals
“C” and “D” ((+) to “C” and (–) to “D”) and check the
continuity between “A” and “B”. If there is no continuity,
replace the reversing light relay with a new one.
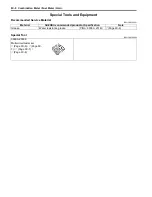
Special tool
: 09900–25008 (Multi-circuit tester set)
Tester knob indication
Continuity (
)
Dimmer Switch Inspection
B831G29206014
Inspect the dimmer switch in the following procedures:
1) Remove the left inner fender. Refer to “Front Side
Exterior Parts Removal and Installation in Section
9D (Page 9D-6)”.
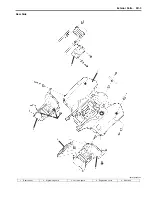
2) Disconnect the handlebar switch coupler (1).
3) Inspect the dimmer switch for continuity with a tester.
If any abnormality is found, replace the handlebar
switch assembly with a new one.
Refer to “Handlebars Removal and Installation in
Section 6B (Page 6B-3)”.
Special tool
: 09900–25008 (Multi-circuit tester set)
Tester knob indication
Continuity (
)
4) After finishing the dimmer switch inspection, reinstall
the removed parts.
1
I831G1920025-03
1. Reversing light bulb (12 V/21 W)
“A”
“B”
“C”
“D”
I831G1920028-01
1
I831G1920026-01
Position
Color
Gr
W
Y
HI
LO
I831G1920027-01
Summary of Contents for 2009 LT-A750XK9
Page 2: ......
Page 4: ......
Page 5: ...SUPPLEMENTS L LT A750XK9 09 MODEL 10 LT A750XPK9 09 MODEL 11 ...
Page 29: ...0A 15 General Information 99565 01010 013 CD ROM Ver 13 ...
Page 57: ...0B 28 Maintenance and Lubrication 09915 40610 Oil filter wrench Page 0B 12 Page 0B 12 ...
Page 68: ...0C 11 Service Data ...
Page 310: ...1K 5 Exhaust System ...
Page 482: ...4D 6 Parking Brake ...
Page 528: ...6B 13 Steering Handlebar ...
Page 581: ......


