


1D-53 Engine Mechanical:
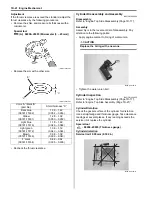
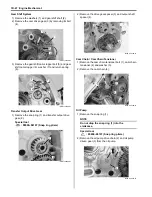
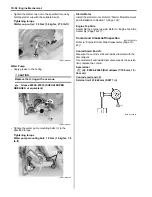
• Tighten the crankcase bolts a little at a time to
equalize the pressure.
• Tighten the crankcase bolts to the specified torque.
NOTE
• Tighten the larger diameter crankcase
bolts first and then smaller ones
diagonally and evenly.
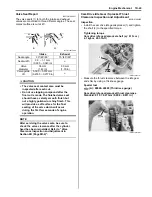
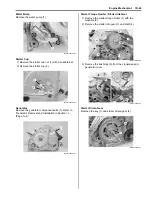
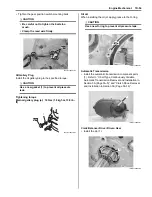
• Fit the cramp to the bolt “A”.
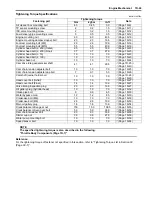
Tightening torque
Crankcase bolt (M6): 10 N·m (1.0 kgf-m, 7.0 lb-ft)
Crankcase bolt (M8): 26 N·m (2.6 kgf-m, 19.0 lb-ft)
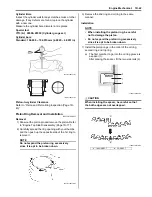
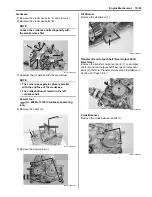
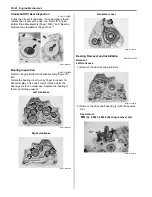
• After the crankcase bolts have been tightened, check
if the each shaft rotate smoothly.
• Apply grease to the O-ring.
CAUTION
!
Use the new O-ring to prevent oil leakage.
: Grease 99000–25010 (SUZUKI SUPER
GREASE A or equivalent)
• Install the collar (2).
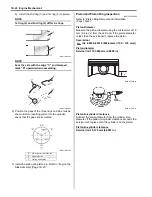
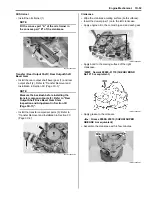
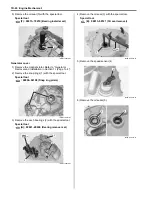
Gear Position Switch
• Install each gear shift switch contact and spring.
• Apply grease to the O-ring.
CAUTION
!
Replace the O-ring with a new one.
: Grease 99000–25010 (SUZUKI SUPER
GREASE A or equivalent)
“A”
I831G1140253-01
I831G1140255-01
I831G1140256-02
2
I831G1140258-03
I831G1140260-01
Summary of Contents for 2009 LT-A750XK9
Page 2: ......
Page 4: ......
Page 5: ...SUPPLEMENTS L LT A750XK9 09 MODEL 10 LT A750XPK9 09 MODEL 11 ...
Page 29: ...0A 15 General Information 99565 01010 013 CD ROM Ver 13 ...
Page 57: ...0B 28 Maintenance and Lubrication 09915 40610 Oil filter wrench Page 0B 12 Page 0B 12 ...
Page 68: ...0C 11 Service Data ...
Page 310: ...1K 5 Exhaust System ...
Page 482: ...4D 6 Parking Brake ...
Page 528: ...6B 13 Steering Handlebar ...
Page 581: ......


