6B-5 Steering / Handlebar:
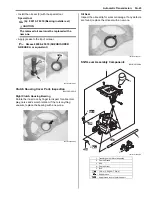
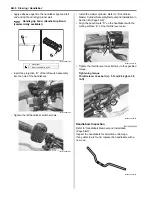
• Apply adhesive agent to the handlebar right and left
end and right and left grip inner wall.
: Handle grip bond (Handle Grip Bond
(commercially available))
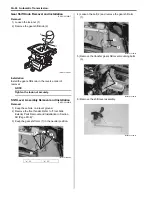
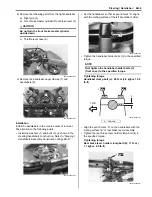
• Insert the projection “D” of the left switch assembly
into the hole of the handlebars.
• Tighten the left handlebar switch screws.
• Install the master cylinder. Refer to “Front Brake
Master Cylinder Assembly Removal and Installation in
Section 4A (Page 4A-9)”.
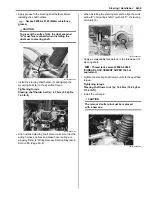
• Align the punch mark “D” on the handlebars with the
mating surface “E” of the throttle lever case.
• Tighten the throttle lever case bolts (6) to the specified
torque.
Tightening torque
Throttle lever case bolt (c): 5 N·m (0.5 kgf-m, 3.5
lb-ft)
Handlebars Inspection
B831G26206004
Refer to “Handlebars Removal and Installation
(Page 6B-3)”.
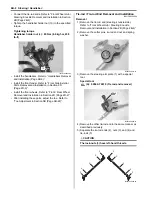
Inspect the handlebars for distortion or damage.
If any defects are found, replace the handlebars with a
new one.
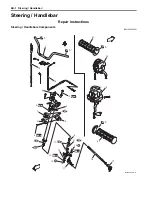
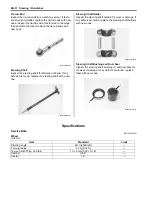
5. Handlebar
“C”: Apply handle grip bond.
“C”
“C”
5
I831G1620014-02
“C”
I831G1620015-02
I831G1620016-01
“D”
“E”
I831G1620017-03
(c)
6
I831G1620018-03
I831G1620019-02
Summary of Contents for 2009 LT-A750XK9
Page 2: ......
Page 4: ......
Page 5: ...SUPPLEMENTS L LT A750XK9 09 MODEL 10 LT A750XPK9 09 MODEL 11 ...
Page 29: ...0A 15 General Information 99565 01010 013 CD ROM Ver 13 ...
Page 57: ...0B 28 Maintenance and Lubrication 09915 40610 Oil filter wrench Page 0B 12 Page 0B 12 ...
Page 68: ...0C 11 Service Data ...
Page 310: ...1K 5 Exhaust System ...
Page 482: ...4D 6 Parking Brake ...
Page 528: ...6B 13 Steering Handlebar ...
Page 581: ......


