1-53
BEFORE USING THE MACHINE
Contents
7
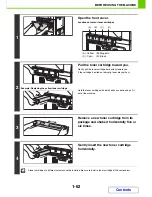
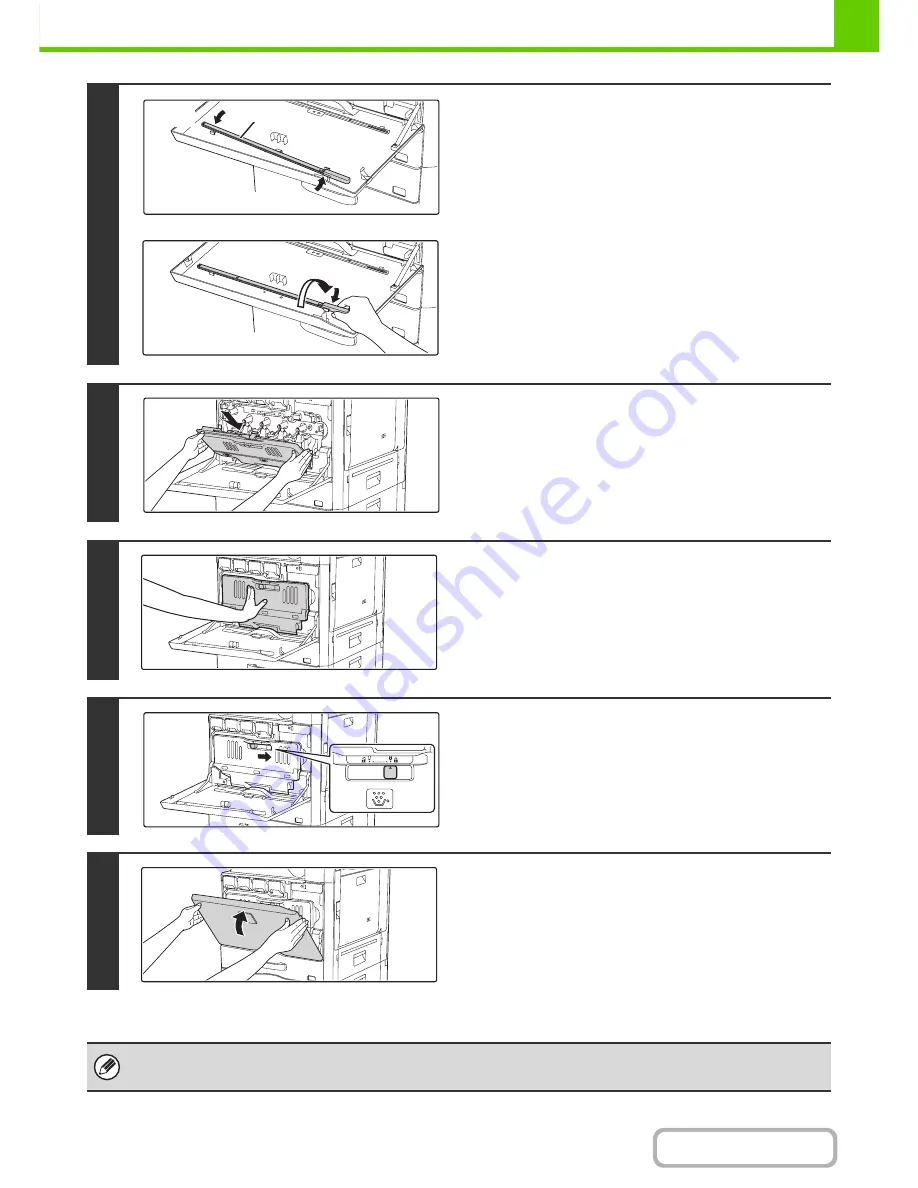
Replace the charger cleaner in its
original position.
(1) Rotate the charger cleaner after putting it
on the boss and hook its edge (the side that
does not have a handle) to the claw on the
left side.
(2) Place the right-hand side of the charger
cleaner on the inner side, spread across the
top of the claw.
(3) Hook the charger cleaner to the claw.
8
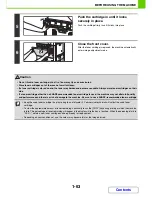
Mount the waste toner box.
Insert it in a direction slanting from the top towards the bottom.
(A direction opposite to that at the time of mounting it.)
9
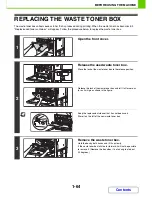
Push the waste toner box into the
machine.
Push the waste toner box firmly in until it clicks into place.
10
Lock the waste toner box.
Move the lock of the waste toner box to the lock position.
11
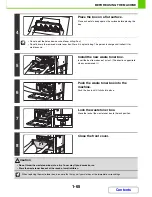
Close the front cover.
• If this does not solve the problem, pull the knob out and push it back in 3 more times.
• When pulling and pushing the knob to clean the charger, pull and push the knob slowly from one end to the other.
(1)
Boss
(2)
(3)
Summary of Contents for MX-2010U
Page 11: ...Conserve Print on both sides of the paper Print multiple pages on one side of the paper ...
Page 35: ...Organize my files Delete a file Delete all files Periodically delete files Change the folder ...
Page 283: ...3 19 PRINTER Contents 4 Click the Print button Printing begins ...
Page 832: ...MX2010 EX ZZ Operation Guide MX 2010U MX 2310U MODEL ...


