Robotiq CN C M achine Tending Kit Instruction M anual
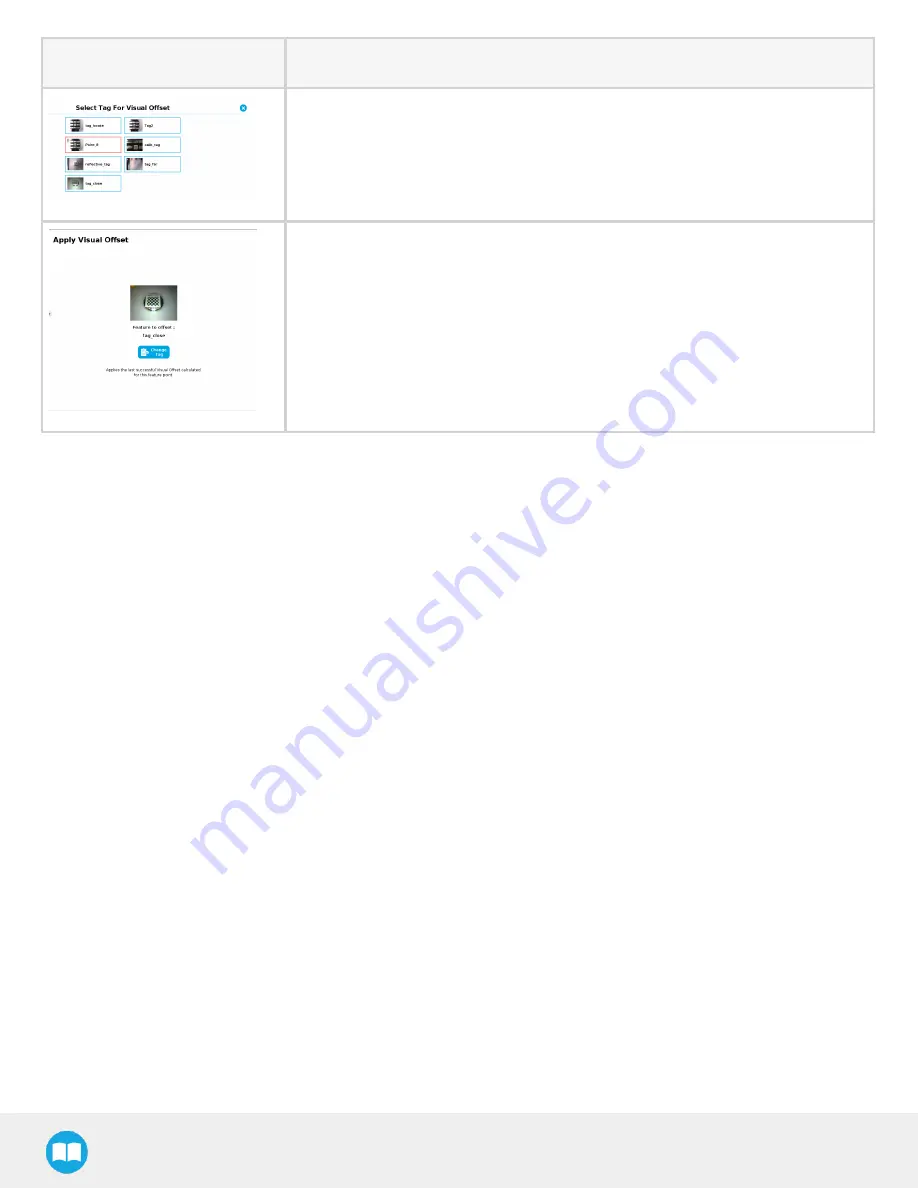
3. The " Select Tag For Visual Offset" window is displayed. Tap the tag you wish to
use for your Apply Visual Offset node.
4. A tag is selected for the Apply Visual Offset node.
After inserting this node into your robot program, create the rest of your program under the Apply Visual Offset node. All robot moves
will be adjusted based on the value injected by this node.
6.4. Save Image Node
You can take pictures with the Wrist Camera in the course of a robot program, and save them to a USB stick. This node is
complementary to theWrist Camera URCap nodes.
Since saving an image can take up to five seconds for high-definition images, this node might slow down your cycle time. We
recommend using the Save Image node under " if_not_found" conditions. The picture taken can then be used either as an alternative
means to collect data (e.g. for barcodes that could not be read or when no object is detected using a Cam Locate node), or as a quality
assurance tool to document difficulties, and improve your process in the future. Those uses are but suggestions. Please use the Save
Image node as it best suits your needs.
114
Summary of Contents for CNC Machine Tending Kit
Page 2: ...Robotiq CNC Machine Tending Kit Instruction Manual 2...
Page 13: ...Robotiq CNC Machine Tending Kit Instruction Manual Fig 1 11 Wrist Camera hardware 13...
Page 139: ...Robotiq CNC Machine Tending Kit Instruction Manual 1 3 3 IngressProtection Certificate 139...
Page 141: ......
Page 143: ...Robotiq CNC Machine Tending Kit Instruction Manual 1 5 2 IngressProtection Certificate 143...


