Robotiq CN C M achine Tending Kit Instruction M anual
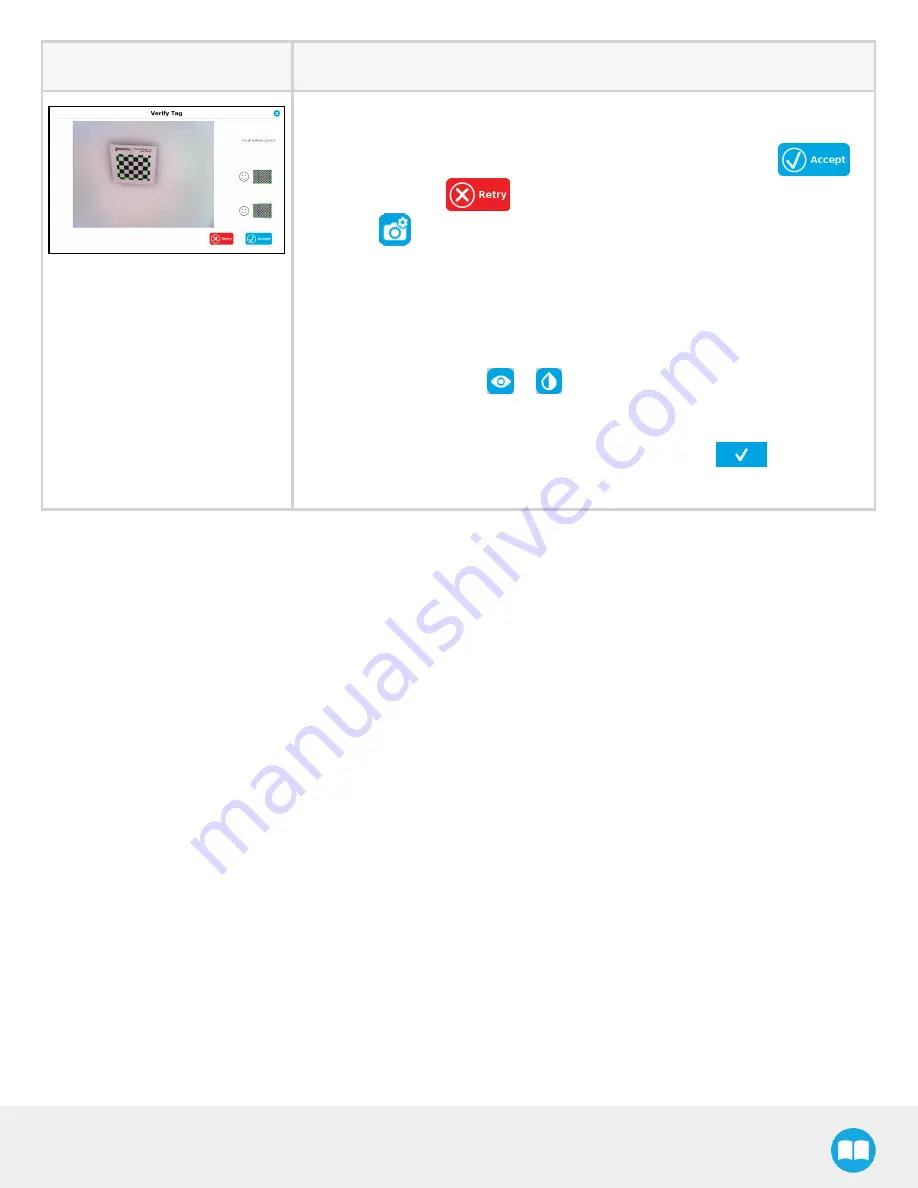
7. The " Verify Tag" windows is displayed. The half-squares must be outside of
the green-bordered area shown on your tag. All fully formed squares must be
inside the green-bodered area. If these two conditions are met, tap
.
Otherwise, tap
. You will go back to the " Define A New Tag" window.
Tap
, then adjust parameters from the " Configure Camera" window in the
following ways to enhance tag definition.
l
Turn off LED lighting.
l
Increase Exposure Sensitivity to 6EV.
l
Manually focus your Wrist Camera to obtain a crisp tag image.
l
To know exactly what your Wrist Camera sees, toggle the vision mode
(default mode is
) to
. This should make the tag squares stand out.
If they are blurry or incomplete, adjust the Wrist Camera parameters until
their shapes are all fully displayed on the Teach Pendant.
l
When you are satisfied with the image onscreen, tap
. Proceed as
previously instructed to attempt to define your tag.
6.3.2. Using a Tag in a Robot Program
Once a tag has been defined, you can start creating yourrobot program. The tag can serve as a reference point for moves in your
program. Even if the tag moves (i.e. it is" offset" ), the Wrist Camera can find its new location (see section Find Visual Offset and Apply
Visual Offset Nodes, and Defining Tags), and quickly adjust your moves based on the value of the offset (see section Find Visual Offset
and Apply Visual Offset Nodes, and Defining Tags).
Here is an example of a robot program using a tag and the nodes Find Visual Offset and Apply Visual Offset.
Summary of Contents for CNC Machine Tending Kit
Page 2: ...Robotiq CNC Machine Tending Kit Instruction Manual 2...
Page 13: ...Robotiq CNC Machine Tending Kit Instruction Manual Fig 1 11 Wrist Camera hardware 13...
Page 139: ...Robotiq CNC Machine Tending Kit Instruction Manual 1 3 3 IngressProtection Certificate 139...
Page 141: ......
Page 143: ...Robotiq CNC Machine Tending Kit Instruction Manual 1 5 2 IngressProtection Certificate 143...


