User's Manual PNVR500 series
53
<OFF>, this function will be disabled.
> DISK FORMAT : format the hard disk.
! Note that formatting the HDD will delete all video data and logs.
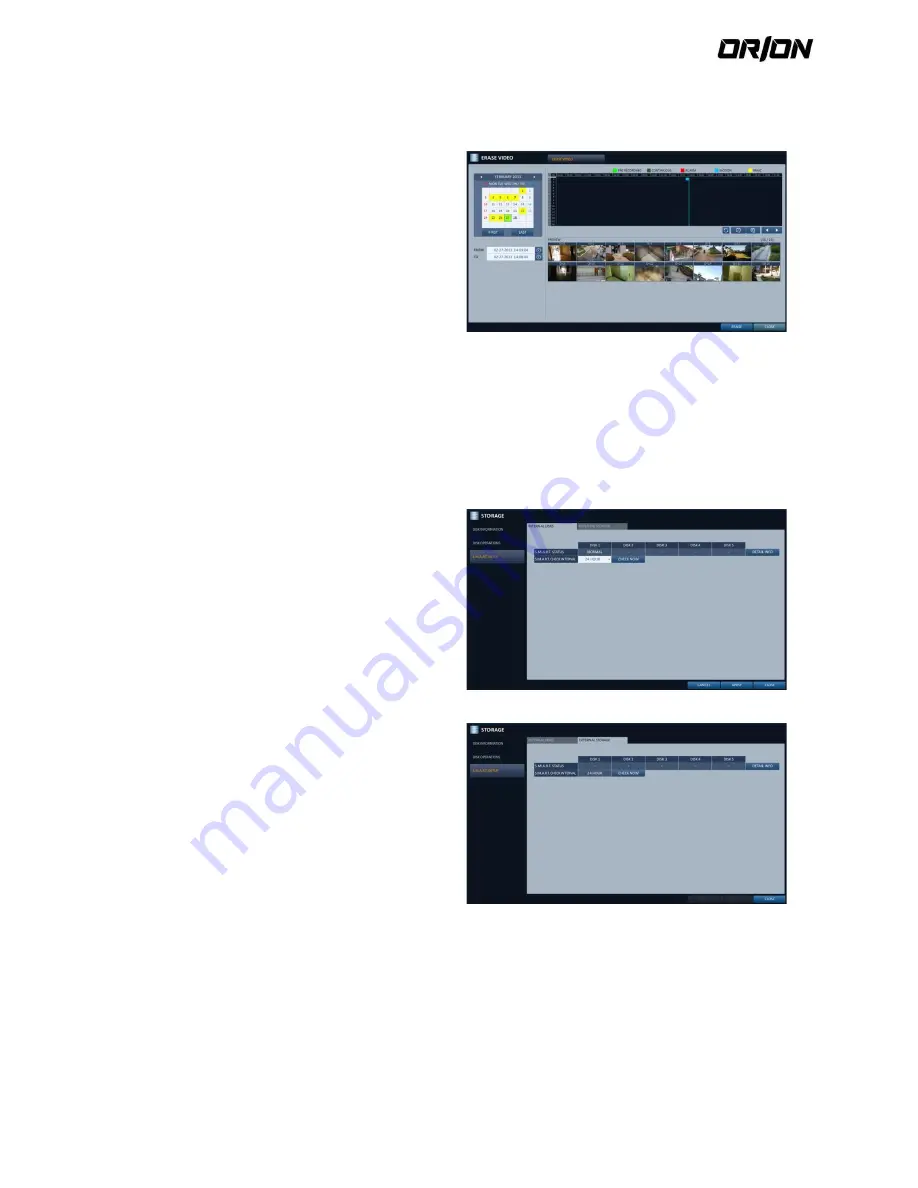
ERASE VIDEO : You can delete all or part of
stored video. Click <ERASE> to move to “ERASE
VIDEO” menu. Set the beginning and ending
time and click <ERASE> button to delete video of
selected time range.
3.
To apply the change, click <APPLY> in the bottom of
the screen.
4.
When done, press the [EXIT] button on the remote
control or click <CLOSE> in the lower screen to return
to the previous menu.
S.M.A.R.T settings
4.8.3.
You can check the S.M.A.R.T information of the disk and specify the check frequency.
- What is S.M.A.R.T information?
S.M.A.R.T (Self-Monitoring, Analysis and Report Technology) is to detect a HDD that is likely to cause a problem
in the future with a warning message.
1.
From <SYSTEM SETUP> - <STORAGE>, select
<S.M.A.R.T. SETUP>.
2.
Use the [
▲▼◀▶
/ENTER] buttons on the remote
control or use the mouse to check the S.M.A.R.T
operation and specify the check interval.
> S.M.A.R.T STATUS : Read the S.M.A.R.T information
of the disk and check to display if the current disk is
in normal operation. Click <DETAIL INFO> to view the
details.
- NORMAL : The disk is in a normal state.
- CHECK : The disk has an error so that you need to
check the disk or the connection cables of the disk. If
you leave the problem unresolved, no recording may
be enabled. So it is recommended that you replace
the disk immediately.
- ERROR : The disk fails or is unable to use due to an
error of the disk or the cable. The disk should be
replaced immediately. Contact the retailer or the
customer service to replace the disk.
> S.M.A.R.T CHECK INTERVAL : Specify the S.M.A.R.T
check interval. Click <CHECK NOW> to start checking.
3.
To apply the change, click <APPLY> in the bottom of
the screen.
4.
When done, press the [EXIT] button on the remote
control or click <CLOSE> in the lower screen to return
to the previous menu.


