User's Manual PNVR500 series
31
Digital Zooming
3.1.6.
You can enlarge the monitoring screen for better view.
Zooming will enlarge the video of the selected channel. If no channel is selected, channel 1 will be zoomed.
1.
Click Zoom in the status bar or move the cursor to a
desired channel and right-click it to display the
context menu. Select <ZOOM>. You can also press
the [ZOOM] button on the remote control.
2.
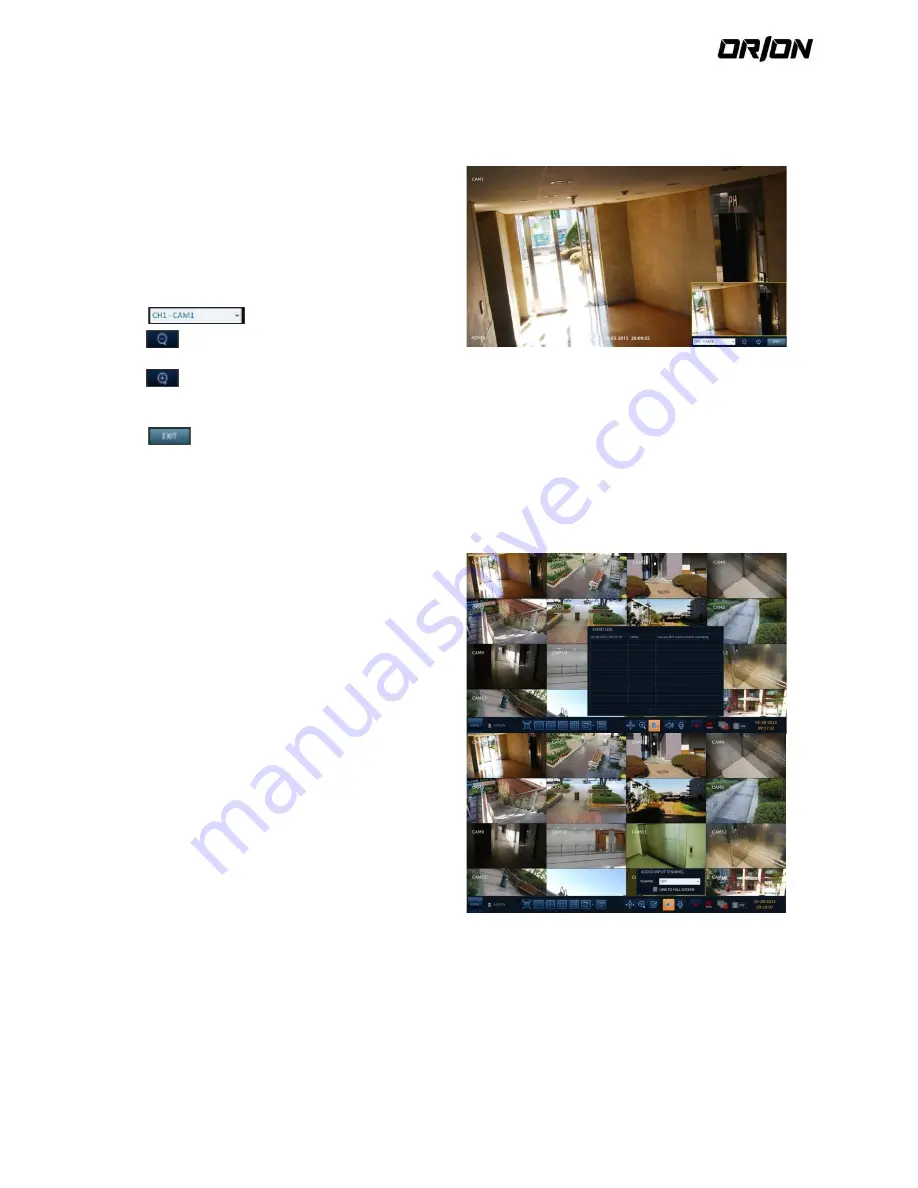
Move to the zoom control screen. When the menu
bar appears in the right bottom, use the buttons to
control the zooming.
: Select a channel to zoom in/out.
: Zoom out the current (enlarged) image step
by step.
: Enlarge the current image step by step.
Zoom Box : Use the yellow box to move to or select a
desired zooming area.
: Exit the zooming screen and return to the
live screen.
By its nature, digital zooming which interpolates original
image to have it enlarged, it may produce less clear
image compared to the original.
For clearer zooming, it is recommended to use a camera
that supports optical zooming.
To check the event log
You can check the log of the events that occurred.
1.
Click Log to display the “EVENT LOG” window.
The log list is sorted with the latest one on top.
2.
Double-click a desired log to display the event video.
You will move to the play screen of the selected log.
To select an audio input channel
Select a channel from which the audio signal will be
received.
>CHANNEL : Produces the selected channel’s audio,
regardless of the split screen mode.
>LINK TO FULL SCREEN : When switching the NVR
display mode to view one channel (Single Split), it
produces the selected channel’s audio.
ν A camera supports audio input should be used, and the
NVR is connected to a speaker.


