User's Manual PNVR500 series
37
Motion area Setup
4.2.6.
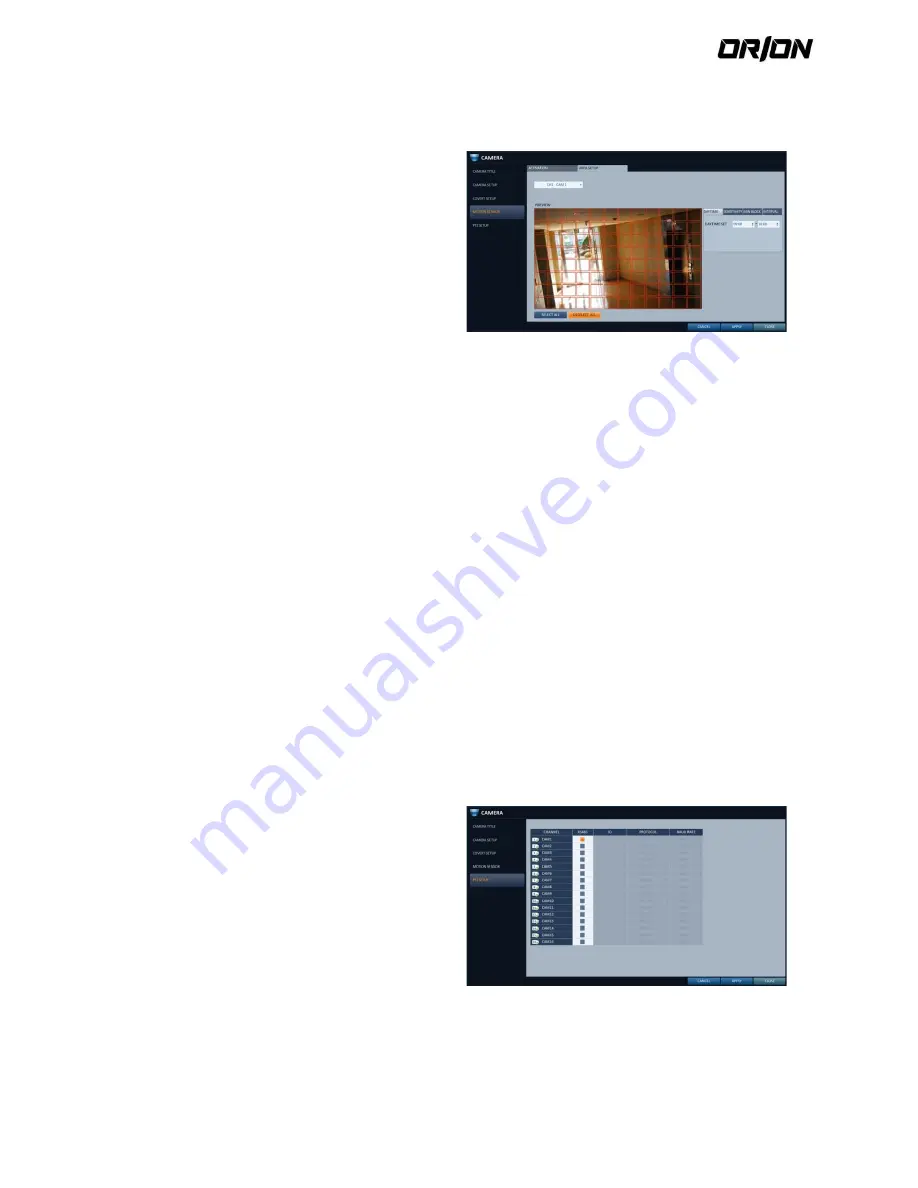
Setting the motion area may differ depending on the camera model. Below is a typical setting of the motion area.
1.
Click <AREA SETUP> to move to the motion area
setup screen.
2.
Select a channel to define a motion detection area.
3.
Use the arrow buttons to move to a desired block
and press [ENTER]. The area setup will begin. Then,
use the arrow buttons to specify the area.
Alternatively, you can use the drag-and-drop method
to specify or release the area as using mouse.
4.
If you select the specified area again, it will be
released.
5.
You can set the channel’s detection period for day
and night, sensitivity, minimum number of blocks
and interval.
> DAYTIME : specify the time period that will be
considered as daytime.
> SENSITIVITY : Sets the sensitivity level for detection
during the day time or night time. The higher the
level, the higher the detection sensitivity.
> MIN BLOCK : 1(High) ~ 10(Low) - The lower the
number is, the higher the sensitivity level becomes.
> INTERVAL : A detected motion may trigger events
continuously; set the interval to ignore such
unnecessary trailing events.
> SELECT ALL : Select all area as motion detect area.
> DESELECT ALL : Deselect all selected area.
Images recorded in a low contrast scene such as at
night cause severe noise, triggering the motion event
too often.
If this is the case, reduce the nighttime sensitivity to
a degree.
! The above options such as <SENSITIVITY> and
<MINIMUM BLOCKS> and how to set the motion
area may be restricted depending on the
specification of the connected camera.
PTZ Settings
4.2.7.
You can set the camera ID, protocol, baud rate and data transmission speed for each channel.
1.
From <SYSTEM SETUP> - <CAMERA>, select <PTZ
SETUP>.
2.
Use [
▲▼◀▶
/ENTER] buttons of the remote
control or mouse to set the address (ID), protocol
and data transmission speed for each channel.
! RS-485 : You can manually configure RS-485
communication connection to the pan/tilt base (PT
driver) of IP Box type camera or motorized zoom
lens. Check to enable editing <ID>, <PROTOCOL> and
<BAUD RATE> submenu items.
IP PTZ cameras and others that transfers PTZ control
signal over IP network require no separate settings.
3.
To apply the change, click <APPLY> in the bottom of
the screen. Once clicked < APPLY > button after
changing settings, a restarting message pops up.


