Procedure
1.
From the User Interface, deselect the lamp icon to turn the lamps off and allow to cool for 5
minutes.
2.
Click on the Maintenance Tab and then select UV Bulb Replacement from the Maintenance Tools
in the upper right side of the display.
NOTE
Accessing the Replace UV Bulb window will open the lamp assembly shutters so that
the bulbs will be easily accessible later in this procedure.
3.
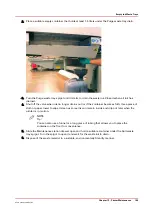
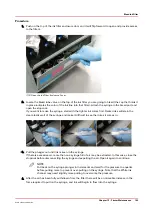
Lift and remove the safety guard from the carriage.
NOTE
When the carriage guard is removed, the carriage will raise and the green beacon will
go off.
4.
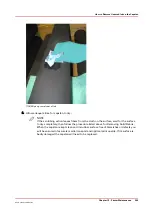
Lift the magnetic lamp filter cover off of the lamp housing.
Change Both UV Lamp Bulbs
196
Chapter 12 - Printer Maintenance
Océ Arizona 1200 Series
Summary of Contents for arizona 1240 GT
Page 1: ...User guide Oc Arizona 1200 Series Revision 3010121377...
Page 6: ...Contents 6 Oc Arizona 1200 Series...
Page 7: ...Chapter 1 Introduction...
Page 11: ...Chapter 2 Product Compliance...
Page 15: ...Chapter 3 Safety Information...
Page 34: ...Roll Media Safety Awareness 34 Chapter 3 Safety Information Oc Arizona 1200 Series...
Page 35: ...Chapter 4 How to Navigate the User Interface...
Page 56: ...Software Update Module 56 Chapter 4 How to Navigate the User Interface Oc Arizona 1200 Series...
Page 57: ...Chapter 5 How to Operate Your Oc Arizona Printer...
Page 78: ...Media Registration 78 Chapter 5 How to Operate Your Oc Arizona Printer Oc Arizona 1200 Series...
Page 79: ...Chapter 6 Operating the Oc Arizona 1200 XT...
Page 85: ...Chapter 7 Roll Media Option...
Page 109: ...Chapter 8 Static Suppression Option...
Page 113: ...Chapter 9 How to Manage a White Ink Workflow...
Page 157: ...Chapter 10 Ink System Management...
Page 161: ...Chapter 11 Troubleshooting...
Page 163: ...Chapter 12 Printer Maintenance...
Page 207: ...Appendix A Application Information...


