8.
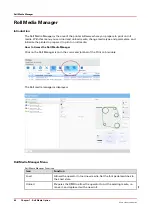
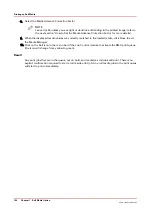
Select the Media Advance Correction Factor
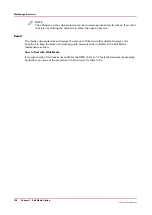
NOTE
Leave it at 50 unless you see light or dark lines of banding in the printed image (refer to
the next section "How to Set the Media Advance Correction Factor for more details).
9.
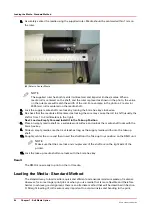
When the displayed media values are correctly matched to the loaded media, click Close to exit
the Media Manager.
10.
Click on the Roll icon in the menu bar of the Job Control module to activate the RMO print queue
(the icon will change from yellow to green).
Result
Any print jobs that are in the queue, not on hold, and marked as roll jobs will print. There is no
explicit confirmation required to start a roll media print job. Any roll media jobs in the print queue
will start to print immediately.
Printing on Roll Media
104
Chapter 7 - Roll Media Option
Océ Arizona 1200 Series
Summary of Contents for arizona 1240 GT
Page 1: ...User guide Oc Arizona 1200 Series Revision 3010121377...
Page 6: ...Contents 6 Oc Arizona 1200 Series...
Page 7: ...Chapter 1 Introduction...
Page 11: ...Chapter 2 Product Compliance...
Page 15: ...Chapter 3 Safety Information...
Page 34: ...Roll Media Safety Awareness 34 Chapter 3 Safety Information Oc Arizona 1200 Series...
Page 35: ...Chapter 4 How to Navigate the User Interface...
Page 56: ...Software Update Module 56 Chapter 4 How to Navigate the User Interface Oc Arizona 1200 Series...
Page 57: ...Chapter 5 How to Operate Your Oc Arizona Printer...
Page 78: ...Media Registration 78 Chapter 5 How to Operate Your Oc Arizona Printer Oc Arizona 1200 Series...
Page 79: ...Chapter 6 Operating the Oc Arizona 1200 XT...
Page 85: ...Chapter 7 Roll Media Option...
Page 109: ...Chapter 8 Static Suppression Option...
Page 113: ...Chapter 9 How to Manage a White Ink Workflow...
Page 157: ...Chapter 10 Ink System Management...
Page 161: ...Chapter 11 Troubleshooting...
Page 163: ...Chapter 12 Printer Maintenance...
Page 207: ...Appendix A Application Information...

