Voyager Reference Guide
167
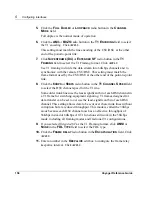
Configuring an E1 Interface for PPP
1.
Click
C
ONFIG
on the home page.
2.
Click the
Interfaces
link.
3.
Click the physical interface link you want to configure in the
P
HYSICAL
column.
Example
—
ser-s2p1
4.
(Optional) Click
O
N
or
O
FF
in the
I
NTERNAL
C
LOCK
field to set the
internal clock on the E1 device. Click
A
PPLY
.
If you’re connecting to a device or system that does not provide a clock
source, set
I
NTERNAL
C
LOCK
to
O
N
; otherwise, set it to
O
FF
. Internal
clocking for E1 is fixed at 2.048 Mbits/sec. To configure slower speeds,
you must configure fractional E1 on the
Advanced E1 CSU/DSU Options
page.
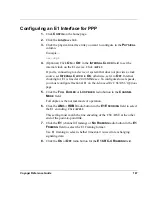
5.
Click the
F
ULL
D
UPLEX
or
L
OOPBACK
radio button in the
C
HANNEL
M
ODE
field.
Full duplex is the normal mode of operation.
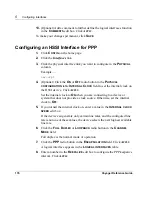
6.
Click the
AMI
or
HDB3
radio button in the
E1 E
NCODING
field to select
the E1 encoding. Click
A
PPLY
.
This setting must match the line encoding of the CSU/DSU at the other
end of the point-to-point link.
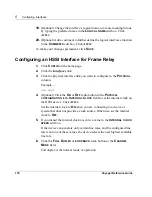
7.
Click the
E1
(channel 0 framing) or
N
O
F
RAMING
radio button in the
E1
F
RAMING
field to select the E1 Framing format.
Use E1 framing to select whether timeslot-0 is used for exchanging
signaling data.
8.
Click the
O
N
or
O
FF
radio button for the
E1 CRC-4 F
RAMING
field.
Summary of Contents for Network Voyager
Page 1: ...Voyager Reference Guide Part No N450820002 Rev A Published December 2003 ...
Page 4: ...4 Voyager Reference Guide ...
Page 30: ...2 How to Use Voyager 30 Voyager Reference Guide ...
Page 32: ...3 Command Line Utility Files 32 Voyager Reference Guide ...
Page 220: ...5 Configuring Interfaces 220 Voyager Reference Guide ...
Page 446: ...7 Configuring Traffic Management 448 Voyager Reference Guide ...
Page 618: ...10 Configuring Security and Access 620 Voyager Reference Guide ...
Page 668: ...14 Configuring IPv6 670 Voyager Reference Guide ...
Page 672: ...15 IPSO Process Management 674 Voyager Reference Guide ...
Page 700: ...Index 702 Voyager Reference Guide ...


