


6-6 Setting Jumpers
5.
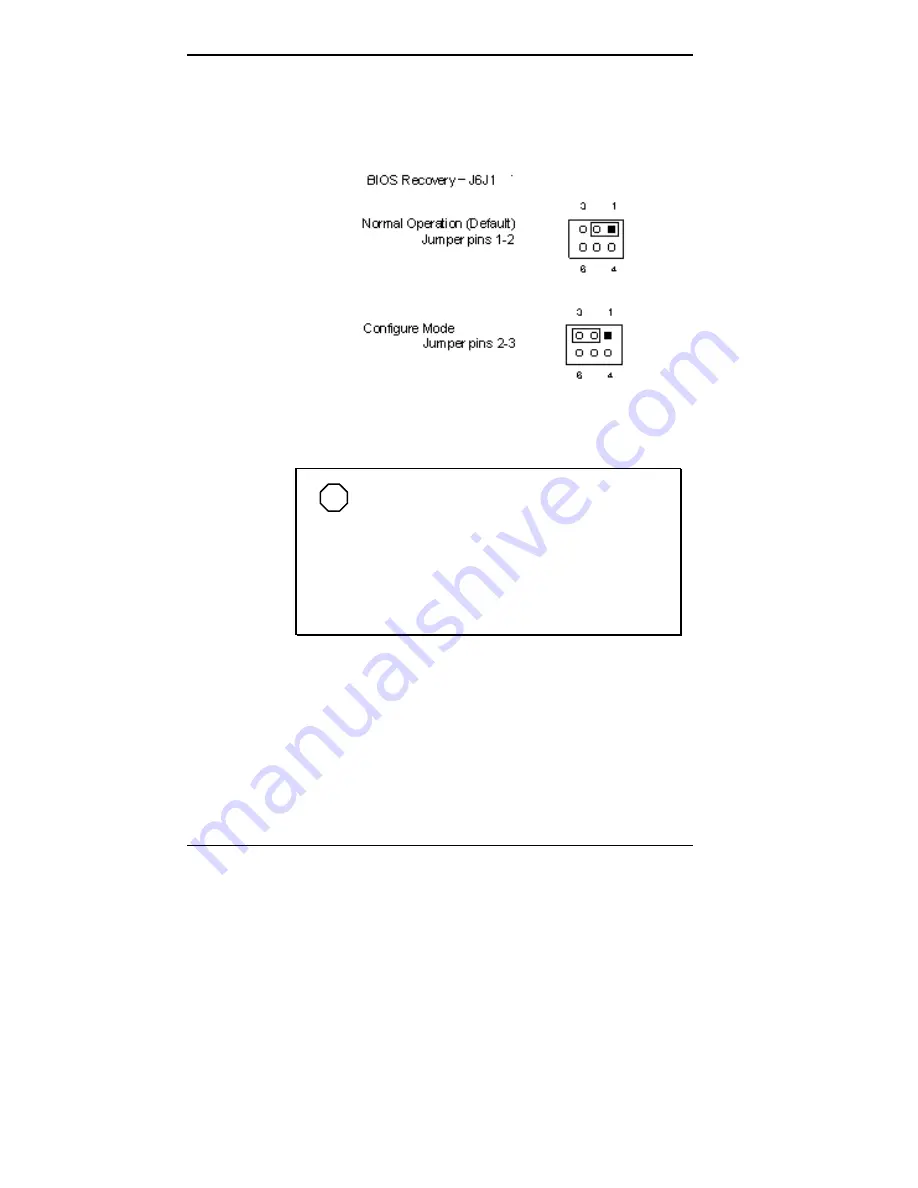
Move the jumper block to the Configure Mode pins (pins
2-3). NECCSD recommends using needle-nose pliers to
move a jumper.
BIOS Recovery Jumper
NOTE
Jumper J6J1 also has a Recovery Mode
setting (pins 1-3 not jumpered) for upgrading the
BIOS or recovering BIOS data in the unlikely event
that the BIOS becomes corrupted. This procedure is
performed in conjunction with a BIOS Recovery
diskette. See the instructions that are provided with
the diskette.
6.
Replace the system board (see “Replacing the System
Board” in Chapter 5).
7.
Replace the system unit cover (see “Replacing the
System Unit Cover” in Chapter 5).
8.
Connect the system power cables and monitor.
Summary of Contents for POWERMATE ENTERPRISE - 09-1997
Page 34: ...Introducing Your Computer 1 19 Audio connectors desktop Audio connectors minitower ...
Page 37: ...1 22 Introducing Your Computer Power supply features desktop Power supply features minitower ...
Page 43: ...Using Your Computer 2 5 Keyboard features Windows 95 keys ...
Page 146: ...5 18 Installing Options Installing Options 5 ...
Page 147: ...Installing Options 5 19 Locating desktop expansion slots Locating minitower expansion slots ...
Page 149: ...Installing Options 5 21 Removing a slot cover desktop Removing a slot cover minitower ...
Page 156: ...Installing Options 5 27 Installing Options 5 ...
Page 168: ...5 38 Installing Options Installing Options 5 ...
Page 185: ...5 54 Installing Options Installing Options 5 ...
Page 187: ...5 56 Installing Options Removing the front panel desktop Removing the front panel minitower ...


