Installing Options 5-25
4.
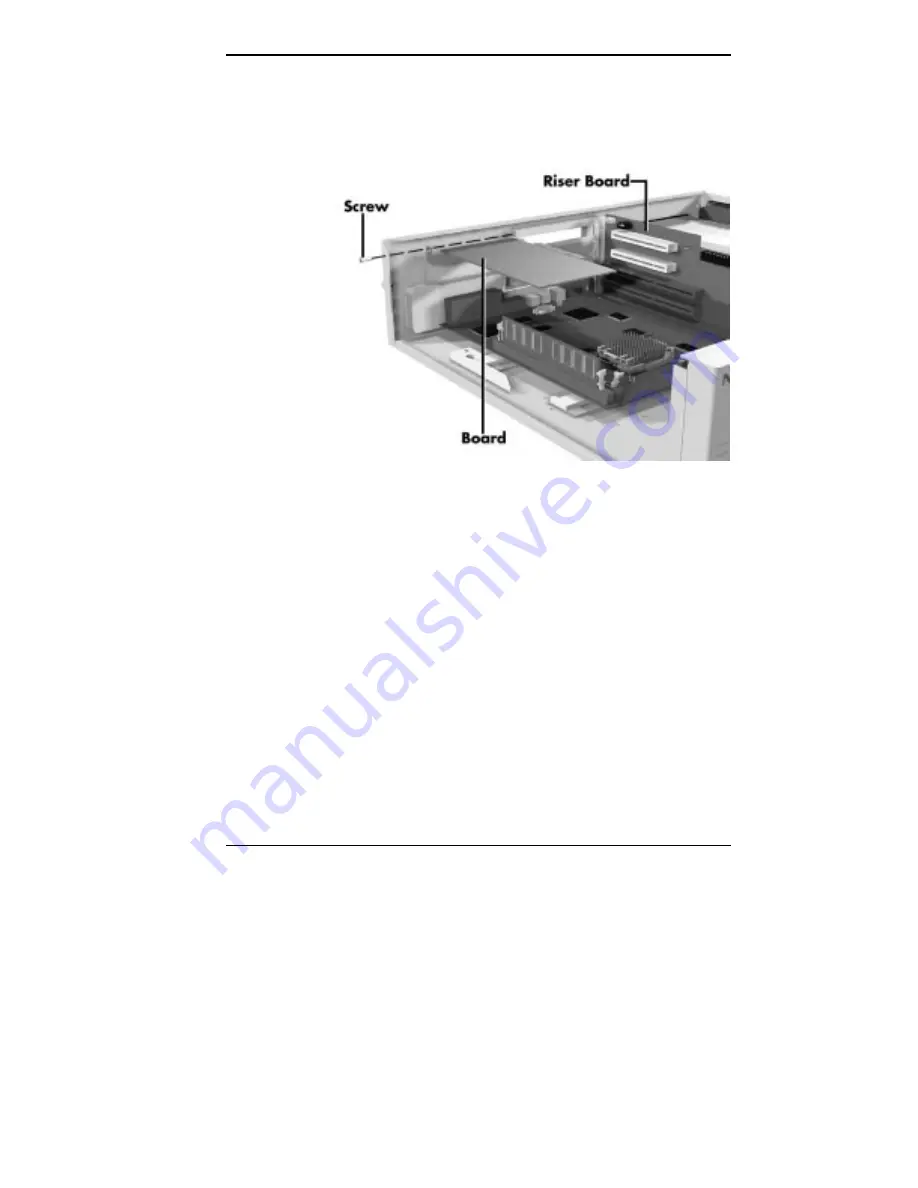
Remove the screw that secures the board to the support
bracket. Set the screw aside (it is used to secure the slot
cover once the board is removed).
Removing an expansion board
5.
Pull the board out of the connector. Pull the board out of
the expansion slot.
6.
Replace the slot cover removed when the expansion
board was installed. Secure the cover with the screw.
7.
In a minitower system, replace the chassis floor (see
“Replacing the Minitower Chassis Floor”).
8.
Replace the system unit cover (see “Replacing the
Desktop Cover” or “Replacing the Minitower Cover”).
Summary of Contents for POWERMATE ENTERPRISE - 09-1997
Page 34: ...Introducing Your Computer 1 19 Audio connectors desktop Audio connectors minitower ...
Page 37: ...1 22 Introducing Your Computer Power supply features desktop Power supply features minitower ...
Page 43: ...Using Your Computer 2 5 Keyboard features Windows 95 keys ...
Page 146: ...5 18 Installing Options Installing Options 5 ...
Page 147: ...Installing Options 5 19 Locating desktop expansion slots Locating minitower expansion slots ...
Page 149: ...Installing Options 5 21 Removing a slot cover desktop Removing a slot cover minitower ...
Page 156: ...Installing Options 5 27 Installing Options 5 ...
Page 168: ...5 38 Installing Options Installing Options 5 ...
Page 185: ...5 54 Installing Options Installing Options 5 ...
Page 187: ...5 56 Installing Options Removing the front panel desktop Removing the front panel minitower ...


