5. Installing Optional Devices
Express5800/R310g-E4, R320g-E4, R320g-M4 Maintenance Guide (Windows)
169
Chapter 2 Configuring and Upgrading the System
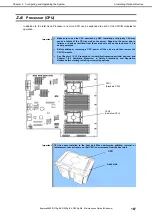
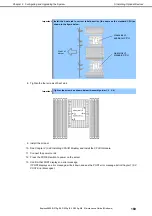
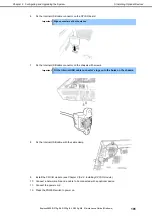
Important Install the heat sink in correct label direction (the same as the standard CPU) as
shown in the figure below.
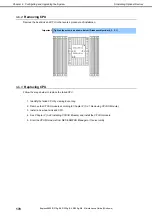
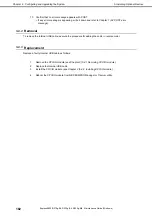
8. Tighten the four screws of heat sink.
Important Tighten the screws as shown below. (Assembly order 1, 2, 3, 4)
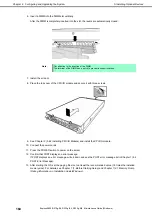
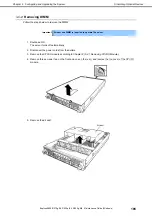
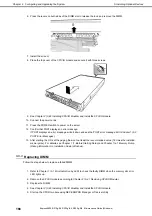
9. Install the air duct.
10. See
Chapter 2 (5.4.2 Installing CPU/IO Module)
and install the CPU/IO module.
11. Connect the power cords.
12. Press the POWER switch to power on the server.
13. Confirm that POST displays no error message.
If POST displays an error message, write it down and see the POST error message list in
Chapter 1 (6.2
POST Error Messages)
.
Front of
server
Heat sink of
additional CPU
Heat sink of
standard CPU

