2. Change Drive Letter
Express5800/R310g-E4, R320g-E4, R320g-M4 Maintenance Guide (Windows)
136
Chapter 2 Configuring and Upgrading the System
2.
Change Drive Letter
To add, change or delete drive letters, follow the steps below. Before making any changes, thoroughly read the
Express5800/ft series-specific precautions and general precautions for Windows.
Express5800/ft series-specific precautions
When connecting an optional Flash FDD, drive letters may change from A to B or from B to A by switching
CPU/IO modules. This does not affect the operation of the server. Access the Flash FDD with the changed drive
letter.
General precautions for Windows
Drive letter of system volume or boot volume cannot be changed.
Up to 26 drive letters can be used on a computer. "A" and "B" are drive letters for Flash FDD. Generally,
hard disk drives are assigned "C" to "Z", but for network drives, drive letters are assigned in a reverse order
("Z" to "C").
Because many of Windows programs refer to specific drive letters, cautions are required for assigning drive
letters. For example, the Path environment variable specifies a program name and a specific drive letter.
For performing the procedure above, you need to be a member of Backup Operators group or
Administrators group, or you need to have appropriate authorization.
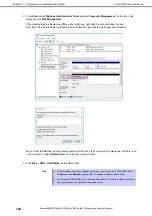
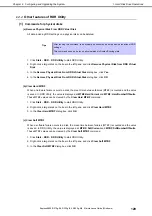
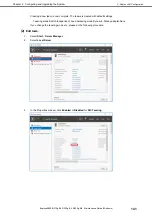
1. Select
Start
–
Windows
Administrative Tools
and open
Computer Management
.
2. In the console tree of
Computer Management
, click
Disk Management
.
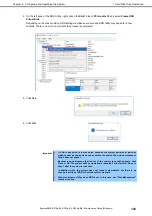
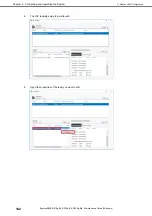
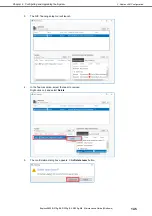
3. Right-click a target partition, logical drive or volume and click
Change Drive Letter and Paths…
.
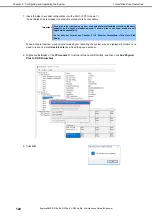
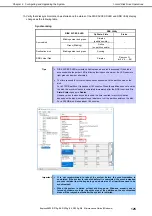
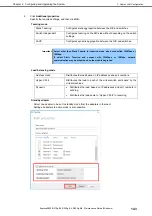
4. Perform one of the following:
–
To assign a drive letter, click
Add…
, a drive letter to use, and then
OK
.
–
To change a drive letter, click the drive letter to change,
Change…
, a drive letter to use, then
OK
.
–
To delete a drive letter, click the drive letter to delete then
Remove
.

