background image

Cod. F07010992     

  2014-02

*)

*) Valido per Paesi UE

*) Valid for EU member countries

*) Voimassa EU -jäsenvaltioissa

MASCHIO GASPARDO S.p.A.

IT

EN

FIN

USO E MANUTENZIONE / PARTI DI RICAMBIO

USE AND MAINTENANCE / SPARE PARTS

KÄYTTÖ- JA HUOLTO-OHJE / VARAOSALUETTELO

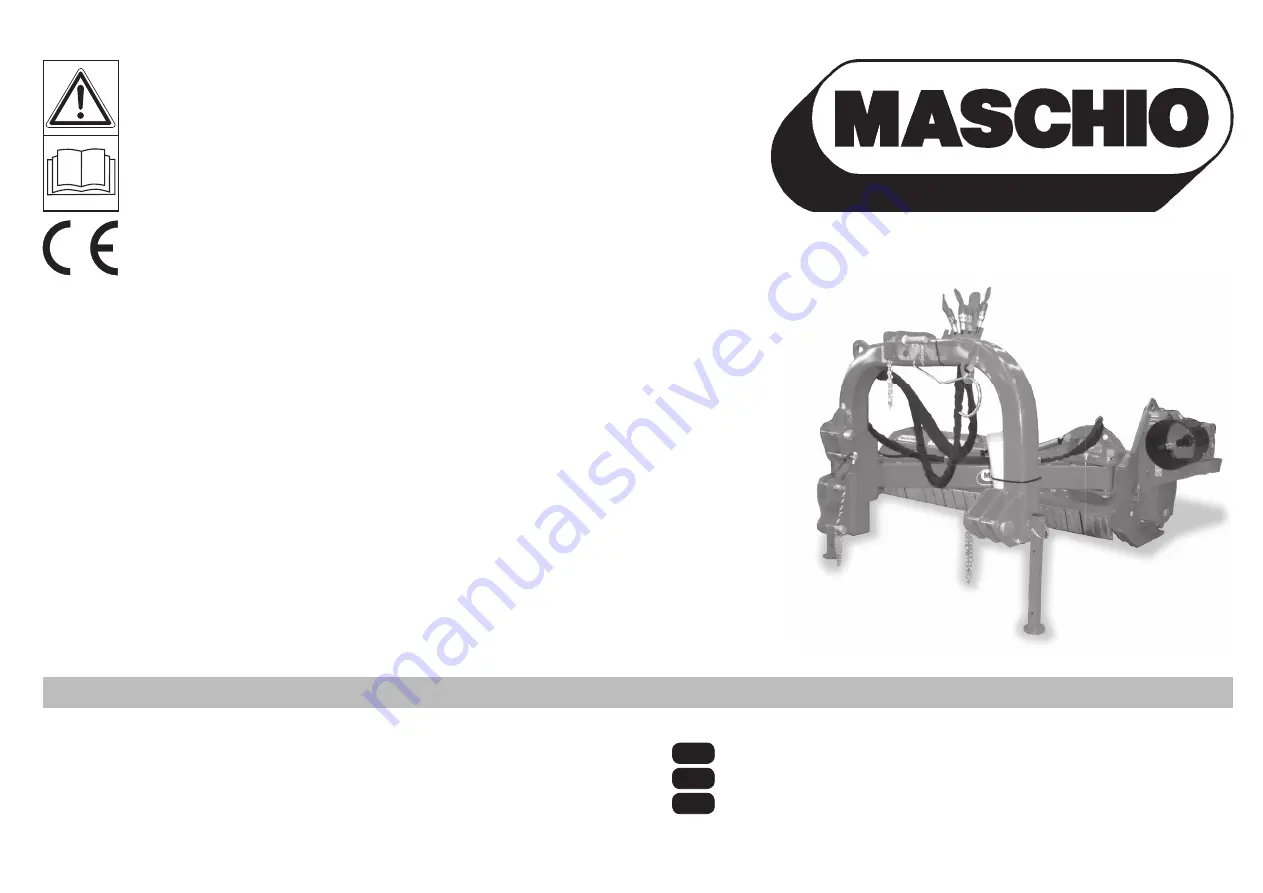
GIRAFFA

Summary of Contents for GIRAFFA 160

Page 1: ...alido per Paesi UE Valid for EU member countries Voimassa EU j senvaltioissa MASCHIO GASPARDO S p A IT EN FIN USO E MANUTENZIONE PARTI DI RICAMBIO USE AND MAINTENANCE SPARE PARTS K YTT JA HUOLTO OHJE...

Page 2: ...an identification plate AFig 3 indicating the following details 1 The Manufacturer s address 2 Machine type 3 Machine model 4 Serial number 5 Year of manufacture 6 Standard weight You are advised to n...

Page 3: ...lity of the tractor to which the machine is hitched 19 3 6 Cardan shaft 20 3 7 Transport method 22 3 8 Adjustment of working height 23 3 9 Adjusting the skids and roller 23 3 10 Work position of the m...

Page 4: ...cm inch cm inch cm inch cm inch cm inch kW HP nr nr Kg lbs rpm A B C D E LIVELLO SONORO Rilevamenti della rumorosit a vuoto UNI EN ISO 4254 1 2010 Livello di pressione acustica LpAm A dB 83 8 Livello...

Page 5: ...onnection upper point 3 Three point hitch 4 Lifting stirrup 5 Overdrive unit 6 Jack 7 Side transmission guard 8 Side skids 9 Protection bars 10 3rd connections lower points 11 Cardan shaft connection...

Page 6: ...en sufficiently informed and trained The Operator is responsible for making sure that the machine is func tional and for replacing and repairing parts liable to wear that could otherwise cause damage...

Page 7: ...Fig 3 21 12 16 8 5 17 11 25 4 5 6 ANCHE ALL INTERNO DEL CARTER INSIDE CASING ALSO M ME L INT RIEUR DU CARTER AUCH INNERHALB DES GEH USES TAMBIEN EN EL INTERIOR DEL CARTER 9 A 14 25 22 24 23 26 25 15...

Page 8: ...s Never remove the guards while the parts are mowing 7 Danger of being hooked by the cardan shaft Do not go near the members of the machine while moving 8 Danger of falling Do not get up on the machin...

Page 9: ...il trasporto e che gli accessori siano integri e al completo EVENTUALI RECLAMI DOVRANNO ESSERE PRESENTATI PER ISCRITTO ENTRO 8 GIORNI DAL RICEVIMENTO PRESSO IL CONCESSIONARIO L acquirente potr far va...

Page 10: ...e to correctly carry out the described operations CAUTION This signal warns when damage to the machine could be caused by failure to carry out the described operations In order to complete the various...

Page 11: ...he machine is serviced 4 It is absolutely forbidden to carry passengers or animals 5 Before proceeding with any work under the machine make sure that the driveline has been detached from the PTO and s...

Page 12: ...f adequate power and configuration using a device lift conforming to the prescrip tions 18 Take the utmost care during the implement coupling and release phases 19 Any accessories for transport must b...

Page 13: ...from the outside Fig 5 31 Fix the side lift links with the relative chains and idlers during the transport phase 32 Set the control lever of the hydraulic lift to the locked position during road tran...

Page 14: ...use 42 Only clean and grease the cardan shaft when the pto is disen gaged the engine off the hand brake engaged and the ignition key removed 43 Rest the cardan shaft on its stand when the machine is d...

Page 15: ...e type of product cut by very dusty earth or by the use of an open machine 53 Il libretto delle istruzioni per l uso consegnato unitamente alla macchina dal rivenditore deve essere conservato per tutt...

Page 16: ...ety Couple this latter to the pre engineered lifting points marked by the hook symbol 21 Fig 3 CAUTION Before proceeding to the hoisting operations make sure that any any mobile elements of the machin...

Page 17: ...and flashing beacon and always make sure that you comply with the Highway Code and any other applicable regulations ATTENTION Before driving on to the public roads with the machine hitched to the tra...

Page 18: ...10 cm from the maximum closing position Now proceed in the following way 1 Near the lift bars setting them in the most suitable plates A B C Fig 8 Insert the pin into the relative hole and lock in pla...

Page 19: ...sm between the axis of the machine and that of the tractor pto When the implement operates in these conditions there will be less stress on the pto itself while the cardan shaft and implement will be...

Page 20: ...machine cm S1 Distance of rear axle from parallel hitch cm S2 Distance between bar hitch hole and center of gravity of machine cm 3 6 CARDAN SHAFT Cardan shaft adaption The Cardan shaft supplied with...

Page 21: ...ngaged The two tubes of the driveline shaft must not fully overlap There must always be a safety travel D Fig 11 of at least 4 cm The angles Fig 11 of the drivelines must not exceed 40 Fig 11 If these...

Page 22: ...fting is required the lifting unit of the tractor should be regulated so that the machine is raised about 35 cm from the ground when in the vertical position Fig 17 Furthermore also check to make sure...

Page 23: ...is necessary to Gradually lower the machine completely down to the ground using the hoister tractor switched off and parking brake pulled on Regulate the working height For a correct adjustment the bl...

Page 24: ...ns of the hydraulic cylinder connected to the oil valves of the tractor Machine position Fig 24 The machine can be tilted upwards or downwards by means of a hydraulic cylinder controlled by the oil va...

Page 25: ...nd fixing pins DANGER The knives must always be checked before the machine is used Moreover the knives must also be systematically checked when ever they strike against some obstacle during work The q...

Page 26: ...ground Make sure that all turning components have come to a stop Detach the driveline from the machine and tractor Make sure that the safety locks have been inserted correctly Fig 18 Kuluneet ter t Te...

Page 27: ...irs of knives of the same weight diametrically opposite to each other on the support Install the heaviest pairs at the two ends of the rotor and the lighter pairs in the middle Fig 28 Once the knives...

Page 28: ...upper pulley hub 1 Fig 31 and overdrive unit 3 Fig 31 Fully lower the overdrive unit removethe belts one by one and replace themwith a new set Work on the screws 2 Fig 31 in order to tighten the belt...

Page 29: ...ire lateral shifting of the machine To prevent dangerous situations from occurring it is advisable for one person to work on the machine at a time It is also advisable to strictly comply with the foll...

Page 30: ...ne is raised before getting off the tractor Comply with the safety distances when working near built up areas or roads Fig 37 5 meters each side 10 meters at the rear During work the rear bonnet mustr...

Page 31: ...he power lift controls if necessary Remember that the cutting tools knives or hammers must not touch the ground Fig 38 Modify the speed of the tractor if necessary Adjust the position of the roller to...

Page 32: ...above CAUTION Never allow the machine to operate out of the soil During work avoid turning corners while the implement is soil working Never work in reverse Fig 40 41 Always raise the implement in ord...

Page 33: ...roller of the machine 3 Lower the bearing stands and fix them securely with the plug and snap pin 4 Place the machine on a suitable surface 3 20 USEFUL ADVICE FOR THE TRACTOR DRIVER The following are...

Page 34: ...l vano rotore da tutto ci che si accumulato La macchina rimbalza sul terreno o vibra Corpi estranei bloccati fra i coltelli Coltelli montati non correttamente senza la disposizione elicoidale o con il...

Page 35: ...ried out by expert personnel wearing the proper safety clothing in a clean not dusty environment All maintenance operations must be strictly carried out with the implement coupled to the tractor hand...

Page 36: ...o advisable to replace the hydraulic pipes after having first made sure that all residue pressure has been relieved from the hydraulic circuit 4 5 STORAGE Proceed in the following way at the end of th...

Page 37: ...must be eliminated in the suitable dumps according to the current regulations Before proceding with the dismantling of the machine it is necessary to separate the rubber parts from the metal and elec...

Page 38: ...ecifications API GL5 MIL L 2105C It is advisable to use AGIP GR MU EP 2 GREASE or equivalent for all greasing points 1 Roottorin laakerit 2 Kulmavaihde 3 Kulmavaihteen ljyn t ytt tulppa 4 Kulmavaihtee...

Page 39: ...v lein Alle 50 Betriebsstunden Cada 50 horas 400 h Ogni 400 ore Every 400 hours 400 tunnin v lein Alle 400 Betriebsstunden Cada 400 horas 1 CONTROLLARE CHECK TARKISTA KONTROLLE CONTROLAR 2 INGRASSARE...

Page 40: ...vio ed asse rotore Controllare l allineamento Surriscaldamento gruppo coppia conica Mancanza di olio Ripristinare il livello Olio esaurito Sostituire Usura rapida dei coltelli o mazze Posizione di lav...

Page 41: ...nt Check alignment Overheating of bevel gear pair Lack of oil Add oil to proper level Oil depleted Replace Rapid wearing of blades or hammers Work position too low blades touching ground Adjust height...

Page 42: ...ine These data are punched on the data plate A Fig 3 with which every implement is equipped Code number of the required spare part This will be found in the spare parts catalogue Description of the pa...

Page 43: ...43 ITALIANO ENGLISH SUOMI...

Page 44: ...ISO 13857 2008 EN ISO 4254 12 2012 samt den tekniska standarden ISO 11684 1995 ISO DIS 3767 2 2015 ISO 17101 1 2 2012 ISO 17103 2009 har respekterats Den tekniska dokumentationen har sammanst llts av...

Page 45: ...lo 73 35011 Campodarsego PD Italija Niddikjaraw ta t ir responsabbilt tag na li l magna tikkonforma mal ti ijiettas sa a u ssigurt stabbiliti mid Direttiva Ewropea 2006 42 KE u 2004 108 KE fejn applik...

Page 46: ...IO FRANCE S a r l 1 rue Denis Papin 45240 LA FERTE SAINT AUBIN France Tel 33 0 2 38 64 12 12 Fax 33 0 2 38 64 66 79 e mail info maschio fr MASCHIO DEUTSCHLAND GmbH u ere N rnberger Stra e 5 D 91177 Th...

Reviews: