SmartDGA Hardware Manual
Maintenance
•
84
7.
Insert the new battery into the clip with the
positive side
facing up.
8.
Reinstall the left (LTC) side cover and reattach the yellow band.
9.
Reconnect the EZHub controller.
7.2.2
Replacing the LumaSMART
i
Core
TM
Battery
Ensure you have the following parts and tools on hand prior to starting installation:
PROVIDED BY CUSTOMER
Qty Description
1
New Replacement Battery
1
Medium Phillips Head Screwdriver
1
Small Flat Head Screwdriver (optional)
The battery life span will be approximately 8 years. After this period, the battery needs to be
replaced. The LumaSMART
i
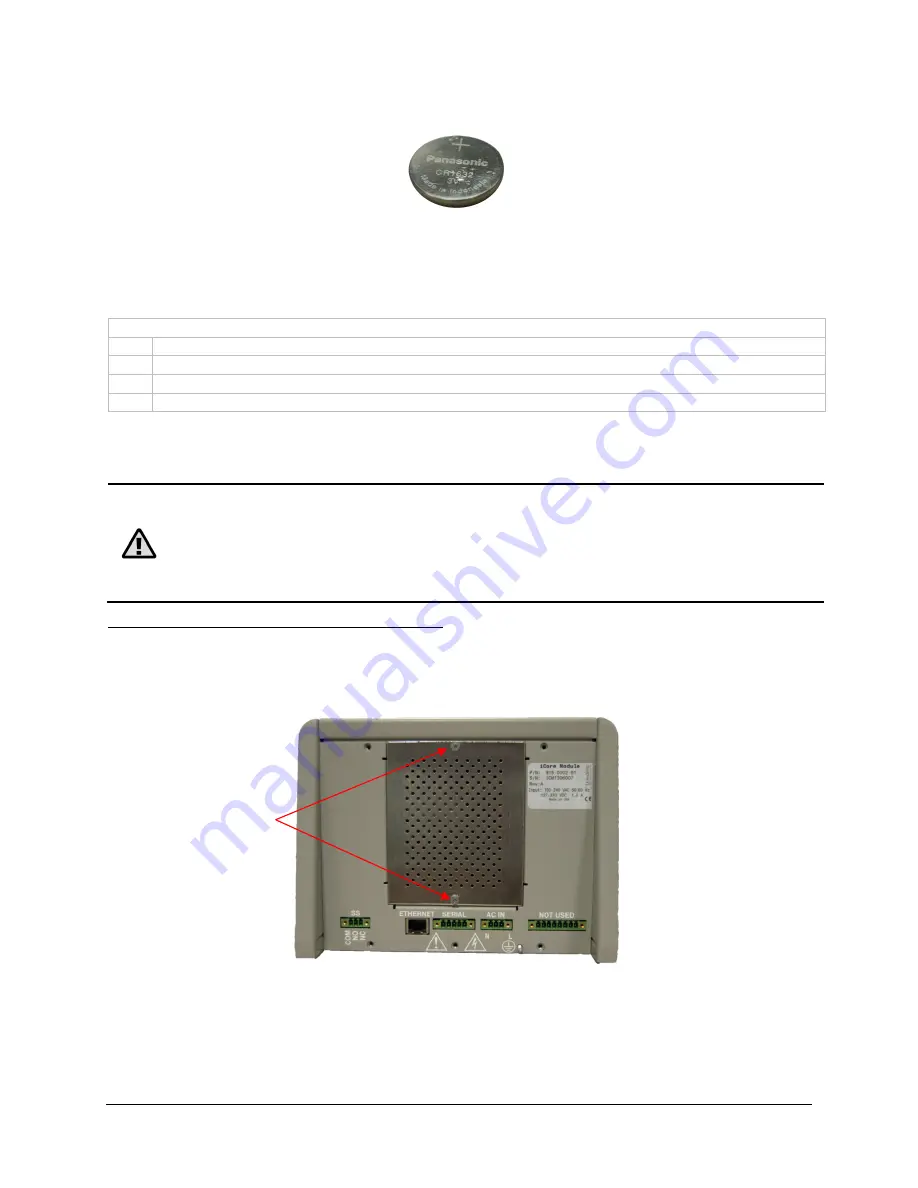
Core uses a standard non-rechargeable CR2032 coin-type lithium
battery. The battery holder is accessed from the bottom of the
i
Core.
Caution:
Battery replacement should only be performed by authorized personnel. There is
danger of explosion if the battery is mishandled or incorrectly replaced. Replace the battery
only with one of the same manufacturer and type or equivalent type recommended.
Do not disassemble batteries or attempt to recharge them outside the system. Dispose of
batteries properly in accordance with the manufacturer's instructions and local regulations.
To replace the LumaSMART iCore unit’s battery:
1.
Disconnect all electrical connections.
2.
On the bottom of the
i
Core unit, remove the small access panel in the middle using a
medium Phillips head screwdriver. Save the (2) screws.
Summary of Contents for SmartDGA
Page 1: ...HARDWARE MANUAL SmartDGA...
Page 99: ...SmartDGA Hardware Manual Diagrams Drawings 99 9 5 SmartDGA NEMA 4 Enclosure...
Page 100: ...SmartDGA Hardware Manual Diagrams Drawings 100 9 6 Inline Mounting Plate...
Page 102: ...SmartDGA Hardware Manual Diagrams Drawings 102 9 8 Assy Wall Mount SmartDGA EZHubTM...
Page 103: ...SmartDGA Hardware Manual Diagrams Drawings 103...
Page 104: ...SmartDGA Hardware Manual Diagrams Drawings 104 9 9 Assy Panel Mount SmartDGA EZHubTM...
Page 105: ...SmartDGA Hardware Manual Diagrams Drawings 105...
Page 106: ...SmartDGA Hardware Manual Diagrams Drawings 106 9 10 Assy Wall Mount LumaSMART iCoreTM...
Page 107: ...SmartDGA Hardware Manual Diagrams Drawings 107...
Page 108: ...SmartDGA Hardware Manual Diagrams Drawings 108 9 11 Assy Panel Mount LumaSMART iCoreTM...
Page 109: ...SmartDGA Hardware Manual Diagrams Drawings 109...
Page 110: ...SmartDGA Hardware Manual Diagrams Drawings 110 9 12 SmartDGA Instrument Sun Shade...
Page 111: ...SmartDGA Hardware Manual Diagrams Drawings 111...


