5-42
Operation on the Machine > Sending
The settings that appear in the TWAIN dialog box are as follows.
3
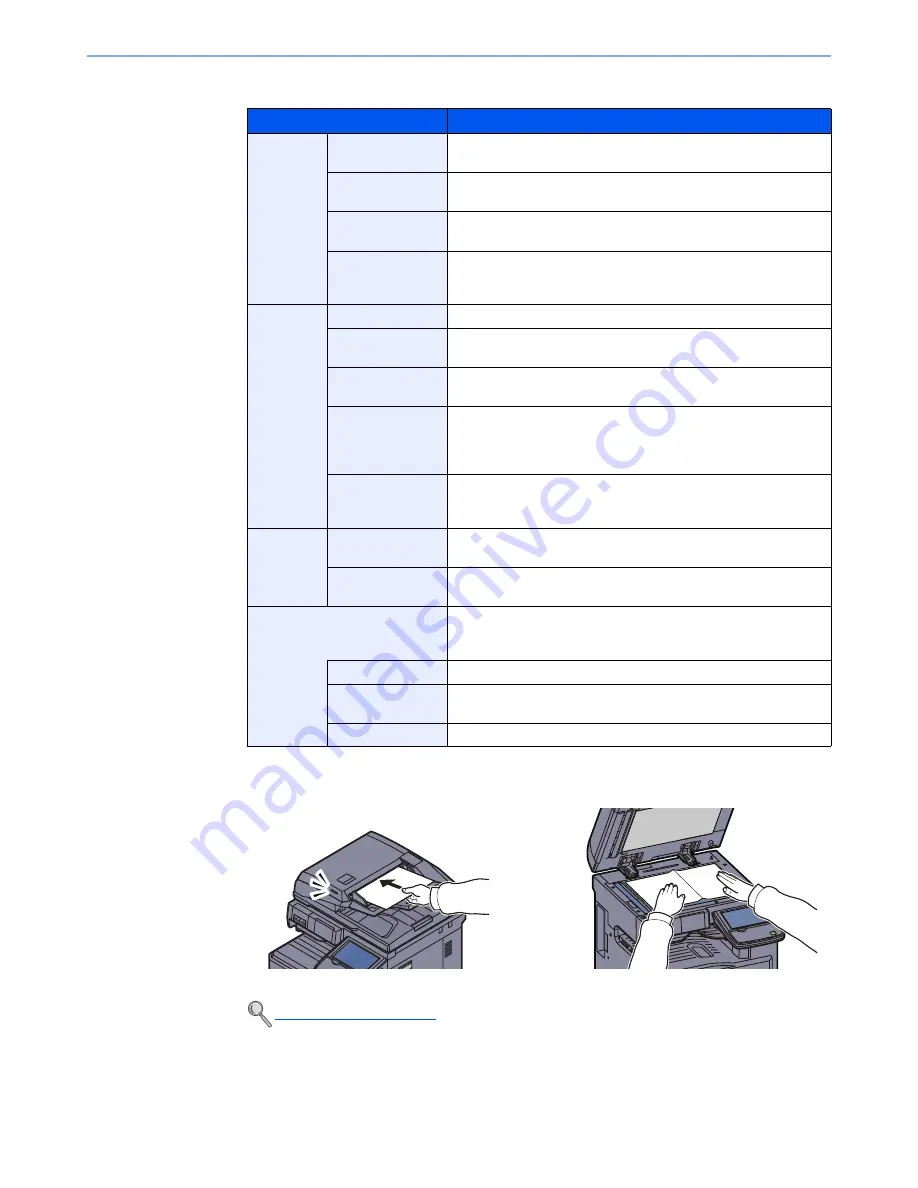
Place the originals.
4
Scan the originals.
Click the [
Scan
] button. The document data is scanned.
Item
Detail
Basic
Original Size
This setting sets the size of the scan area. The available sizes
vary based on the scanner model and the size of the original.
Feed Method
This setting specifies the feed method of the original. Select the
feed method from the list.
Original
Orientation
This setting specifies the orientation of the original.
Sending Size
This setting specifies the image size. The available sizes vary
based on the scanner model and the scan area selected in the
preview panel.
Imaging
Color Settings
This setting specifies the type of color for the image.
Resolution
This setting specifies the dpi (dots per inch), or sharpness, for the
image.
Image Quality
This setting specifies the overall image quality. Make sure your
selection matches the original that you are scanning.
Exposure Level
This setting specifies the sharpness and clarity of the image. If the
"
Auto
" check box is selected, then the slider bar and edit box are
unavailable, and the exposure level is automatically set to the
default setting.
Contrast
This setting specifies the contrast between light and dark areas of
the image. This feature cannot be used when [Black & White] is
selected in the [Color Settings].
Advanced
Reverse Image
This setting scans images like a photo negative, reversing the
black and white areas of the image.
Prevent Bleed-
through
This setting prevents the image on one side of the paper from
showing through to the other side when scanned.
Scan Profiles
This is used to check current settings and store frequently used
settings. When the [
Configuration
] button is clicked, a setting
screen opens with buttons for [Add], [Edit], and [Delete].
Add
The current settings can be saved as a Scan Profile.
Edit
The name and comments of the selected Scan Profile can be
changed.
Delete
Delete saved Scan Profiles.
Loading Originals (page 5-2)
Summary of Contents for TASKalfa 2551ci
Page 1: ...OPERATION GUIDE TASKalfa 2551ci ...
Page 17: ...xvi About the Operation Guide this Guide ...
Page 24: ...xxiii Glossary 11 28 Index Index 1 ...
Page 44: ...xliii Menu Map ...
Page 62: ...1 18 Legal and Safety Information Notice ...
Page 116: ...2 54 Installing and Setting up the Machine Transferring data from our other products ...
Page 166: ...3 50 Preparation before Use Registering Destinations in the Address Book ...
Page 178: ...4 12 Printing from PC Printing Data Saved on the Printer ...
Page 322: ...6 72 Using Various Functions Functions ...
Page 444: ...10 4 Troubleshooting Regular Maintenance DP 772 1 2 3 4 ...
Page 445: ...10 5 Troubleshooting Regular Maintenance DP 773 1 2 ...
Page 447: ...10 7 Troubleshooting Regular Maintenance 3 4 5 6 ...
Page 478: ...10 38 Troubleshooting Troubleshooting Cassette 2 1 2 ...
Page 480: ...10 40 Troubleshooting Troubleshooting Large Capacity Feeder 1 500 sheet x 2 1 2 3 B1 B2 ...
Page 481: ...10 41 Troubleshooting Troubleshooting Multi Purpose Tray 1 2 3 4 ...
Page 482: ...10 42 Troubleshooting Troubleshooting Duplex unit 1 2 ...
Page 483: ...10 43 Troubleshooting Troubleshooting Inner Tray Fixing unit 1 2 3 ...
Page 487: ...10 47 Troubleshooting Troubleshooting Job Separator 1 2 3 Bridge Unit Option 1 2 ...
Page 488: ...10 48 Troubleshooting Troubleshooting 1 000 Sheet Finisher Option 1 2 3 D1 D2 2 1 D3 ...
Page 489: ...10 49 Troubleshooting Troubleshooting Clearing a Staple Jam 1 2 3 2 1 CLICK ...
Page 490: ...10 50 Troubleshooting Troubleshooting ...
Page 522: ...11 32 Appendix Glossary ...
Page 531: ...Index 9 ...
Page 532: ...Index 10 ...
Page 533: ......
Page 536: ...First edition 2013 7 2NPKDEN000 ...


