DCP 30 L/LX / DCP 30 S/SX
Operation
Issue: 11/2009
33
4
Cinema Projection and Lens Settings
4 .1
Starting the Cinema Projection
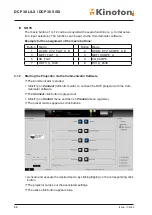
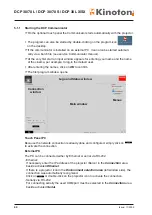
• Switch on the projector by turning the main switch (
I ON
).
$
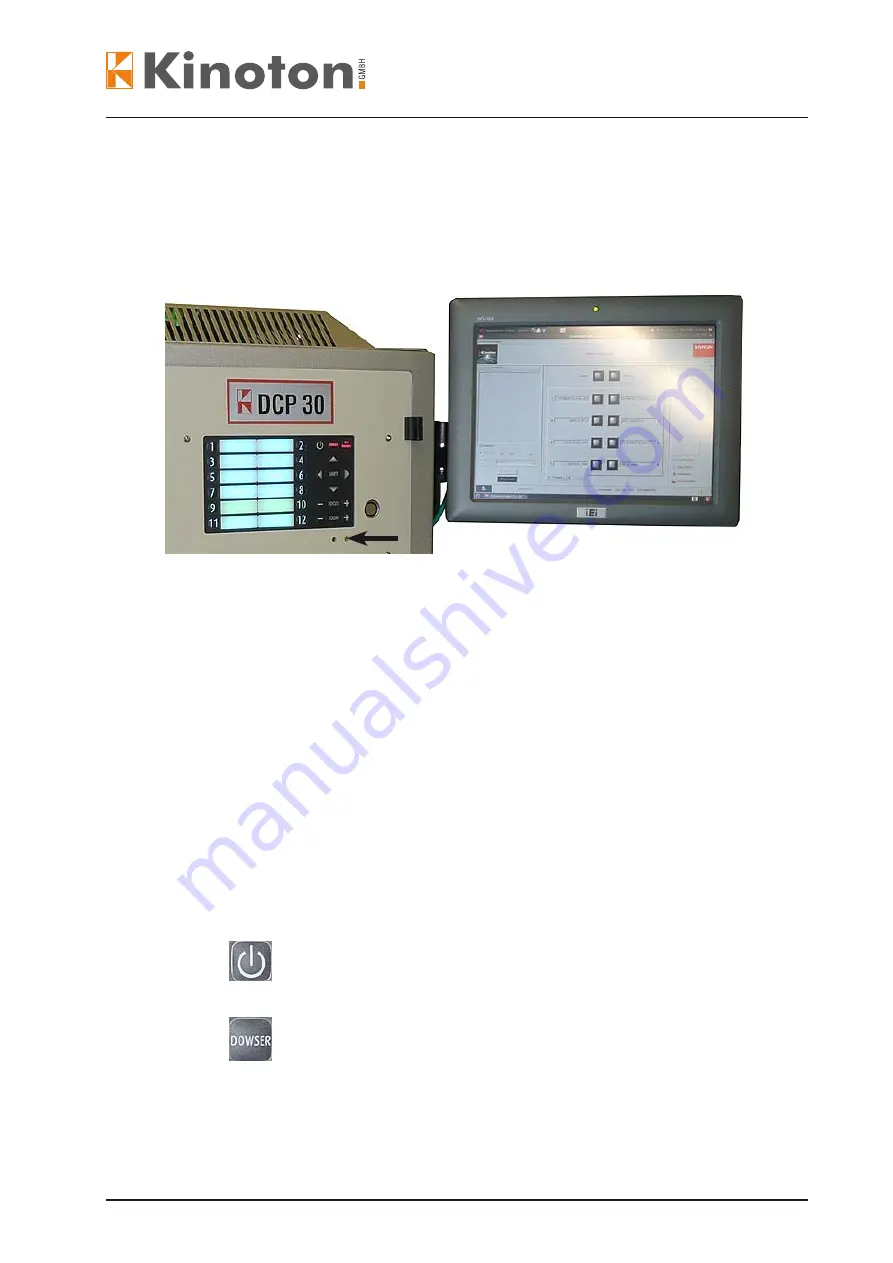
The right status LED (arrow) under the button panel illuminates red.
$
The status lamp on the top of the projector head blinks red.
$
If the projector is ready for operation, the status LED below the button panel
illuminates green.
$
If the projector is ready for operation, the status lamp illuminates green.
$
If available, the touch panel PC boots and starts the Communicator software.
$
The button panel’s backlight illuminates blue.
$
The last selected macro is active, the assigned macro button illuminates green.
4 .1 .1 Starting the Projection via the Button Panel
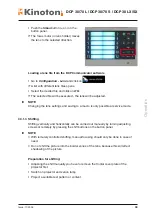
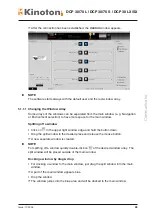
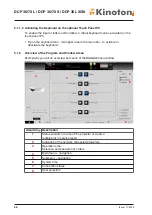
• Press the desired macro button (1 - 12), to select the preset program.
$
At first the selected button illuminates magenta, as soon the macro is active the
button illuminates green.
$
The preset macro will be executed.
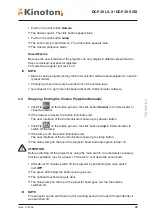
• Press
, to switch on the xenon lamp.
$
The button first illuminates violet and then green to indicate the xenon lamp is on.
• Press
, to open the dowser.
$
The button first illuminates violet and then green to indicate the dowser is open.
• Start the server.
$
The cinema projection runs.


