Maintenance manual for Collaborative Robot
Hyundai Robotics
Maintenance | Maintenance of the collaborative robot_
57
Mainten
a
n
c
e
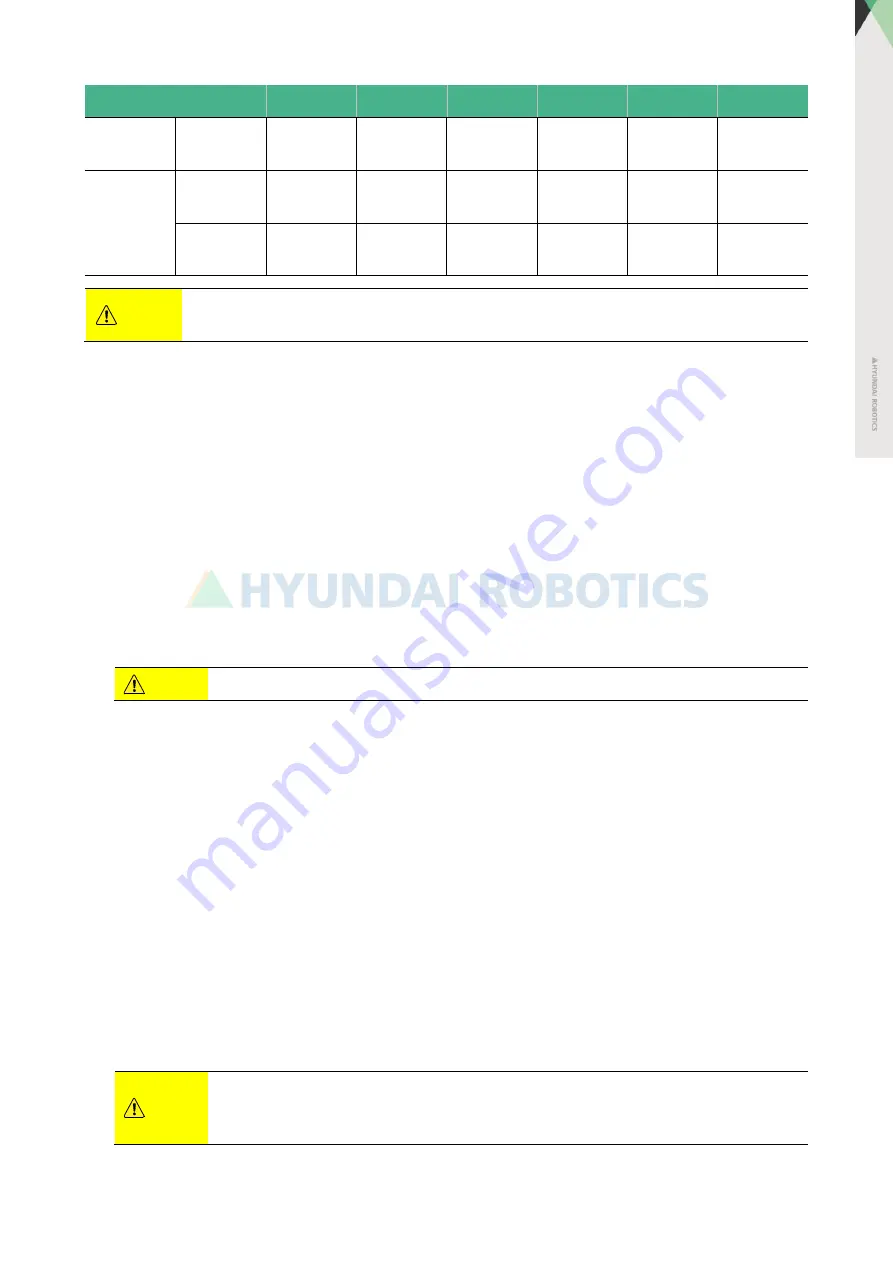
Model
S
H
V
R2
B
R1
Angular
gap
30
30
30
30
30
Not
applicable
YL015
Reference
angle
-40
95
130
-161
86
Not
applicable
Angular
gap
30
30
30
30
30
Not
applicable
Caution
It the robot cannot be driven, carry out the primary disassembling of the module, then rotate the
module by using the brake release module, and carry out the rest of the disassembling.
4.2.2.5
Method for replacing the integrated driving module
Referring to “6.1
diagram”, first identify the position and composition of the integrated driving module of each
axis.
18.
Move the axis for which the integrated driving module will be replaced to the recommended posture.
19.
Power off the module by turning off the power breaker.
20.
Remove the bolts with a torque wrench, and remove the front or rear frame cover of the pertaining axis.
21.
Disconnect the wires of the integrated driving module.
22.
If it has a pneumatic hose, cut one end of it.
23.
Remove the bolts at the servo drive side with a torque wrench.
Caution Retain the removed robot parts securely on a flat floor.
24.
Remove the bolts at the reducer with a torque wrench.
If you failed to set the robot at the recommended posture, release the brake by removing the brake connector
of the servo drive, forcibly rotate the module, and remove the bolts.
25.
Apply Loctite 518 on the contacting surface of the replacement module.
26.
Replace the old module with a new one.
27.
Set the mounting position by using the pin, and fixate the new module by fastening bolts with a torque wrench.
28.
Connect the wires of the integrated driving module.
29.
Using the one-touch straight fitting (KQH23-00A1), reconnect the pneumatic hose that was cut at Step 5.
30.
Put the front or rear frame cover on the axis, and fixate it by fastening bolts with a torque wrench.
31.
Referring to the “Encoder offset" section of the "Operation Manual for Hi6 Controller”, correct the offset of the
encoder of the axis of which the module has been replaced.
Caution
Before correcting the encoder offset, set the operation preparation at ON, and ensure that
the power is connected by pressing the enabling switch of the teach pendant for two to
three seconds.


