66
Heli mixer
Flight phase-specifi c mixers for collective pitch, throttle and tail rotor
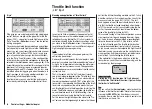
In the »
Base settings
« menu a method of switching
fl ight phases can be activated by assigning the approp-
riate switches to “Phase 2” and “Autorotation”. You can
then switch between the phases “normal” and a second
phase – which you can name yourself – using one of the
switches SW 1 … 4. The third phase – Autorotation –
has precedence over the other two phases.
Please note
that switching to autorotation always has priority
over the other two phases.
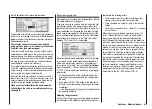
If you have not yet assigned switches for the fl ight pha-
ses, you should do so now. Use the right-hand rocker
button to move to the switch symbol at bottom right, then
press the
SELECT
button.
Phase 1 always bears the designation «normal». Both
the number and name of this phase are permanently as-
signed, and cannot be altered. For this reason the “nor-
mal” phase is not stated as Phase 1 in the »
Base set-
tings
« menu; it is simply hidden.
“Phase 2” is assigned the default name «Hover», but
you can change this if you prefer. Hold the
SELECT
but-
ton pressed in, and use the right-hand rocker button to
select one of the following names:
• hover
• aerobat
• aero
3D
• Speed
• Test
Description of the heli mixer
Five-point curves are available for setting up the cont-
rol characteristics of “collective pitch”, “Ch1
throttle”
and “Ch1
tail rotor”. Using these curves it is possib-
le to program non-linear mixer ratios along the travel of
the transmitter stick for these mixers. Move to the display
page for setting 5-point curves by pressing the
SELECT
or
ENTER
button (see below).
In contrast, the mixers “Ch1
throttle” and “Ch1
tail
rotor” are not required for the “Autorotation” fl ight phase
(described in the section starting on page 74); instead
they are automatically switched to a (variable) pre-defi -
ned value.
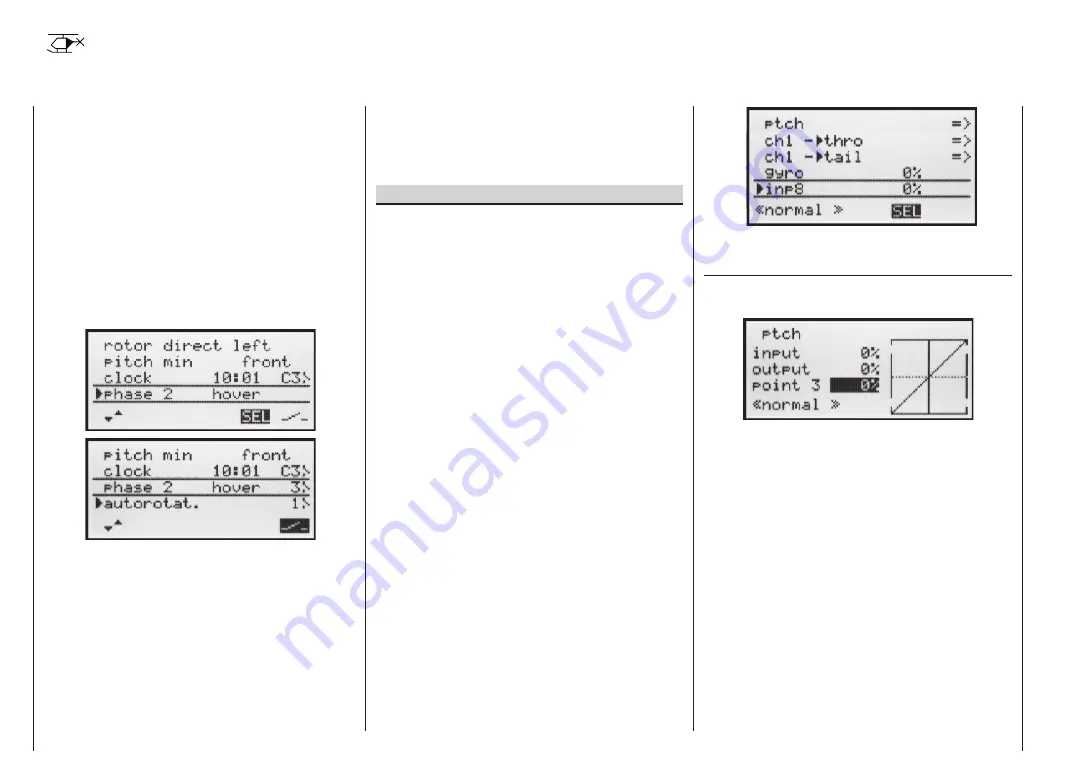
A value must be entered in the “Gyro” and “Input 8” li-
nes: press the
SELECT
button, then change the value in
the highlighted fi eld using the right-hand rocker button.
Pressing the
CLEAR
button resets this parameter value
to 0%. All these set-up options are required for the basic
process of setting up a model helicopter.
The name of the currently selected fl ight phase is dis-
played in the »
Heli mixer
« menu as well as in the
transmitter’s basic display; this is designed to ensure
that any changes you make actually apply to the correct
fl ight phase. Note that the servos do not change from
one setting to another abruptly; they move smoothly with
a transition time of around one second. This does not
apply to autorotation: when you switch TO autorotation,
the change takes place immediately.
If you operate the switch selected for a particular fl ight
phase, the associated fl ight phase is superimposed at
the bottom edge of the screen, e.g. «normal».
Now you can program the settings for this fl ight phase.
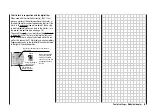
Ptch
(Pitch curve (Ch1
collective pitch))
Select the “Collective pitch” line and press
ENTER
or
SELECT
:
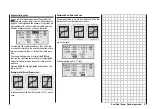
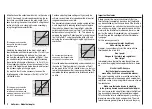
The control curve can be based on a maximum of
fi ve nodes, known as “reference points”, which can be
placed along the length of the control travel; separate
curves can be programmed for each fl ight phase.
However, in most cases it is suffi cient to use a smaller
number of reference points when defi ning the collecti-
ve pitch curve. As a basic rule we recommend that you
start with the three default reference points offered by
the software. These three points, i.e. the two end-points
“Point 1” (collective pitch minimum), “Point 5” (collecti-
ve pitch maximum) and “Point 3”, exactly in the centre
of the travel, initially describe a linear characteristic for
the collective pitch curve; this is represented in the pic-
ture above.
The programming procedure in detail
Start by switching to the desired fl ight phase, e.g. «nor-
mal».
Heli mixer – Model helicopter
Summary of Contents for MX-16S
Page 1: ...1...
Page 17: ...17...
Page 31: ...31 Fixed wing models Installation and connections...
Page 35: ...35 Program description Reserving a new memory...
Page 47: ...47 Base settings Model helicopter...
Page 83: ...83 Fail safe...
Page 89: ...89 Programming examples Fixed wing model...
Page 109: ...109 Programming examples Model helicopter...
Page 112: ...112 112...
Page 116: ...116...


