485
Continued on next page
Data Comm
unication
4
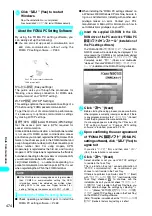
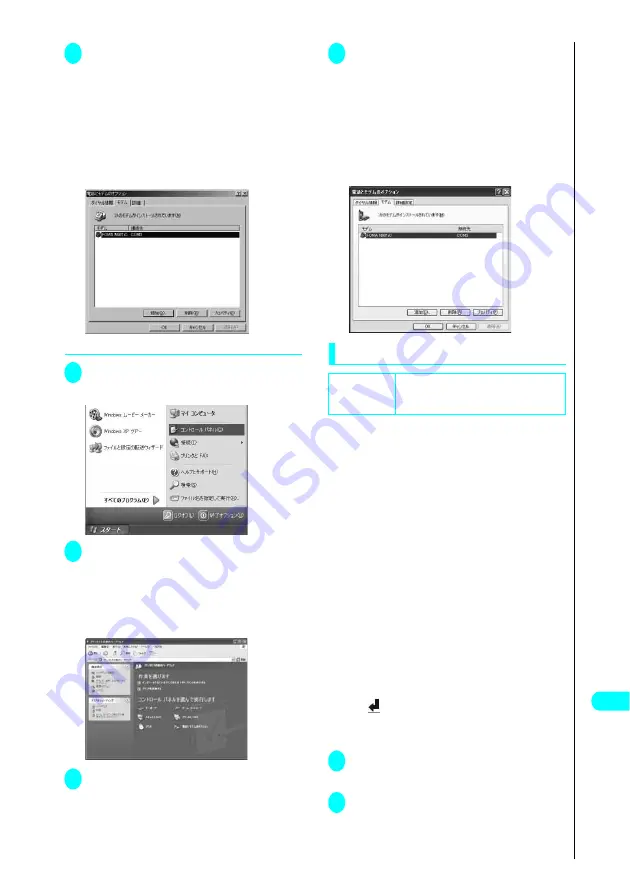
Click the “
モデム
” (Modem) tab to
confirm the COM port of the “
接続
先
” (Access point) column of
“FOMA N901iS” and click “OK”
The COM port number confirmed will be used in
Setting up the access point (APN) (P.485).
The contents displayed on the Properties screen
and the COM port number differ depending on the
PC you are using.
●
To confirm the COM port on Windows XP
1
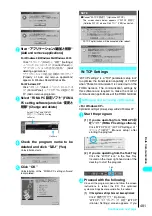
Open “
スタート
”(Start)
→
“
コント
ロールパネル
” (Control Panel)
2
Open “
電話とモデムのオプション
”
(Telephone and modem options)
from “
プリンタとその他のハード
ウェア
” (Printers and other
hardware) in Control Panel
3
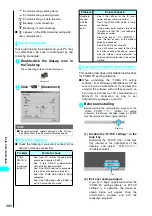
If the “
所在地情報
” (Address
information) screen is displayed,
enter “
市外局番/エリアコード
”
(Area code) and click “OK”
4
Click the “
モデム
” (Modem) tab to
confirm the COM port of the “
接続
先
” (Access point) column of
“FOMA N901iS” and click “OK”
The COM port confirmed here will be used in the
access point (APN) set up (P.485).
The contents displayed on the Properties screen
and the COM port number differ depending on the
PC you are using.
Setting up the access point (APN)
Default setting
cid1
:
mopera.ne.jp
cid3
:
mopera.net
cid2, 4 to 10
:
not set
Communication software to enter AT commands
is required for settings. This section describes
how to set it up using “Hyper terminal” that
comes with Windows.
●
Set up the access point (APN) for packet
communication. You can set up to 10 access
points (APN) up by assigning registration
numbers cid1 through cid10 (P.483).
●
Since “mopera.ne.jp” (mopera) is specified in
cid1 and “mopera.net” (mopera U) in cid3 by
default, it is recommended that you enter cid into
numbers 2 or 4 though 10.
●
Registered cid will be connection numbers in the
dialup connection settings.
●
Contact your internet service provider or network
administrator for an access point (APN) other
than mopera U or mopera.
●
The AT commands entered in “Hyper terminal”
may not be shown after Step 6 on P.486. In this
case, if you enter
ATE1
, AT commands you enter from then on
are shown.
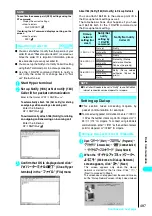
<Example: For Windows XP>
1
Connect the FOMA USB Cable to
the FOMA terminal
2
Power the FOMA terminal on and connect
the FOMA USB Cable connected with the
FOMA terminal with the PC
Summary of Contents for N901iS
Page 78: ......
Page 96: ......
Page 140: ......
Page 190: ......
Page 322: ......
Page 416: ......
Page 468: ......
Page 563: ...561 Appendix Memo ...
Page 564: ...562 Appendix Memo ...
Page 565: ... Quick Search Index Quick Manual ...


