282
| Using VisualRF
Dell PowerConnect W-AirWave 7.4
| User Guide
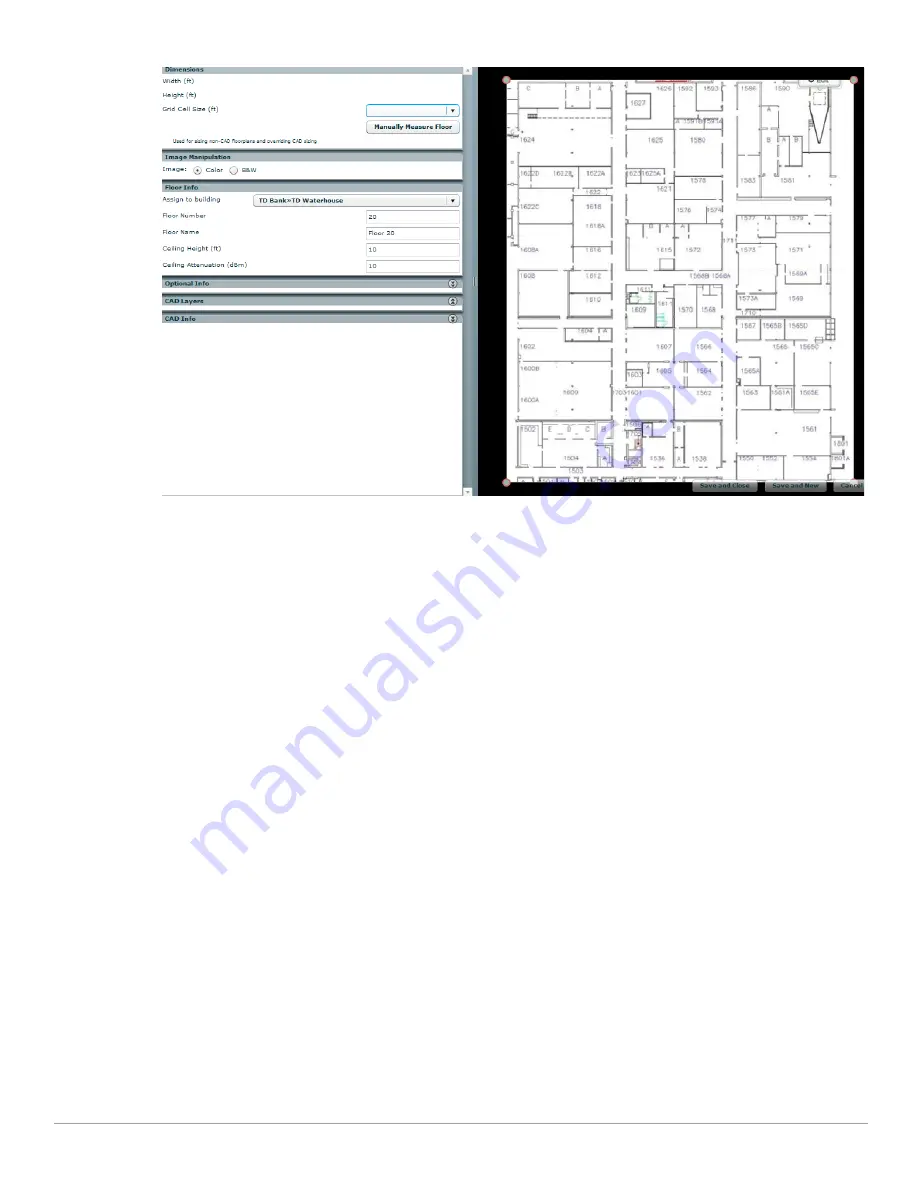
Figure 221
Floor Plan Imported into VisualRF
If the floor plan does not require cropping, sizing, or layer control, then click Save and Close to begin
provisioning APs or Save and New to upload a new floor plan.
If the floor plan does require cropping, sizing, or layer control, then proceed to the next procedure.
Editing a Floor Plan Image
There are many ways to edit a floor plan that you have uploaded, as explained in the following topics:
“Cropping the Floor Plan Image” on page
282
“Sizing a Non-CAD Floor Plan” on page
283
“Removing Color from a Floor Plan Image” on page
283
“Assigning Campus, Building and Floor Numbers” on page
284
“Assigning Optional Planner, Owner, or Installer Information for the Floor Plan” on page
284
“Controlling the Layers in the Uploaded Floor Plan (CAD only)” on page
284
“Error Checking of CAD Images” on page
284
“Last Steps in Editing an Uploaded Image” on page
285
Cropping the Floor Plan Image
Use the cropping handles (red circles) to remove extra white space around the floor plan. VisualRF will calculate
an attenuation grid for the entire map including white space. Reducing the white space on a floor plan will
increase location accuracy and decrease the load an on the server. A good rule of thumb would be about ½ inch
white space, if possible, on all sides.
VisualRF dissects each floor plan into a grid consisting of cells specified in this setting. The Core Thread service
calculates the path loss for every radio to every cell on the floor plan.
Summary of Contents for PowerConnect W-Airwave
Page 1: ...Dell PowerConnect W AirWave 7 4 User Guide ...
Page 106: ...106 Configuring and Using Device Groups in AirWave Dell PowerConnect W AirWave 7 4 User Guide ...
Page 256: ...256 Creating Running and Emailing Reports Dell PowerConnect W AirWave 7 4 User Guide ...
Page 310: ...310 Index Dell PowerConnect W AirWave 7 4 User Guide ...


