


Registering
Information in the
Machine
Chapter 3
Registering Information in the Machine
3-9
HT1-2205-000-V.1.0 LSL User’s Guide
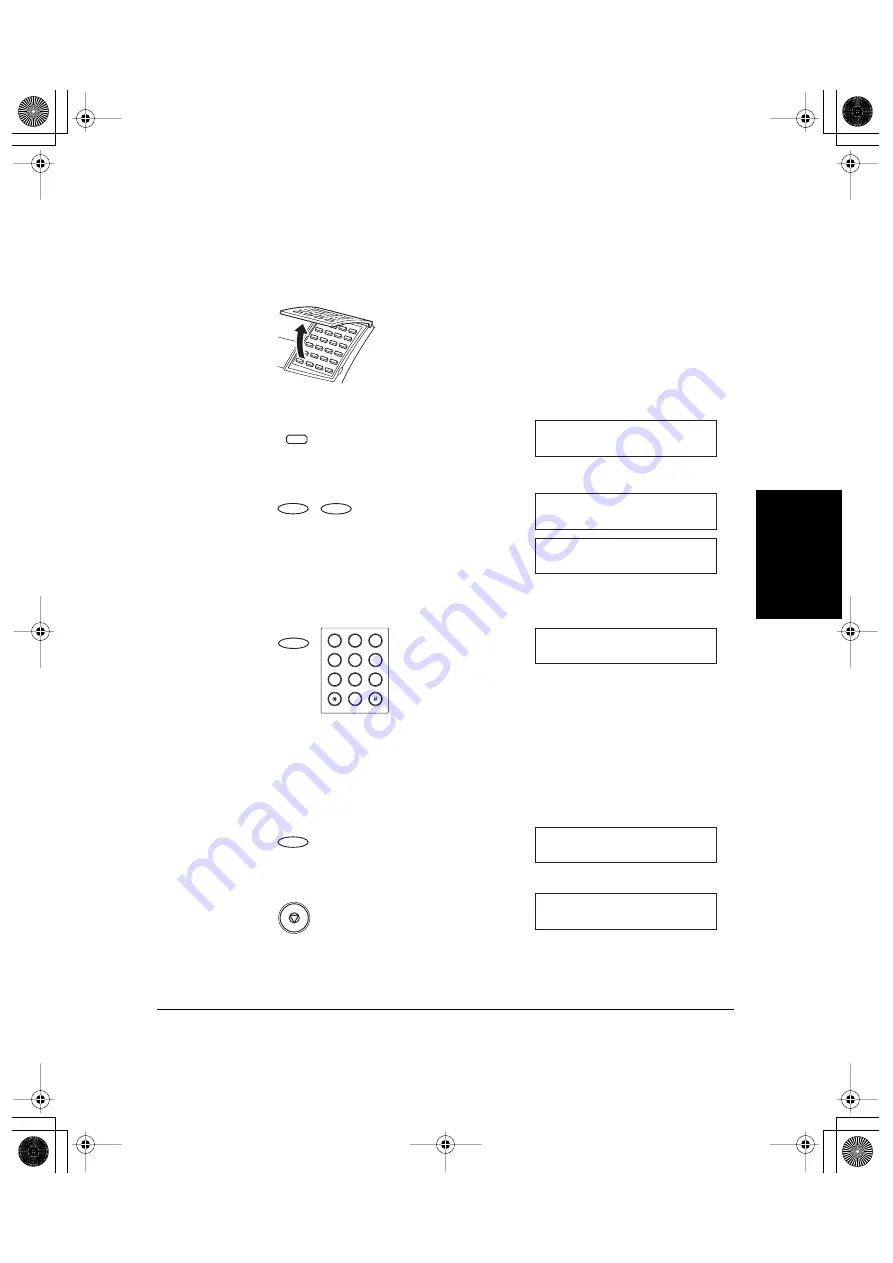
Entering the Date and Time
Follow these steps to enter the date and time.
1.
Open the One-Touch Speed Dialing panel.
2.
Press
Data Registration
.
3.
Press
Set
twice.
4.
Press
Set
again, then use the numeric buttons to enter the correct
month, day, year, and time in this order.
❏
Enter only the last two-digits of the year.
❏
Use the 24-hour format for the time, so 2:30 p.m. is 14:30, for
example, and precede single digits with a zero.
❏
If you make a mistake, press
Clear
, then re-enter the value.
5.
Press
Set
to save the date and time.
6.
Press
Stop
to return to standby mode.
Data
Registration
R E
G I S T R A T I O N
1 . D A T A R E G S T R A T I O N
Set
D A
T A R E G S T R A T I O N
1 . U S E R S E T T I N G S
U S E R S E T T I N G S
1 . D A T E & T I M E
Set
Set
D A T E & T I M E
1 2 / 3 1 / 0 2
1 0 : 0 0
_
SYMBOLS
OPER
Tone
WXY
TUV
PRS
MNO
JKL
GHI
DEF
ABC
1
2
3
4
5
6
7
8
9
0
Set
U S E R S E T T I N G S
2 . U N I T T E L E P H O N E #
1 2 / 3 1 / 2 0 0 2 T U E 1 0 : 0 0
F a x T e l
S T A N D A R D
Stop
l-1100.book Page 9 Friday, December 13, 2002 5:07 PM


