4
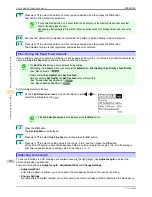
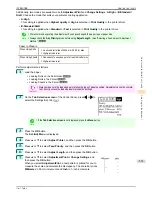
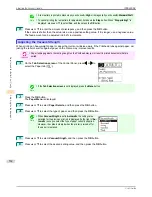
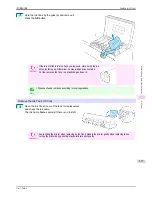
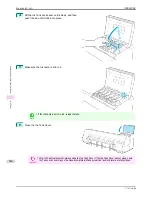
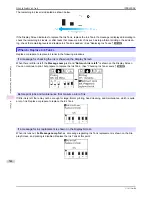
Lift the Ink Tank Lock Lever until it stops, and then
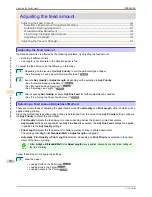
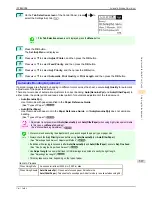
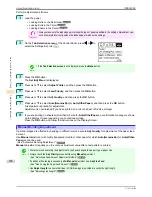
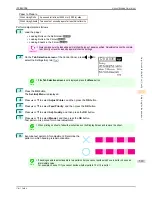
push it down until it clicks into place.
5
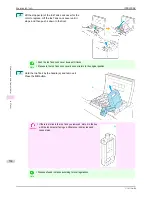
Make sure the Ink Lamp is lit in red.
Note
•
If the Ink Lamp is not lit in red, reload the tank.
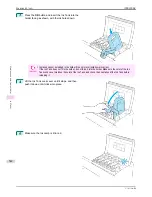
6
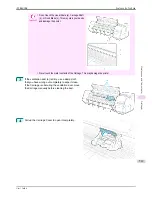
Close the Ink Tank Cover.
Important
•
After Ink Tank replacement, always close the Ink Tank Cover. If the Ink Tank Cover cannot close, some
Ink Tank Lock Lever may not be closed completely. Make sure all ink tank lock levers are fully closed.
Replacing Ink Tanks
iPF8400SE
User's Guide
Maintenance and Consumables
Ink Tanks
540
Summary of Contents for iPF8400SE imagePROGRAF
Page 14: ...14 ...
Page 28: ...iPF8400SE User s Guide 28 ...
Page 246: ...iPF8400SE User s Guide 246 ...
Page 426: ...iPF8400SE User s Guide 426 ...
Page 460: ...iPF8400SE User s Guide 460 ...
Page 518: ...iPF8400SE User s Guide 518 ...
Page 578: ...iPF8400SE User s Guide 578 ...
Page 608: ...iPF8400SE User s Guide 608 ...
Page 641: ...iPF8400SE WEEE Directive User s Guide Appendix Disposal of the product 641 ...
Page 642: ...WEEE Directive iPF8400SE User s Guide Appendix Disposal of the product 642 ...
Page 643: ...iPF8400SE WEEE Directive User s Guide Appendix Disposal of the product 643 ...
Page 644: ...WEEE Directive iPF8400SE User s Guide Appendix Disposal of the product 644 ...
Page 645: ...iPF8400SE WEEE Directive User s Guide Appendix Disposal of the product 645 ...
Page 646: ...WEEE Directive iPF8400SE User s Guide Appendix Disposal of the product 646 ...
Page 647: ...iPF8400SE WEEE Directive User s Guide Appendix Disposal of the product 647 ...
Page 648: ...WEEE Directive iPF8400SE User s Guide Appendix Disposal of the product 648 ...

