•
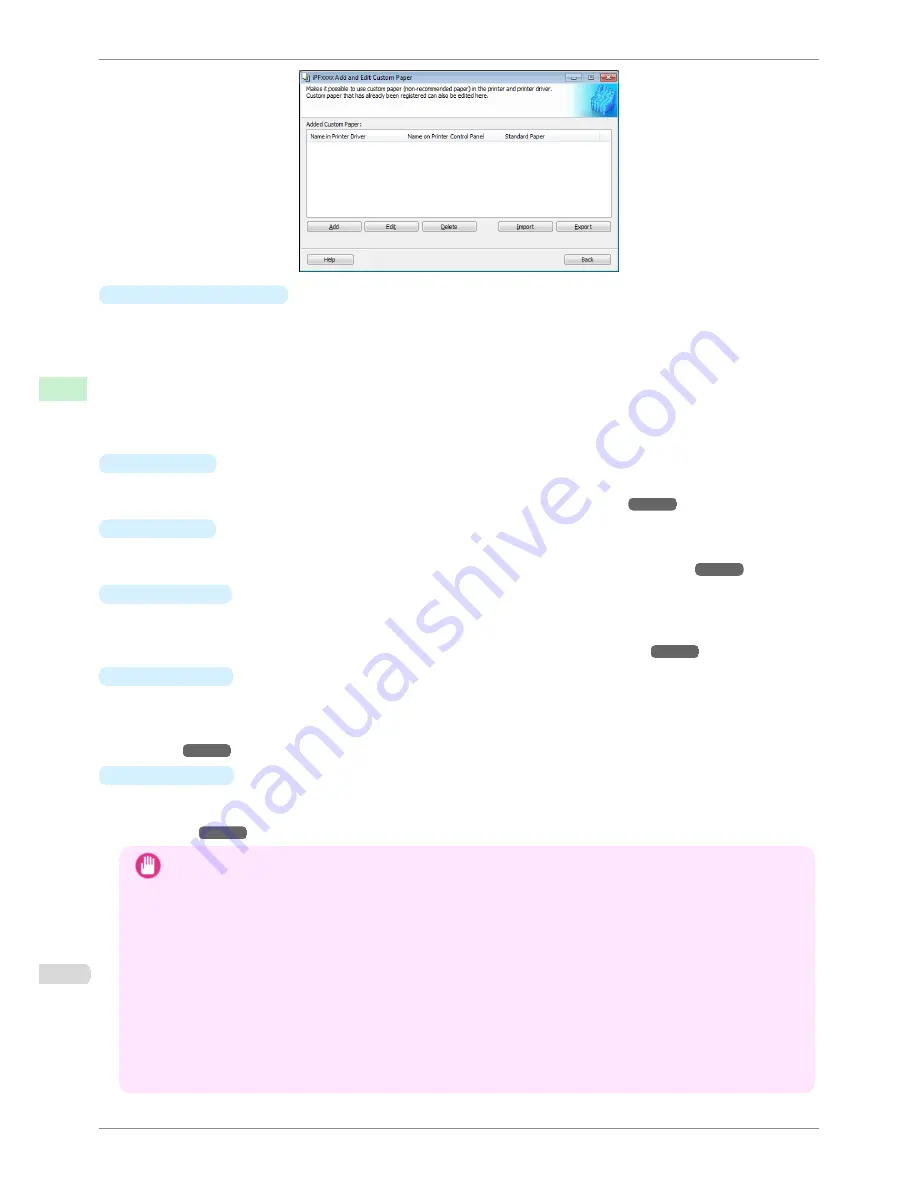
Added Custom Paper
Added custom paper is displayed here.
•
Name in Printer Driver
Added custom paper is displayed in the printer driver using this name.
•
Name on Printer Control Panel
Added custom paper is displayed on the printer control panel using this name.
•
Standard Paper
Displays the paper selected as the standard paper when the custom paper was added.
•
Add
Button
To add new custom paper to the printer control panel and printer driver, click this button.
For details on the procedure for adding custom paper,
see "Add Custom Paper."
➔
P.385
•
Edit
Button
To change the settings of added custom paper, select the paper to edit and click this button.
For details on the procedure for changing custom paper settings,
see "Edit Custom Paper."
➔
P.392
•
Delete
Button
To delete added custom paper from the printer control panel and printer driver in your computer, select the
paper to delete and click this button.
For details on the procedure for deleting custom paper,
see "Delete Custom Paper."
➔
P.391
•
Import
Button
To add custom paper to the printer control panel and printer driver by importing a Custom Media Information
File saved in a folder, click this button.
For details on the procedure for importing a Custom Media Information File,
see "Import Custom Media Infor-
mation."
➔
P.393
•
Export
Button
To export media information for added custom paper to a file, select the paper to export and click this button.
For details on the procedure for exporting media information for custom paper,
see "Export Custom Media In-
formation."
➔
P.392
Important
•
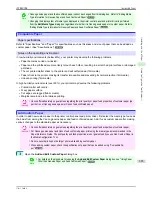
When adding custom paper, designate a computer for managing paper in advance and always add custom paper
from that computer. To use that custom paper on other computers, first export the Custom Media Information File
(.am1 file) for that custom paper from the computer for managing paper, and then import it into another computer
for use.
•
To use a Custom Media Information File (.am1 file) created outside of the network where the target printer is
being used, first import it into the computer for managing paper. If you also want to use it on other computers,
import and use a Custom Media Information File (.am1 file) newly exported from the computer for managing pa-
per.
•
When importing a Custom Media Information File (.am1 file) that was created on the computer for managing pa-
per, first delete custom paper that does not exist on the computer for managing paper.
•
When deleting custom paper, make the same changes on all of the other PCs that use the target printer.
•
When using custom paper in another printer, always add the custom paper to that printer before use.
Using Paper Other than Genuine Paper and Feed Confirmed Paper
iPF8400SE
User's Guide
Handling and Use of Paper
Media Configuration Tool (Windows)
384
Summary of Contents for iPF8400SE imagePROGRAF
Page 14: ...14 ...
Page 28: ...iPF8400SE User s Guide 28 ...
Page 246: ...iPF8400SE User s Guide 246 ...
Page 426: ...iPF8400SE User s Guide 426 ...
Page 460: ...iPF8400SE User s Guide 460 ...
Page 518: ...iPF8400SE User s Guide 518 ...
Page 578: ...iPF8400SE User s Guide 578 ...
Page 608: ...iPF8400SE User s Guide 608 ...
Page 641: ...iPF8400SE WEEE Directive User s Guide Appendix Disposal of the product 641 ...
Page 642: ...WEEE Directive iPF8400SE User s Guide Appendix Disposal of the product 642 ...
Page 643: ...iPF8400SE WEEE Directive User s Guide Appendix Disposal of the product 643 ...
Page 644: ...WEEE Directive iPF8400SE User s Guide Appendix Disposal of the product 644 ...
Page 645: ...iPF8400SE WEEE Directive User s Guide Appendix Disposal of the product 645 ...
Page 646: ...WEEE Directive iPF8400SE User s Guide Appendix Disposal of the product 646 ...
Page 647: ...iPF8400SE WEEE Directive User s Guide Appendix Disposal of the product 647 ...
Page 648: ...WEEE Directive iPF8400SE User s Guide Appendix Disposal of the product 648 ...

