Working with Labels
6
-
3
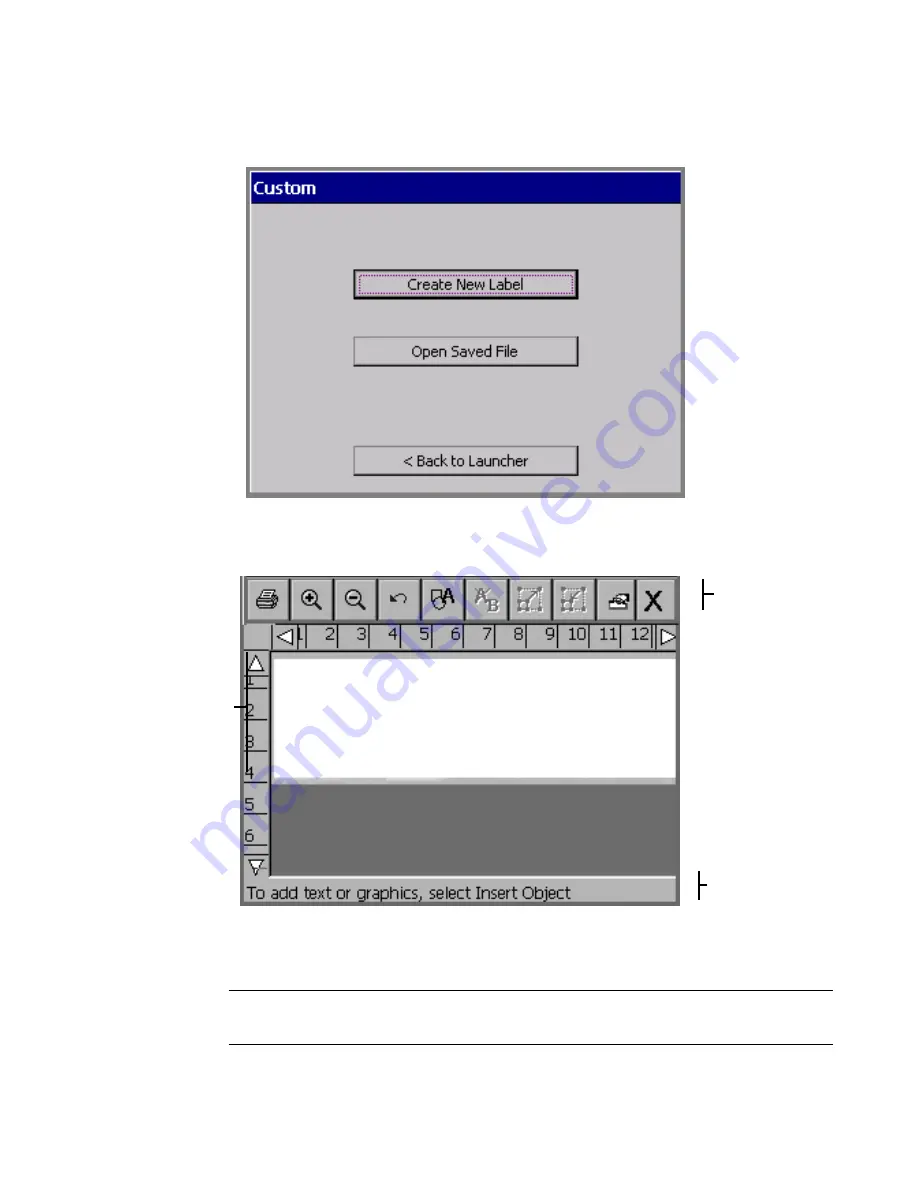
2. On the
Custom
screen, shown here, choose
Create New Label
:
Figure 6-2. The Custom screen.
You’ll see the
Editor
window:
Figure 6-3. The Editor window.
The
Editor
window is ready to display the label as you create it.
Hint!
The most typical next step in creating a label would be to add an
object. See
Working with Objects
on page 7-1 for instructions.
Toolbar
Preview
area, which
displays your
work as you
create a
label.
Status bar
Summary of Contents for GLOBALMARK
Page 1: ...User s Guide English...
Page 9: ...Contents 8 Cleaning the Stylus B 10...
Page 17: ...x...
Page 37: ...2 14 Cleaning your system...
Page 57: ...3 20 Accessing Online Help...
Page 75: ...4 18 Working in Entry Screens...
Page 129: ...6 40 Setting Application Preferences...
Page 239: ...11 26 Printing Tab Options...
Page 255: ...12 16 Upgrading the Operating System...
Page 258: ...Special Characters A 3 TABLE 1 CONTINUED...
Page 259: ...A 4 Special Characters TABLE 1 CONTINUED...
Page 260: ...Special Characters A 5 TABLE 1 CONTINUED...
Page 262: ...Special Characters A 7 TABLE 2 CONTINUED...
Page 263: ...A 8 Special Characters TABLE 2 CONTINUED...
Page 264: ...Special Characters A 9 TABLE 2 CONTINUED...
Page 265: ...A 10 Special Characters...
Page 277: ...B 12 Cleaning the Stylus...
Page 285: ...www bradycorp com 2004 Brady Worldwide Inc All rights reserved Y 380527 GM EN...
Page 286: ...www bradycorp com 2004 Brady Worldwide Inc All rights reserved Y 380527 GM EN...


