4-4
Working in the Editor window
Hint!
When a toolbar button is
inactive
, it is grayed out, or appears on
the screen as dimmer than the others.
The
Editor
window
is used for all types of labels you create, but the
Editor toolbars
vary according to which tools are appropriate for the
type of label you are working with.
This is a complete list of
Editor
window tools:
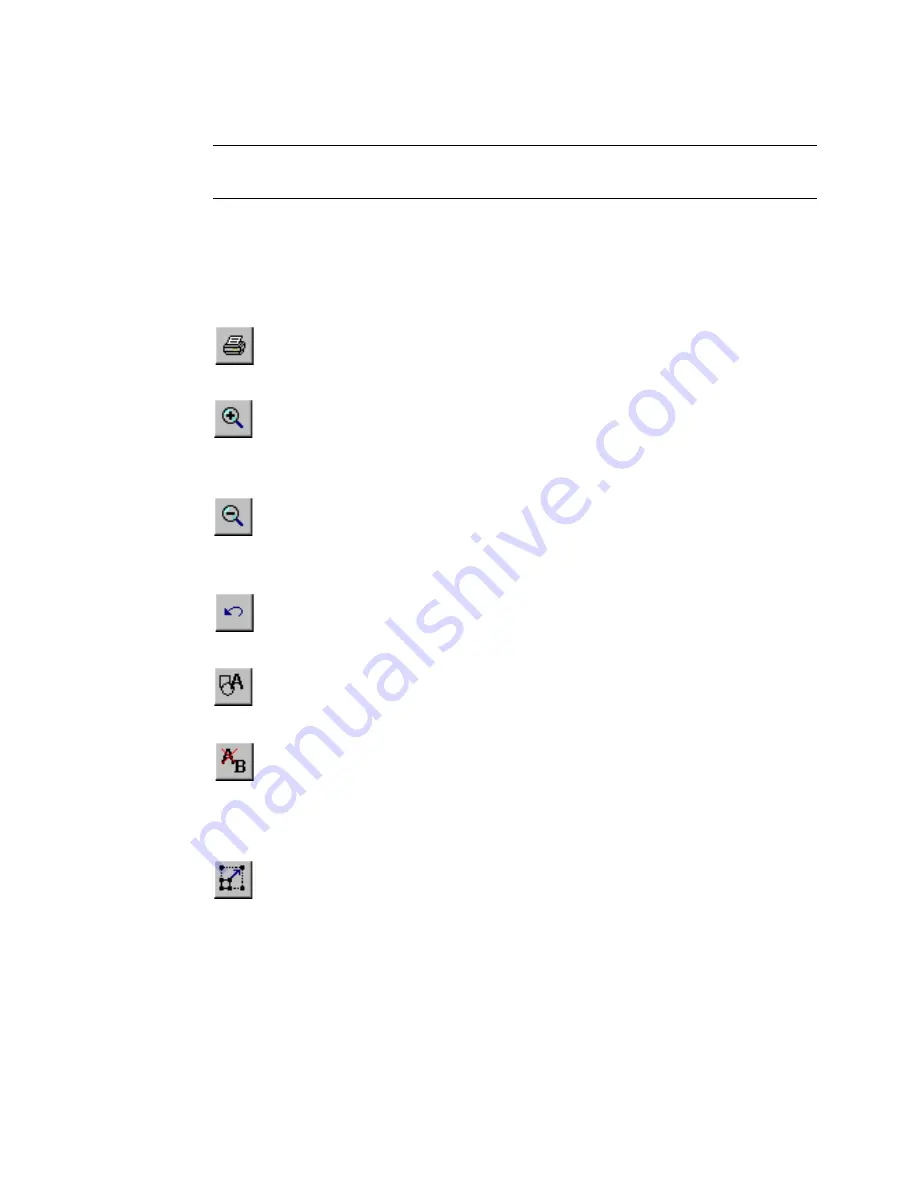
Print.
Follow the instructions on the Print screen to print your
label. See
Printing
on page 11-1 for details.
Zoom In
. Increases the magnification, making the objects on the
label look larger. Does not change the actual size of the printed
label, but is used as a viewing aid. See
Zooming in and
zooming out
on page 4-6 for details.
Zoom Out.
Decreases the magnification, making the objects on
the label look smaller. Does not change the actual size of the
printed label, but is used as a viewing aid. See
Zooming in and
zooming out
on page 4-6 for details.
Undo.
Reverses the last action you performed, when possible.
When actions may not be undone, the Undo button is grayed out.
See
Undoing in the Editor window
on page 4-9 for details.
Insert Object.
Allows you to select the type of object you want
to insert in the label, such as text, graphic, bar code, and so on.
See
Adding Objects
on page 7-3 for details.
Edit Object.
Allows you to edit the object selected, depending
on the type of object. For example, for text, you’ll see the text
editing screen. For graphics, you’ll see the graphics selection
prompt. See
Opening and editing an object
on page 7-34 for
details.
Increase Size.
Increases the size of the selected text or graphic.
The text or graphic remains in its original proportions, but
displays and will print 10% larger for each time you press the
Increase Size button. See
Using Increase Size and Decrease
Size
on page 7-30 for details.
Summary of Contents for GLOBALMARK
Page 1: ...User s Guide English...
Page 9: ...Contents 8 Cleaning the Stylus B 10...
Page 17: ...x...
Page 37: ...2 14 Cleaning your system...
Page 57: ...3 20 Accessing Online Help...
Page 75: ...4 18 Working in Entry Screens...
Page 129: ...6 40 Setting Application Preferences...
Page 239: ...11 26 Printing Tab Options...
Page 255: ...12 16 Upgrading the Operating System...
Page 258: ...Special Characters A 3 TABLE 1 CONTINUED...
Page 259: ...A 4 Special Characters TABLE 1 CONTINUED...
Page 260: ...Special Characters A 5 TABLE 1 CONTINUED...
Page 262: ...Special Characters A 7 TABLE 2 CONTINUED...
Page 263: ...A 8 Special Characters TABLE 2 CONTINUED...
Page 264: ...Special Characters A 9 TABLE 2 CONTINUED...
Page 265: ...A 10 Special Characters...
Page 277: ...B 12 Cleaning the Stylus...
Page 285: ...www bradycorp com 2004 Brady Worldwide Inc All rights reserved Y 380527 GM EN...
Page 286: ...www bradycorp com 2004 Brady Worldwide Inc All rights reserved Y 380527 GM EN...


