Printing
11
-
9
3. Choose
Advanced
. You’ll see the
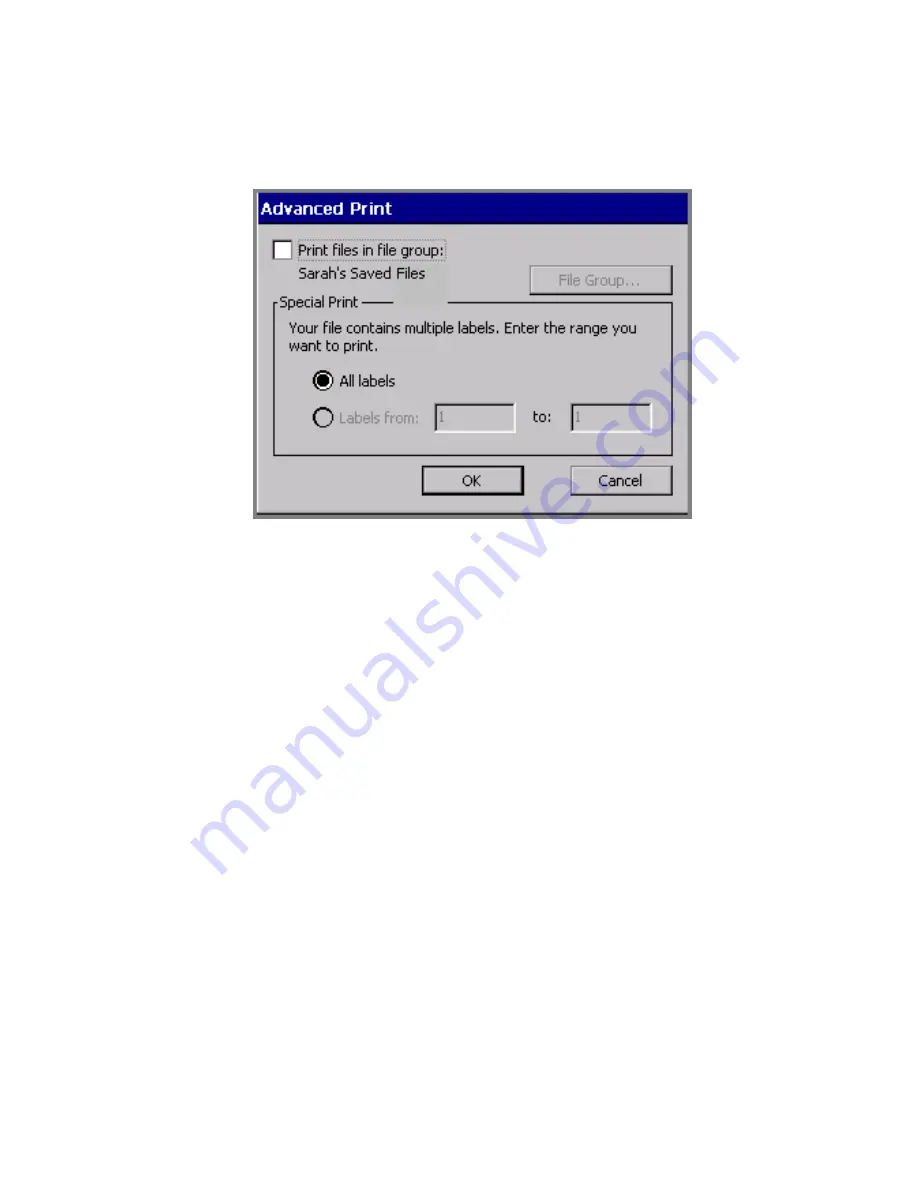
Advanced Print
screen, with
your current File group shown named on the screen:
Figure 11-6. The Advanced Print screen with open file group.
4. Choose the
Print files in file group
option. (Note that the Special
Print options are now grayed out, and the
File Group
button
becomes available.)
5. Choose
OK
. You’ll see the
screen (Figure 11-3).
6. Choose
OK
on the
screen. You’ll see the
Preparing to Print
screen (Figure 11-4), where you can track the printer’s progress
while it processes and prints the labels and pages in the file group.
To print a different file group
You can actually print any file group when you have any label displayed
in the
Editor
window. It just requires a couple more steps:
1. Follow steps 1-4 in the
To print a file group
procedure above.
Summary of Contents for GLOBALMARK
Page 1: ...User s Guide English...
Page 9: ...Contents 8 Cleaning the Stylus B 10...
Page 17: ...x...
Page 37: ...2 14 Cleaning your system...
Page 57: ...3 20 Accessing Online Help...
Page 75: ...4 18 Working in Entry Screens...
Page 129: ...6 40 Setting Application Preferences...
Page 239: ...11 26 Printing Tab Options...
Page 255: ...12 16 Upgrading the Operating System...
Page 258: ...Special Characters A 3 TABLE 1 CONTINUED...
Page 259: ...A 4 Special Characters TABLE 1 CONTINUED...
Page 260: ...Special Characters A 5 TABLE 1 CONTINUED...
Page 262: ...Special Characters A 7 TABLE 2 CONTINUED...
Page 263: ...A 8 Special Characters TABLE 2 CONTINUED...
Page 264: ...Special Characters A 9 TABLE 2 CONTINUED...
Page 265: ...A 10 Special Characters...
Page 277: ...B 12 Cleaning the Stylus...
Page 285: ...www bradycorp com 2004 Brady Worldwide Inc All rights reserved Y 380527 GM EN...
Page 286: ...www bradycorp com 2004 Brady Worldwide Inc All rights reserved Y 380527 GM EN...


