Manual for VMP300-based instruments
32
2. In the
“Devices”
frame, click on the
“+”
button to add the instrument of interest to the
list. Only one session of EC-Lab
®
is needed to control several instruments.
Fig. 34
: “Devices”
frame for connection.
Note: This step is only required the first time. The instruments configured previously
are saved and will be displayed in the list of device each time EC-Lab
®
is opened. In
that case, go directly to step 6.
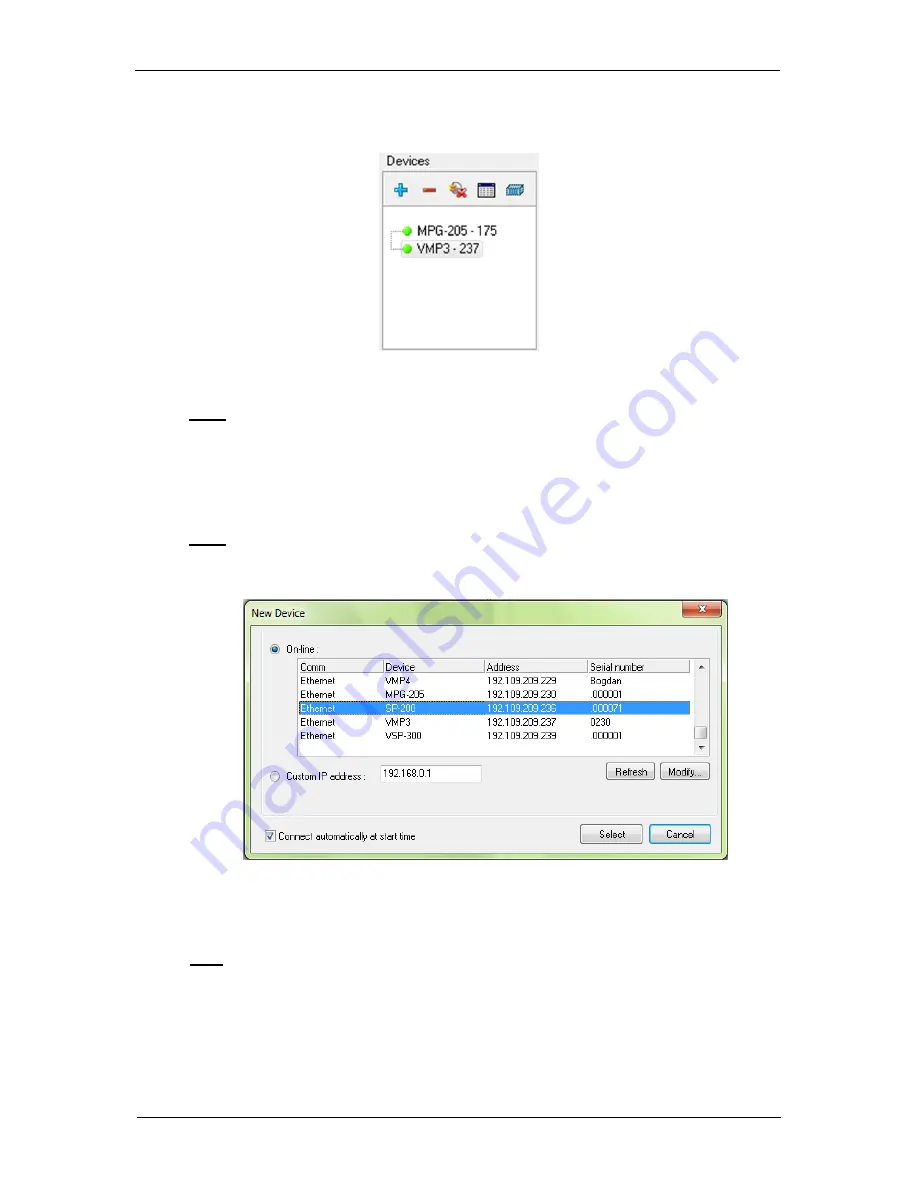
3. The window shown in Fig. 35
appears. Click on “
Refresh
” to see the instruments
present on your network.
Note: The automatic search frame shows the name of the instruments detected with
their serial numbers (#). A MAC address is given to each instrument at the factory. The
MAC address is used to detect the instrument in a LAN even if its IP Address is not
valid in the network. It is also used for the detection of instruments connected by USB.
Fig. 35
: “New Device” window to select and add an instrument
to the current devices.
4.
Select the instrument and click on the “
Select
” button.
Note: If the IP address of the instrument is not valid, it has to be changed (see next
section).
5.
The instrument selected appears in the list displayed in the “
Device
” frame. Then, the
connection is established automatically and the circle to the left of the device name will
turn green.
Summary of Contents for HCV-3048
Page 2: ......
Page 97: ...Manual for VMP300 based instruments 89...
Page 98: ...Manual for VMP300 based instruments 90 The next steps are similar to the in built boosters...
Page 114: ...Manual for VMP300 based instruments 106 12 EC declaration of conformity 12 1 SP 200...
Page 115: ...Manual for VMP300 based instruments 107 12 2 SP 240 SP 300...
Page 116: ...Manual for VMP300 based instruments 108 12 3 VSP 300 12 3 1 Horizontal VSP 300...
Page 117: ...Manual for VMP300 based instruments 109 12 3 2 Vertical VSP 300...
Page 118: ...Manual for VMP300 based instruments 110 12 4 VMP 300...
Page 119: ...Manual for VMP300 based instruments 111 12 5 HCV 3048...


