64 Chapter 3
Image Annotation Keys
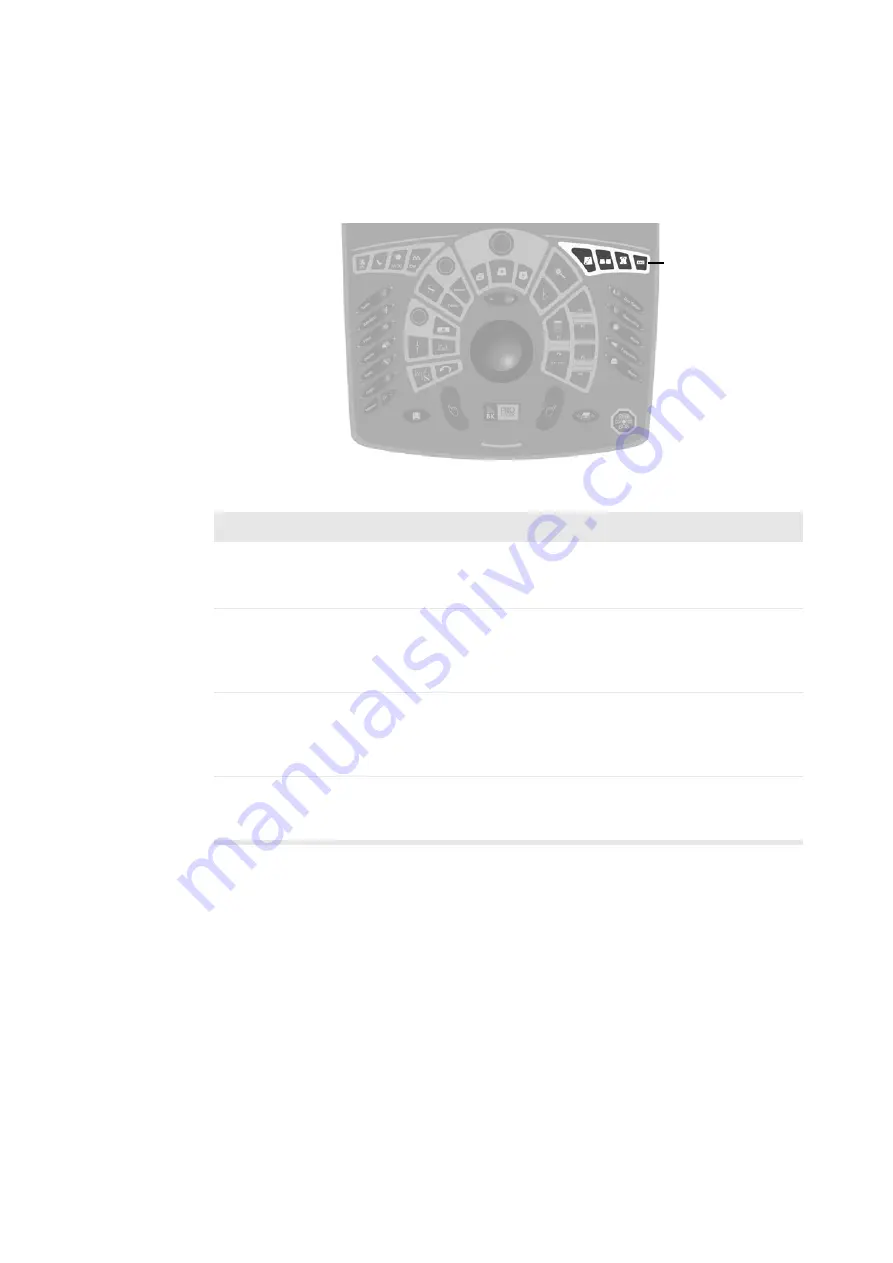
The Image Annotation keys are grouped on the top right side of the control panel. For
detailed information about using them, see Chapter 2, “Getting Started” and
Chapter 4, “Working with the Image”.
Figure 3-12. The Image Annotation keys on the control panel.
Image
Annotation
keys
Table 3-10. Function of the Image Annotation keys on the control panel.
Image Annotation
keys
Key
Name
Key Type
Action
[
w
]
Puncture
Press
Turns a puncture or biopsy line on or off. See
“Performing a Biopsy or Puncture Procedure
(including Brachytherapy)” on page 43.
[
C
]
Split
Screen
Press
Splits the screen so two view are displayed. If the
screen is already split, pressing
C
shifts between
which view is active. A long press turns split screen off
if it is on. See “Split Screen” on page 74.
[
g
]
Bodymark
Press
Opens the
Bodymark
window so you can place a
bodymark on the image. Press to close the
Bodymark
window again. See “Using Bodymarks” on page 78.A
long press removes bodymarks.
[
s
]
Label
Press
Opens the
Label
window so you can add text or
arrows to the image. See “Placing Labels” on
page 75.A long press removes all labels and arrows.
Summary of Contents for Pro Focus 2202
Page 1: ...English BB1279 A June 2005 Pro Focus 2202 Extended User Guide ...
Page 14: ...14 ...
Page 15: ...Part 1 Basics ...
Page 16: ......
Page 32: ...32 Chapter 1 ...
Page 48: ...48 Chapter 2 ...
Page 49: ...Part 2 Working with the Image ...
Page 50: ......
Page 98: ...98 Chapter 5 ...
Page 117: ...Part 3 Imaging Modes ...
Page 118: ......
Page 136: ...136 Chapter 8 ...
Page 152: ...152 Chapter 10 ...
Page 164: ...164 Chapter 12 ...
Page 165: ...Part 4 Setting up and Maintaining Your System ...
Page 166: ......
Page 200: ...200 Chapter 13 ...
Page 208: ...208 Chapter 14 ...
Page 209: ...Part 5 Pro Packages ...
Page 210: ......
Page 288: ...288 Chapter 19 ...
Page 313: ...Part 6 Appendixes ...
Page 314: ......
Page 344: ...344 Appendix C ...


