3D Imaging 311
Render Settings
You can change the way a Transparency view looks by adjusting the settings under
Render Settings on the left side of the screen (see Fig 20-17). In addition to the
Render Settings available for a Render view, there are 2 Render Settings that apply
only to a Transparency view.
•
Opacity – Specifies the transparency of a structure.
•
Thickness – Determines how far you can look into the volume.
•
Filter – Sets a threshold so that pixels that are not as bright as the threshold are
not displayed.
•
Luminance – Controls the brightness of structures within the volume. Moving
the slider to the left increases brightness.
•
Photorealistic – Adjusts the photorealistic parameter used in the rendering.
This can only be used on gray scale volumes.
•
Color Level – Moving the slider to the left makes the color information more
transparent.
•
Gray Level – Moving the slider to the left makes the gray scale information
more transparent.
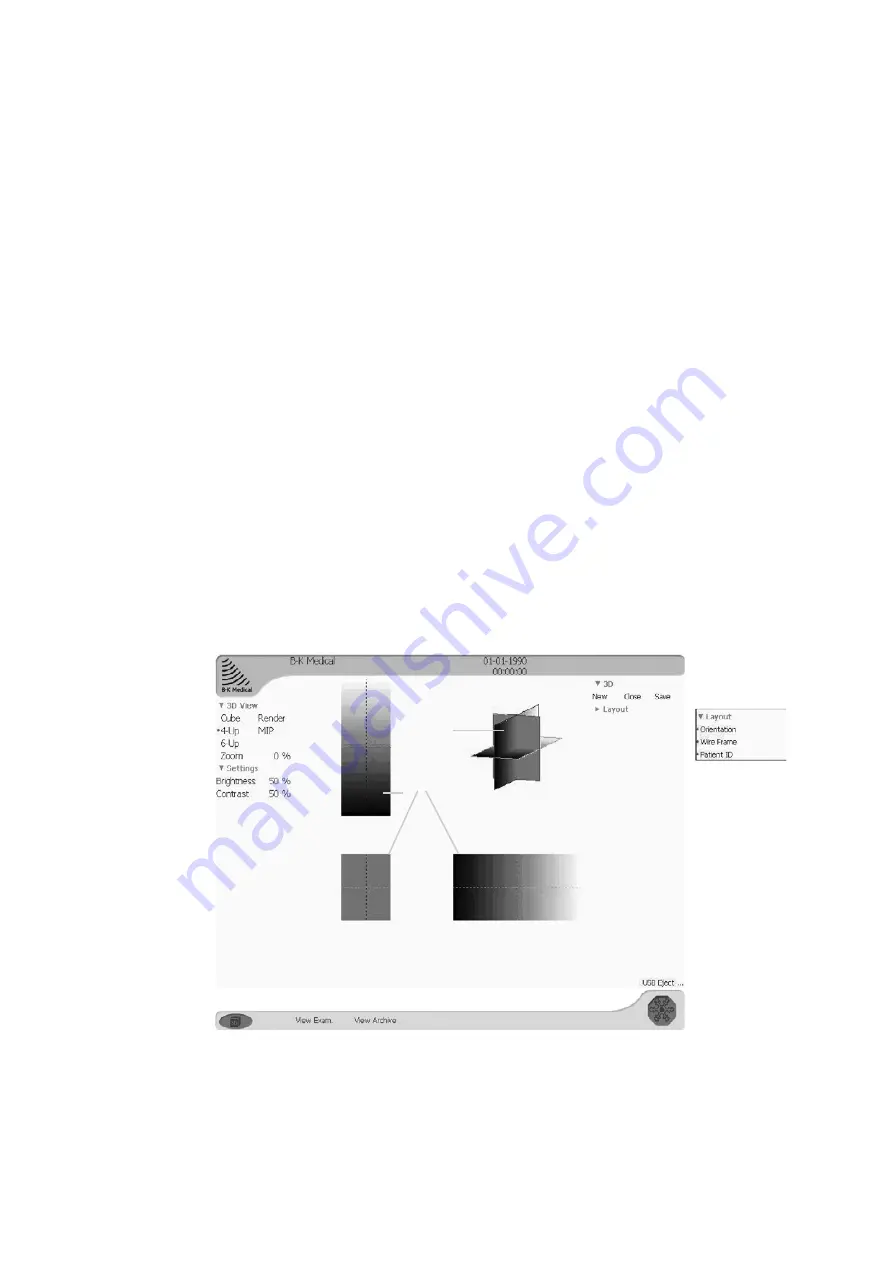
4-Up View
This view has three orthogonal plane views and a view showing the positions of these
intersecting planes within the volume. The planes can be moved by adjusting them
in the intersecting view.
Figure 20-18. The 3D 4-Up View window.
Move planes
here
to change
views here
Summary of Contents for Pro Focus 2202
Page 1: ...English BB1279 A June 2005 Pro Focus 2202 Extended User Guide ...
Page 14: ...14 ...
Page 15: ...Part 1 Basics ...
Page 16: ......
Page 32: ...32 Chapter 1 ...
Page 48: ...48 Chapter 2 ...
Page 49: ...Part 2 Working with the Image ...
Page 50: ......
Page 98: ...98 Chapter 5 ...
Page 117: ...Part 3 Imaging Modes ...
Page 118: ......
Page 136: ...136 Chapter 8 ...
Page 152: ...152 Chapter 10 ...
Page 164: ...164 Chapter 12 ...
Page 165: ...Part 4 Setting up and Maintaining Your System ...
Page 166: ......
Page 200: ...200 Chapter 13 ...
Page 208: ...208 Chapter 14 ...
Page 209: ...Part 5 Pro Packages ...
Page 210: ......
Page 288: ...288 Chapter 19 ...
Page 313: ...Part 6 Appendixes ...
Page 314: ......
Page 344: ...344 Appendix C ...


