44 Chapter 2
Check brachy
coordinates in
window with
matrix
Verify matrix
alignment
Activate
puncture
guide or
brachy matrix
To superimpose a puncture line or brachy matrix on an ultrasound image:
•
Press
[
w
]
.
The puncture guide or brachy matrix that you previously selected appears on the
scan area unless you have selected a new transducer or Pro Package. In these
cases, the default puncture guide or brachy matrix appears.
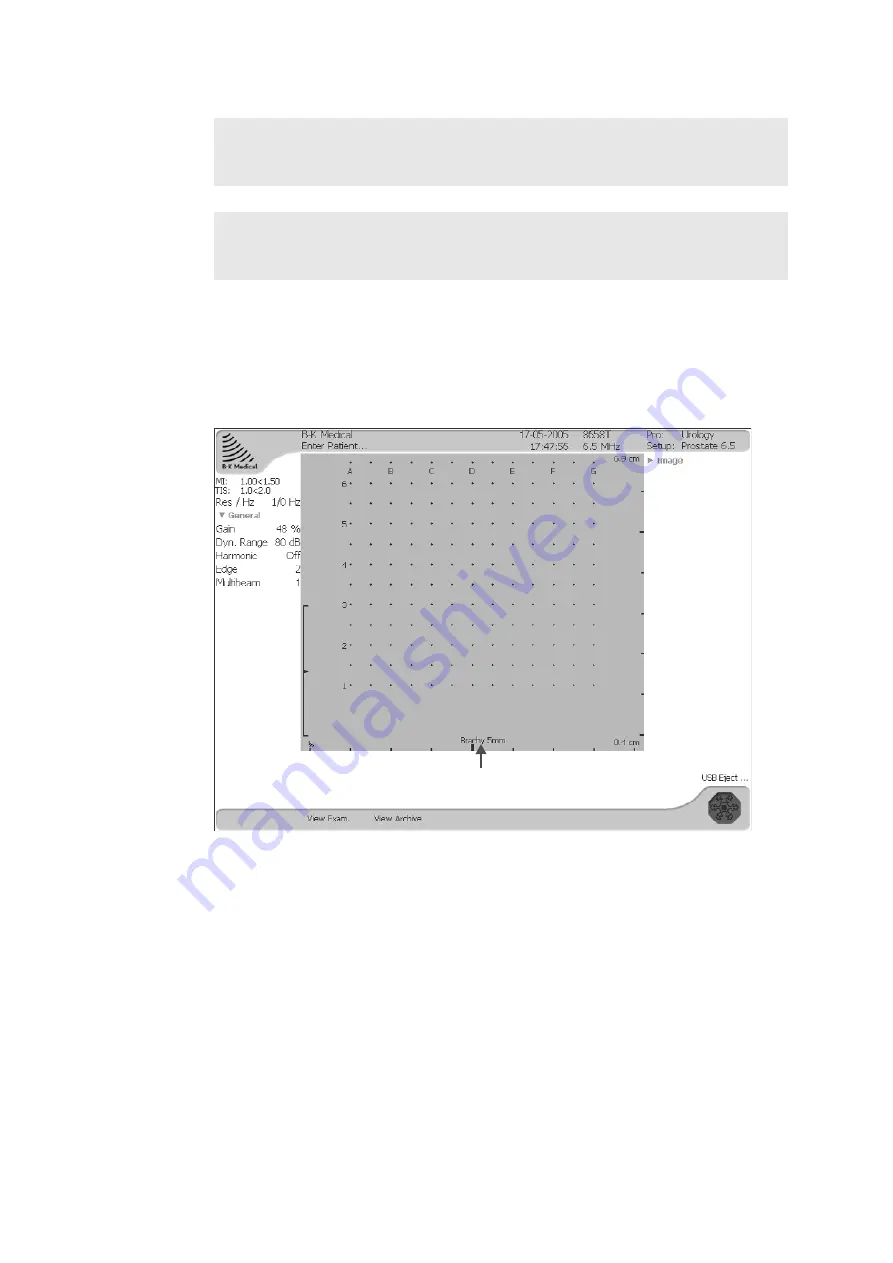
Figure 2-7. A brachy matrix on the scan area.
To select a different puncture guide or brachy matrix:
1
Click the Type number or brachy matrix name displayed at the bottom of the
scan area.
The Puncture Guide menu appears. It contains the puncture guides and brachy
matrices that are available for the selected transducer.
WARNING For brachytherapy, make sure that the brachy matrix type and coordinates
indicated on the screen (Brachy 5 mm in Fig 2-7) agree with the actual matrix template
you are using.
WARNING Before you use the brachy matrix for seed implantation, check the matrix
offset value to verify that it corresponds with the chosen matrix. Then check the matrix
alignment. See “Alignment of the Brachy Matrix” on page 206.
Click here to select a different
brachy matrix or puncture guide
Summary of Contents for Pro Focus 2202
Page 1: ...English BB1279 A June 2005 Pro Focus 2202 Extended User Guide ...
Page 14: ...14 ...
Page 15: ...Part 1 Basics ...
Page 16: ......
Page 32: ...32 Chapter 1 ...
Page 48: ...48 Chapter 2 ...
Page 49: ...Part 2 Working with the Image ...
Page 50: ......
Page 98: ...98 Chapter 5 ...
Page 117: ...Part 3 Imaging Modes ...
Page 118: ......
Page 136: ...136 Chapter 8 ...
Page 152: ...152 Chapter 10 ...
Page 164: ...164 Chapter 12 ...
Page 165: ...Part 4 Setting up and Maintaining Your System ...
Page 166: ......
Page 200: ...200 Chapter 13 ...
Page 208: ...208 Chapter 14 ...
Page 209: ...Part 5 Pro Packages ...
Page 210: ......
Page 288: ...288 Chapter 19 ...
Page 313: ...Part 6 Appendixes ...
Page 314: ......
Page 344: ...344 Appendix C ...


