ADVANCED SYSTEM OPERATION
Section 9-7
will vary according to the image. Sometimes it takes several passes to create enough relief
in the engraving to get the desired results.
Special 3D software is required to produce the type of grayscale images that are compatible
with this mode. You cannot simply use ANY grayscale bitmap to produce a “3D” effect.
Please contact our Applications Department for the latest 3D software recommendations.
The second way to use the 3D feature is to engrave any photograph, lightly onto the surface
of hard materials such as black marble, anodized aluminum, painted brass, micro-surfaced
engravers plastic, etc., to produce unbelievable photographic quality. Using the appropriate
materials and settings, the end result is an engraving that looks more like a photograph than
a halftoned or diffusion dithered image does. To use the 3D feature in this method you must
first set up a few things.
Choose Your Material
The best material to use is one that has the highest contrast such as black anodized
aluminum, black marble, or black cored engravers plastic with a white micro surfaced
coating. While other materials may work ok, they might not produce the highest quality.
Establishing Nominal Power
Choose your %Speed and your Image Density settings. Set the PPI to 1000 but don’t set
the %Power setting just yet. The objective is to use the
LOWEST
%Power setting that
produces the most contrast such as the whitest (as in black anodized aluminum) or the
darkest (as in black cored engravers plastic with a white micro surfaced coating) results.
This is what we call the “nominal” power setting. Over-powering the material will produce
poor results.
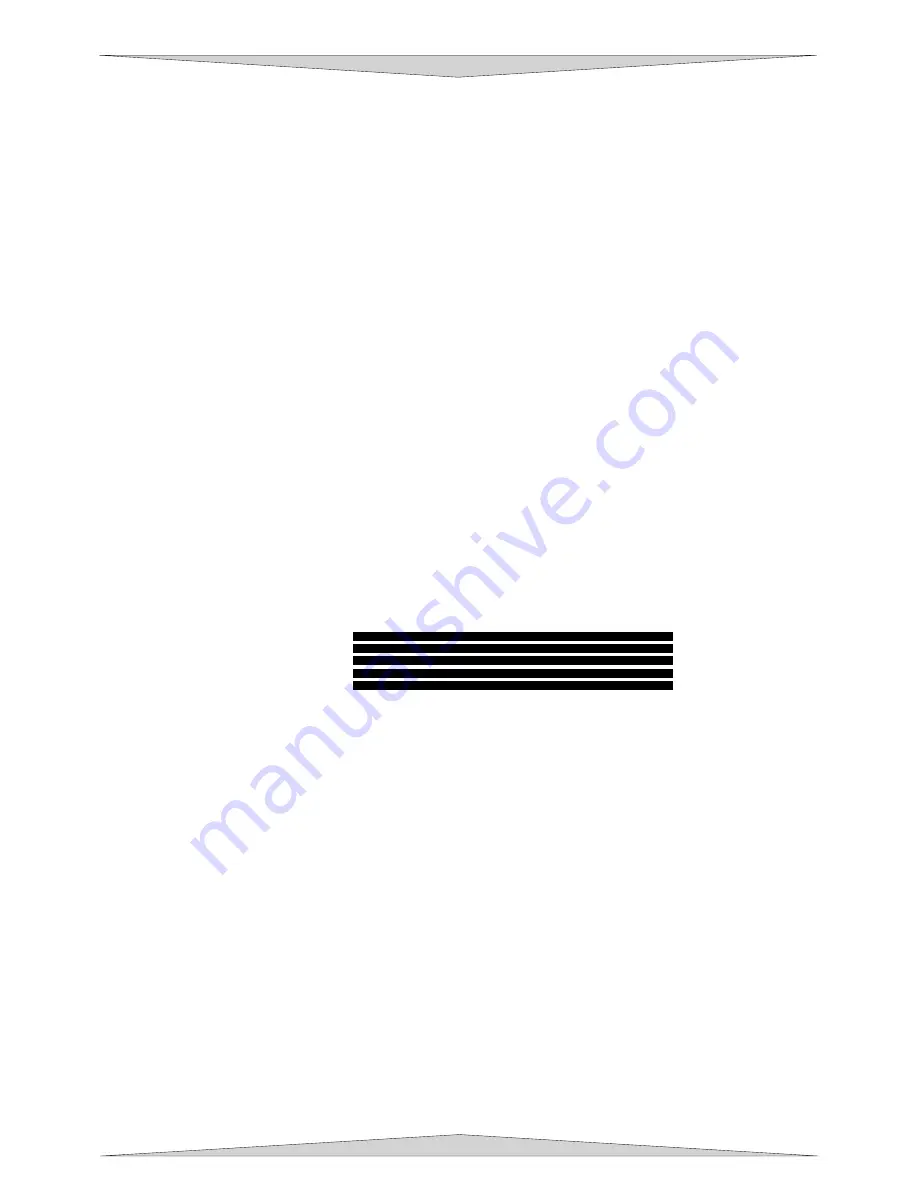
In your graphics software, create a series of 5 rectangles that are about ¼ inch high and
6 inches wide as in the following diagram:
Starting with the top rectangle set the power setting to a value that you know will be too
low. For example, engrave the first rectangle at 5% power, increasing the power for each
subsequent rectangle in 5% increments finishing the series off at 25% power and note
the results. Choose the rectangle that uses the lowest %Power setting to achieve the
most contrast. If 25% is not enough power, then engrave the rectangles once again, this
time starting at 25% and incrementing by 5% and so on.
In this particular example, we’ll say that 20% power looks over-burned but 15% appears
under-burned. Since the material may be sensitive to small power changes, you may
need to narrow it down a bit further. Engrave a new series of rectangles, but this time
start the top rectangle at 15% then add 1% for the next rectangle, and so forth, until you
find the best setting between 15% and 20%.
The setting that produces the highest contrast using the least amount of %Power is
called the nominal power setting.
Engraving a Calibration Scale
Now that you have established the nominal power setting, you will need to engrave a
grayscale calibration scale. You can create one of your own or use the one provided for
you which can be found on the Software Installation CD-ROM called “Calibration
Scale.CDR”. This is a CorelDRAW 8 file so using versions 8 and higher will open the file.
Содержание PLS3.60
Страница 8: ......
Страница 20: ...SAFETY Section 1 12 ...
Страница 21: ...Part 1 Initial Setup ...
Страница 22: ......
Страница 30: ...INSTALLATION Section 2 10 ...
Страница 44: ...GRAPHICS SOFTWARE SETUP Section 3 14 ...
Страница 58: ...MAKING A SAMPLE Section 5 4 ...
Страница 59: ...Part 2 Laser System Essentials ...
Страница 60: ......
Страница 70: ...BASIC SYSTEM FEATURES Section 6 12 ...
Страница 76: ...BASIC MAINTENANCE Section 7 6 ...
Страница 77: ...Part 3 Accessories ...
Страница 78: ......
Страница 95: ...Part 4 Advanced User ...
Страница 96: ......
Страница 116: ...ADVANCED SYSTEM OPERATION Section 9 22 ...


