ASSEMBLING THE PLS
Section 4-10
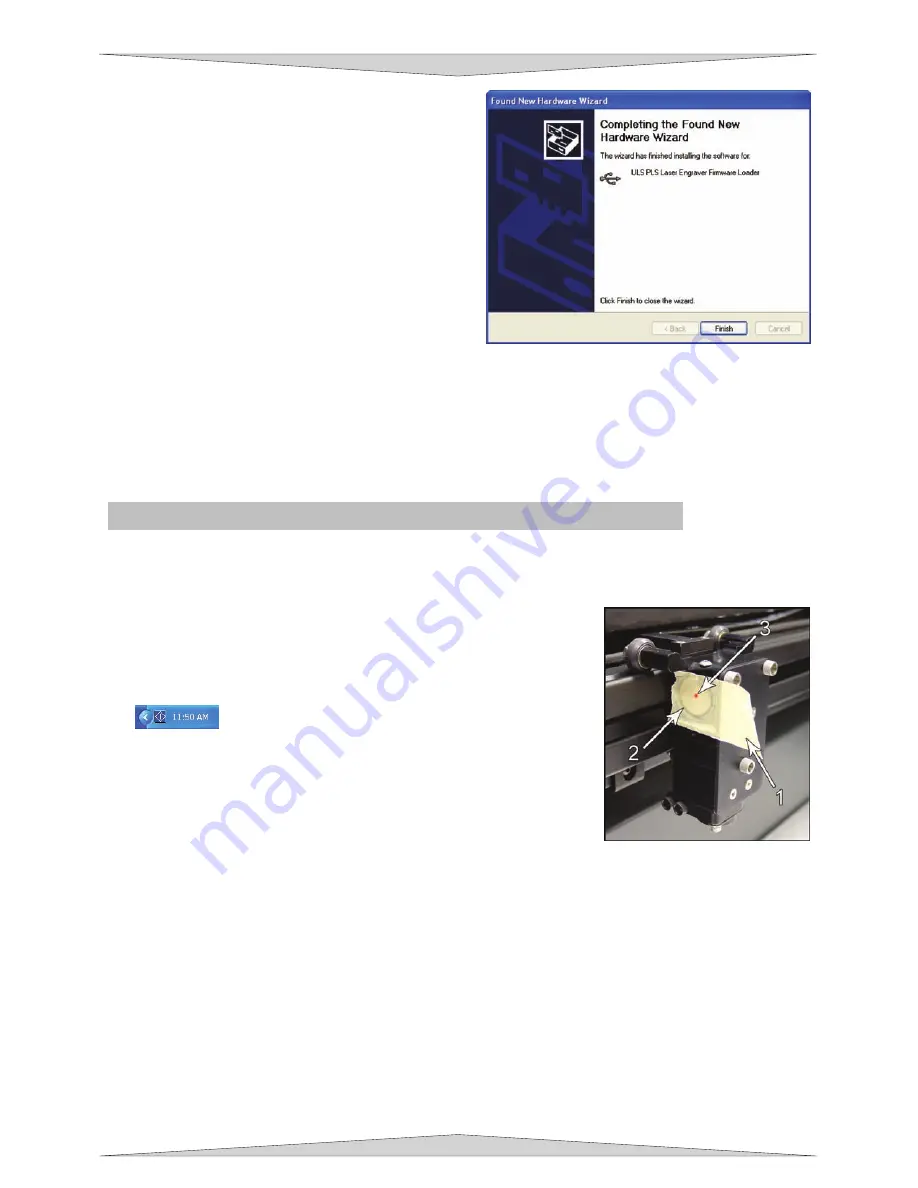
omplete. Click
“Finish” to close the Wizard.
hand corner of your display screen
saying “Found New Hardware PLS USB Printing Support.”
ones mentioned above. Once completed your new
hardware is installed and ready to use.
e. The New Hardware Wizard will indicate
when the installation is c
f. You may notice a small pop up appear on the bottom right
g. Another set of New Hardware Wizard windows will appear after the initial USB connection.
Follow the same instructions as the
Checking Beam Alignment - All PLS laser systems
Note: You will not engrave anything at this time.
outline of the hole through the tape (2) and
4. Powe
1. Open the top door.
2. Place a small piece of masking tape across the 3/4” hole in the
focus carriage (1). Gently rub the tape around the edge of the hole
so that you can see the
then close the top door.
3. Power ON the laser system (switch on the back right-hand side).
r on your computer and verify that the blue shaped icon
is present on the taskbar. If not, activate it by double-
r of the hole, please contact our
. Laser beam alignment is now complete. Power OFF the laser system and remove the masking tape.
clicking on the ULSEngraver icon on your desktop.
5. After a few seconds have passed a red dot will appear on the
masking tape (3). The red dot should appear centered, or close to
the center of the hole, within 1/8 inch. If not, remove and re-install
the laser cartridge(s) and try again. If the red dot still does not
appear within 1/8” of the cente
Technical Support Department.
6
Finally, proceed to section 5 to learn how to
make a sample with your newly installed laser
system.
Содержание PLS3.60
Страница 8: ......
Страница 20: ...SAFETY Section 1 12 ...
Страница 21: ...Part 1 Initial Setup ...
Страница 22: ......
Страница 30: ...INSTALLATION Section 2 10 ...
Страница 44: ...GRAPHICS SOFTWARE SETUP Section 3 14 ...
Страница 58: ...MAKING A SAMPLE Section 5 4 ...
Страница 59: ...Part 2 Laser System Essentials ...
Страница 60: ......
Страница 70: ...BASIC SYSTEM FEATURES Section 6 12 ...
Страница 76: ...BASIC MAINTENANCE Section 7 6 ...
Страница 77: ...Part 3 Accessories ...
Страница 78: ......
Страница 95: ...Part 4 Advanced User ...
Страница 96: ......
Страница 116: ...ADVANCED SYSTEM OPERATION Section 9 22 ...


