Section 6-3
Section 6
Basic System Features
From the Universal Control Panel menus and buttons to the PLS Keypad and basic printer driver
features, this section describes many of the features of the laser system. If you have done so already,
power ON your computer and let it boot up completely
BEFORE
powering ON the laser system otherwise
your laser system can “lock up” when attempting to run the first file and the only way to clear this error is
to power the system OFF and then ON again. You do not need to turn on your exhaust system at this
time.
The Universal Control Panel (UCP)
The Universal Control Panel on the computer provides access to all of the controls necessary for cutting
and engraving operations. When the laser system has finished initializing and homing, and if all the doors
are closed the red light on the Keypad will be illuminated and ready to accept files.
Figure 1
Figure 2
Once you have installed the UCP using the installation disk, a blue square-shaped icon
(Figure 1) will appear in the lower right corner of your Windows taskbar. This icon
indicates that the UCP is active. It will automatically activate itself every time you
power on your computer. If for any reason the UCP is deactivated you can reactivate it
by double-clicking on the shortcut (Figure 2) found on your computers desktop screen.
You can access the UCP at anytime by left-clicking once on the icon in the taskbar.
The following describes the features of each tab of the UCP:
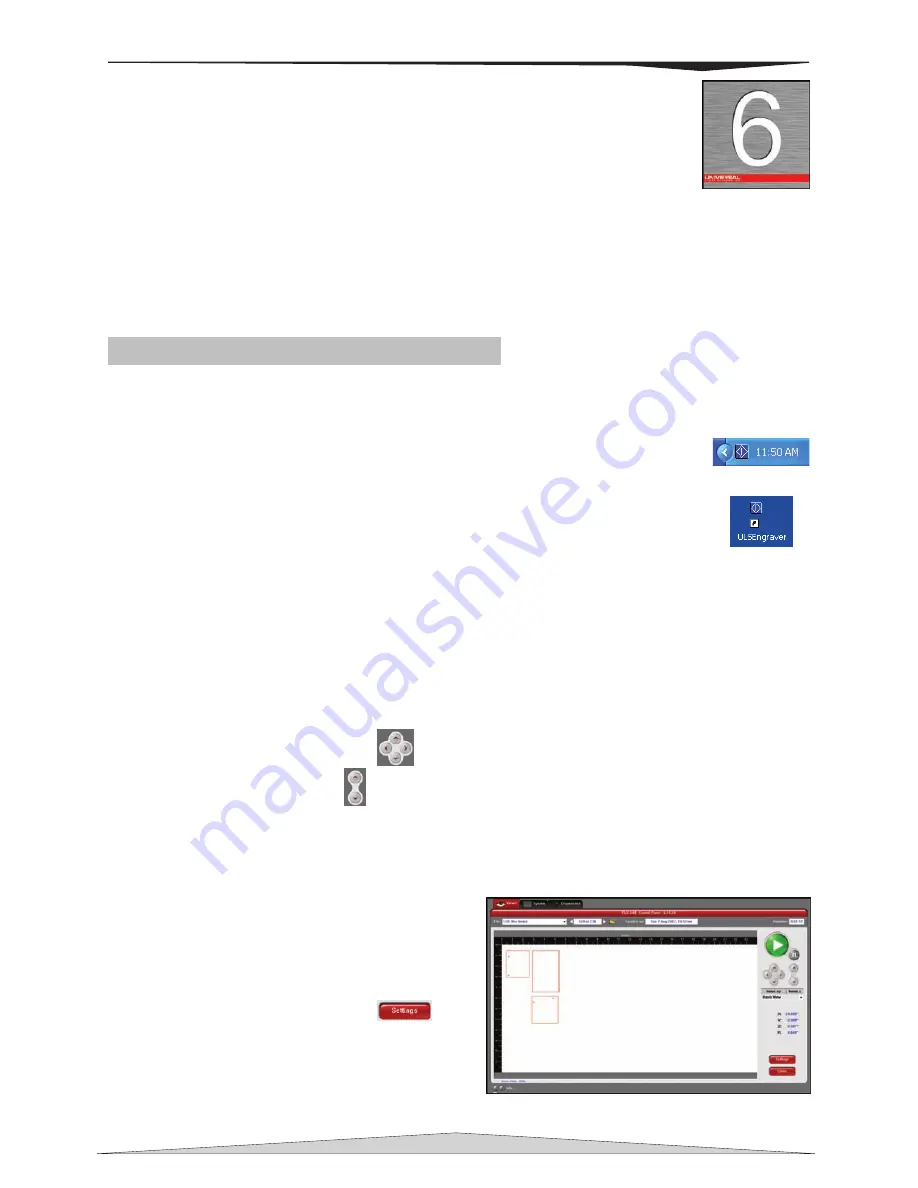
Viewer Tab
Selecting this tab will allow you to preview your file and control features of the laser system.
System Controls
The upper right side contains the software version of the Keypad buttons found on the PLS laser
system. These buttons operate identically to the physical buttons on the PLS.
o
The green START button begins the engraving process.
o
The PAUSE button stops the engraving process and clicking the PAUSE button again
resumes the engraving process where it was last stopped.
o
The four Navigation buttons
move the focus carriage back and forth or left and right.
o
The red Z-Axis buttons
moves the engraving table up or down.
o
The Home XY button re-home’s/moves the focus carriage to the upper right hand corner.
o
The Home Z button re-home’s/moves the Z-Axis table towards the bottom of the laser
system.
Basic View
(drop down list)
•
Shows a preview window of the currently
selected job.
•
The cursor becomes a magnifying glass
(Zoom Tool) if you pass it over the preview
window. Left-clicking your mouse zooms
in and right-clicking zooms out.
•
Clicking the Settings button
takes
you back to the printer driver. If mistakes
where made or would like to make
additional changes clicking this button
allows for those changes. Further
information about the printer driver can be
found in Section 6-8 of this manual.
Содержание PLS3.60
Страница 8: ......
Страница 20: ...SAFETY Section 1 12 ...
Страница 21: ...Part 1 Initial Setup ...
Страница 22: ......
Страница 30: ...INSTALLATION Section 2 10 ...
Страница 44: ...GRAPHICS SOFTWARE SETUP Section 3 14 ...
Страница 58: ...MAKING A SAMPLE Section 5 4 ...
Страница 59: ...Part 2 Laser System Essentials ...
Страница 60: ......
Страница 70: ...BASIC SYSTEM FEATURES Section 6 12 ...
Страница 76: ...BASIC MAINTENANCE Section 7 6 ...
Страница 77: ...Part 3 Accessories ...
Страница 78: ......
Страница 95: ...Part 4 Advanced User ...
Страница 96: ......
Страница 116: ...ADVANCED SYSTEM OPERATION Section 9 22 ...


