ADVANCED SYSTEM OPERATION
Section 9-8
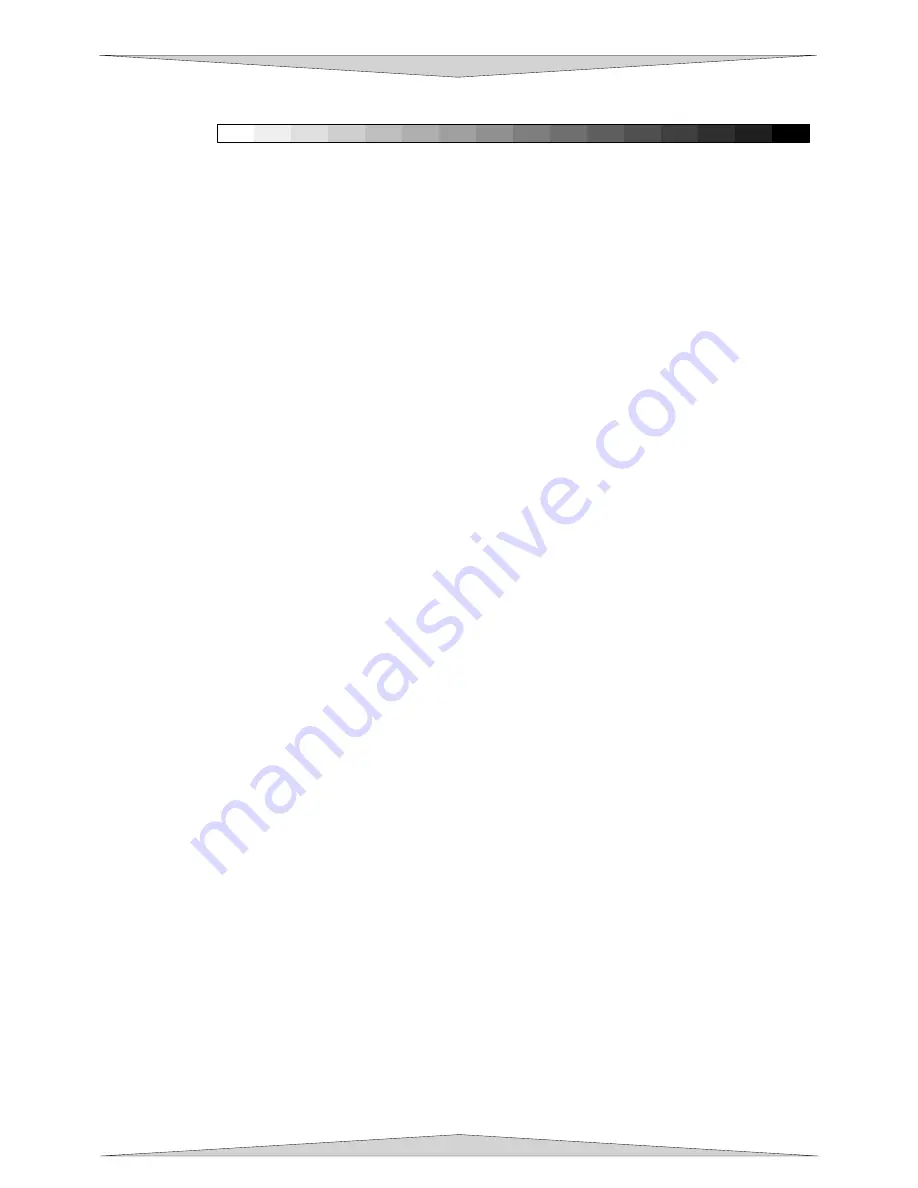
The scale looks like this:
00
01
02
03
04
05
06
07
08
09
10
11
12
13
14
15
Each rectangle is .5 inches wide and .25 inches tall. Each successive shade of gray is
incremented by 16 levels starting at 0 and ending at 255. The numbers below the scale
are there as a reference to the 16 levels of power control (explained later) and do not
need to be engraved if you do not want to.
You can also load a custom grayscale color palette into your CorelDRAW program. This
file can also be found on your Software Installation CD-ROM and is named “ULS
photo.cpl”. Use this palette if you want to create your own calibration scale.
Engrave the calibration scale, onto your material, using the nominal power setting you
established earlier. Compare it to the actual calibration scale that you see on screen or
in this manual. If the response of your material to the laser beam was perfectly linear,
then the result should look exactly like the calibration scale. Most likely you will find that
several rectangles appear to have the same appearance of shading. The objective would
be to engrave the calibration scale and produce a result that would appear as if each
rectangle would have its own distinguishable level of gray, starting from white all the way
to black. To help you achieve those results, the printer driver gives you the ability to
calibrate the power level of each one of the rectangles. To access the feature, click on
the “Setup” button.
Setup Button
When you click this button, the ULS 3D Power Calibration screen will appear. Notice that
there are 16 slider bars representing the 16 shades of gray of the calibration scale. The
00 and the 15 are not adjustable as they represent white and black. The 14 other ones
can be adjusted. The objective is to go back and forth between adjusting the
corresponding slider bars and re-engraving the calibration scale until you can duplicate
the appearance of the calibration scale as best as you can. As you are progressing
MAKE SURE YOU KEEP SAVING YOUR SETTINGS IN AN LAS FILE
just in case your
computer crashes, etc. This is a lengthy procedure so you do not want to have to do it
twice.
Once you have duplicated the Calibration Scale onto your material, calibration is now
complete. You only need to do this calibration one time for each material you intend on
using to produce photographs.
NOTE: If you are using a type of material that becomes lighter when you engrave,
such as black marble, you will need to invert the photograph first (make a negative
image), in your photo editing software, otherwise when you engrave the image, it
will appear like a negative image.
APPLY Button
Click this button to enable the settings that you just set.
CLOSE Button
This closes the 3D Power Calibration settings window and cancels any changes you
made to the scale if you didn’t click the APPLY button.
DEFAULTS Button
Applies the factory default settings to the 3D Power Calibration settings
Содержание PLS3.60
Страница 8: ......
Страница 20: ...SAFETY Section 1 12 ...
Страница 21: ...Part 1 Initial Setup ...
Страница 22: ......
Страница 30: ...INSTALLATION Section 2 10 ...
Страница 44: ...GRAPHICS SOFTWARE SETUP Section 3 14 ...
Страница 58: ...MAKING A SAMPLE Section 5 4 ...
Страница 59: ...Part 2 Laser System Essentials ...
Страница 60: ......
Страница 70: ...BASIC SYSTEM FEATURES Section 6 12 ...
Страница 76: ...BASIC MAINTENANCE Section 7 6 ...
Страница 77: ...Part 3 Accessories ...
Страница 78: ......
Страница 95: ...Part 4 Advanced User ...
Страница 96: ......
Страница 116: ...ADVANCED SYSTEM OPERATION Section 9 22 ...


