ADVANCED SYSTEM OPERATION
Section 9-18
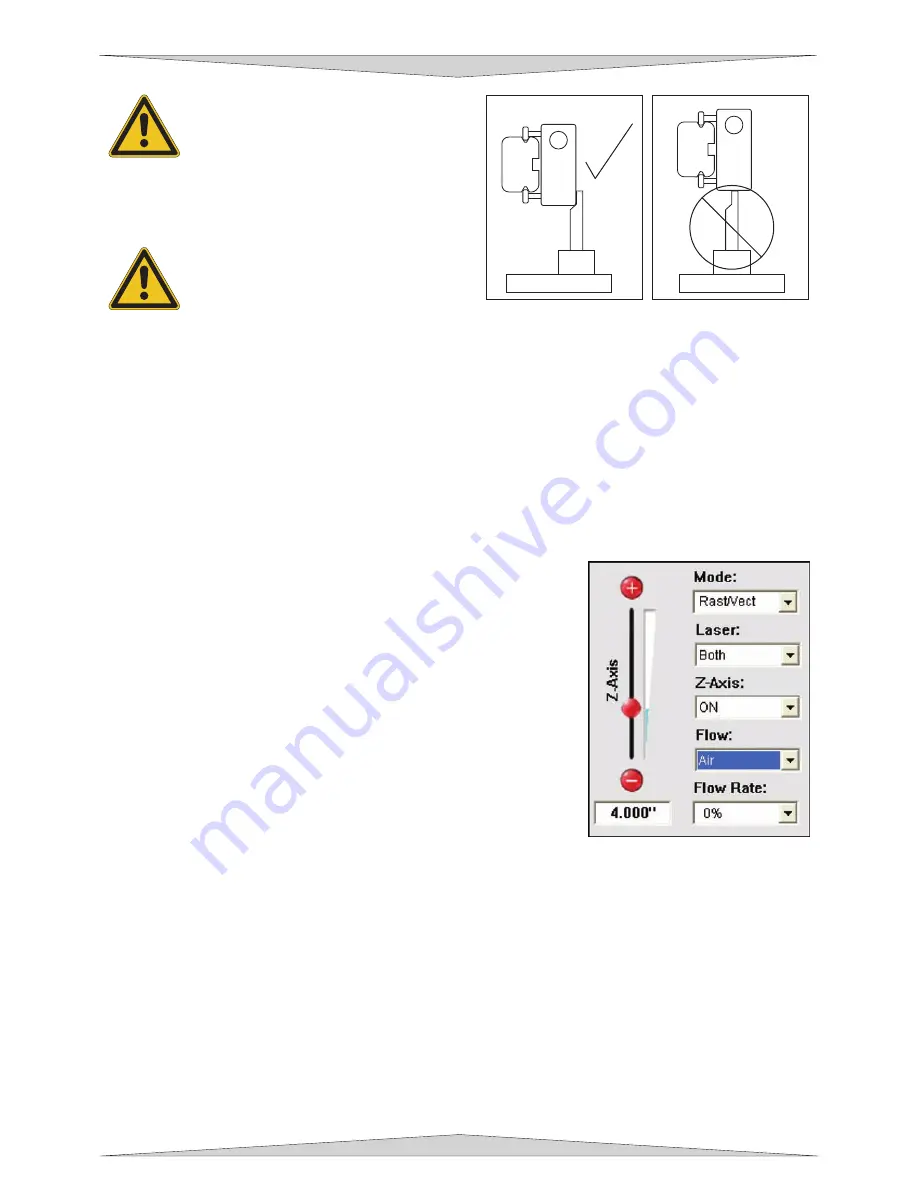
WARNING:
To avoid damage to the
focus lens, avoid positioning the focus
tool underneath the focus carriage.
Sometimes it is desirable to be slightly
out of focus when engraving or cutting. It widens the
beam at the surface of the material to soften the image
or create a wider cut line.
WARNING
: DO NOT engrave or cut too
far out of focus, as this can be a potential
fire hazard. A maximum of .05 inches
above or below precise focus should be
the absolute limit.
From a physics point of view, there is no difference between raising the Z-axis table a specified distance
from the focal point and lowering the table the same distance from the focal point. However, from an
applications point of view, we recommend lowering the Z-axis table when intentionally
RASTER
ENGRAVING
out of focus and raising the Z-axis table when intentionally
VECTOR CUTTING
out of
focus.
NOTE:
This focusing method can be done in a variety of ways. By using the Keypad, Universal Control
Panel or a combination of both. The Keypad was used in this method because you have easier access to
the engraving system. A combination of the UCP and Keypad or only using the UCP may require more
then one person to complete the Focus Tool Method.
2. Material Thickness (Z-Axis) Method
Focus on
TOP
of the engraving table, not the material, using the focus
tool as mentioned in the previous method. Create your graphic and
go to File and select Print from the drop down list. On the Print
window that opens select the laser system you own and then click the
PROPERTIES button. Click on the Manual Control Tab. To the right
hand side of the printer driver you will see a vertical sliding bar named
Z-Axis with plus (+) and minus (-) buttons. In order to active this
feature select ON from the drop down list that is labeled Z-Axis that is
located next to the Z-Axis vertical sliding bar. In the blank area
underneath the minus (-) button type the material thickness of the
object being engraved. Focusing using this method is now complete.
Make any necessary changes to your Manual Control driver as
desired. At this point place the material in the appropriate location on
the engraving table according to your graphic placement. Click the
OK button located on the bottom right corner of the printer driver to
send the file to the laser system. Start the Universal Control Panel,
your laser system, and start printing your job.
Periodically check if the Z POSITION method is calibrated with your focus tool. Since your focus tool is
your absolute reference, make sure that you do not lose it.
Содержание PLS3.60
Страница 8: ......
Страница 20: ...SAFETY Section 1 12 ...
Страница 21: ...Part 1 Initial Setup ...
Страница 22: ......
Страница 30: ...INSTALLATION Section 2 10 ...
Страница 44: ...GRAPHICS SOFTWARE SETUP Section 3 14 ...
Страница 58: ...MAKING A SAMPLE Section 5 4 ...
Страница 59: ...Part 2 Laser System Essentials ...
Страница 60: ......
Страница 70: ...BASIC SYSTEM FEATURES Section 6 12 ...
Страница 76: ...BASIC MAINTENANCE Section 7 6 ...
Страница 77: ...Part 3 Accessories ...
Страница 78: ......
Страница 95: ...Part 4 Advanced User ...
Страница 96: ......
Страница 116: ...ADVANCED SYSTEM OPERATION Section 9 22 ...


